
How to Iron Silk Without Burning It

Silk must be ironed on a low temperature setting (110–150°C / “silk” setting) with a protective pressing cloth between the iron and fabric — direct heat above 180°C scorches silk by oxidizing the protein fibers, causing permanent yellowing that cannot be reversed. The safest approach is to iron silk on the reverse side through a cloth while the fabric is still slightly damp.
Silk’s delicate protein-based fibers require gentler treatment than cotton or linen, and the margin for error is narrow. A standard cotton/linen iron setting reaches 200–230°C — temperatures that will scorch silk instantly. Understanding the exact temperature thresholds, the non-negotiable role of the pressing cloth, and the correct ironing technique separates successful silk care from irreversible damage.
Iron Temperature for Silk: The Critical Numbers
Silk requires an iron temperature of 110–150°C, corresponding to the “silk” or lowest “synthetic” setting on most household irons. This is a narrow band — and straying above it has permanent consequences.
The scorch threshold for silk is 180°C. Above this temperature, the fibroin protein molecules in silk fibers undergo oxidation, causing the fabric to turn yellow in a reaction that cannot be undone by re-washing or additional processing. Most consumer irons on “cotton” or “linen” settings reach 200–230°C — temperatures that will scorch silk within seconds of direct contact.
Different iron brands label their temperature settings differently. A typical temperature dial progression looks like this:
| Iron Setting | Approximate Temperature | Safe for Silk? |
|---|---|---|
| Silk / Synthetics | 110–150°C | Yes — with pressing cloth |
| Wool / Silk | 150–170°C | Marginal — use with extreme caution |
| Cotton | 200–230°C | No — will scorch silk |
| Linen | 230–250°C | No — will scorch silk |
When in doubt, always start at the lowest temperature and increase gradually only if needed. It is far easier to add heat incrementally than to reverse scorch damage.
Pressing Cloth: Non-Negotiable Protection
A pressing cloth is not optional when ironing silk — it is the primary barrier between the iron’s heat and the fabric’s delicate surface. The cloth distributes heat more evenly across the fabric and prevents two distinct types of damage: scorch marks (from direct heat) and shine marks (from the iron’s soleplate creating a polished appearance on the fabric face).
A suitable pressing cloth can be:
- Muslin — the traditional choice, evenly woven and thin enough not to impede heat transfer
- Cotton gauze — lightweight and breathable
- A clean white cotton handkerchief — readily available and appropriately sized
- A clean white cotton pillowcase — cut open and laid flat for larger garments
The cloth should always be white or light-colored to prevent any dye transfer onto the silk. It must also be lint-free to avoid leaving fibers on the fabric surface. Even on the “silk” setting, heavier silk varieties such as taffeta benefit significantly from pressing cloth protection.
The pressing cloth is placed directly over the silk fabric before ironing. The iron never makes direct contact with the silk itself — only with the cloth.
Step-by-Step: How to Iron Silk Safely
Follow these eight steps to safely iron silk without risking scorch damage. Each step exists for a specific reason related to heat management or fabric protection.
- Check the care label — Examine the garment’s care label for any specific ironing instructions or warnings. Some silk garments may have special requirements or be labeled dry-clean-only.
- Set iron to silk or lowest synthetic setting (110–150°C) — Never exceed 150°C. If your iron does not have a dedicated silk setting, start at the absolute lowest heat setting.
- Turn the silk garment inside out — Ironing on the reverse side is safest because it protects the face side from shine marks and any potential fiber damage from direct heat contact.
- Ensure the fabric is slightly damp — Mist silk with water until lightly damp, or iron while the fabric is still damp from washing. Dry silk scorches more easily because moisture helps distribute heat evenly across fibers.
- Place pressing cloth over the silk — Lay the cloth flat over the fabric so it fully covers the area you intend to iron. The cloth should be positioned between the iron soleplate and the silk at all times.
- Iron in smooth, flowing strokes — never drag with pressure — Lightly press the iron onto the cloth and glide smoothly. Never apply heavy pressure and never hold the iron stationary in one spot — even on the lowest setting, prolonged static contact creates scorch marks. Lift the iron completely between strokes.
- For collars, cuffs, and detailed areas, use the pointed tip — The iron’s pointed tip allows precision on small areas. Keep the pressing cloth in place and use light, lifted movements.
- Remove and cool for 5 minutes before handling — Immediately lift the garment off the ironing board after finishing. Hang it to cool and relax for at least 5 minutes before folding or wearing. Folding or wearing silk while it is still warm can create new wrinkles.
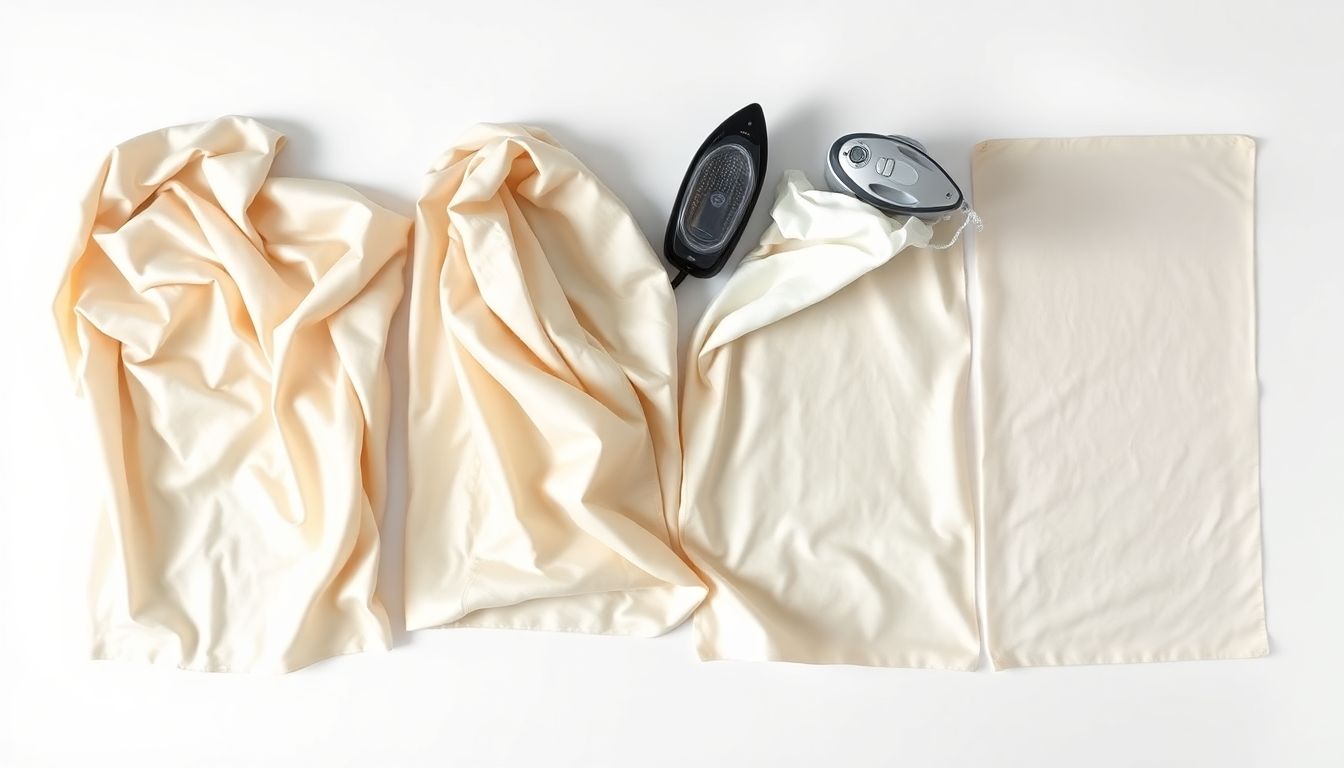
Common Ironing Mistakes That Burn Silk
Scorch damage to silk is almost always the result of preventable errors in technique or temperature setting. The following mistakes account for the majority of silk ironing failures:
- Using the cotton or linen setting — The most common cause of silk scorch. Cotton setting temperatures of 200–230°C will scorch silk within seconds. Always use the silk or lowest synthetic setting.
- Ironing completely dry silk — Dry silk lacks the moisture needed to distribute heat evenly, making it far more susceptible to scorch. Always mist the fabric or iron while slightly damp.
- Ironing the face side directly — Direct heat on the fabric face creates shine marks (a polished, flattened appearance) and flattens silk’s natural luster. Always iron on the reverse side.
- Applying heavy pressure — Silk needs only the weight of the iron itself — no additional downward force. Heavy pressure forces heat deeper into fibers and increases shine risk. Let heat and steam do the work.
- Holding the iron stationary — Even on the lowest temperature, leaving a hot iron in one spot on silk will create a scorch mark. Never hold the iron still — always lift and move.
- Skipping the inconspicuous test — Always test on an inner seam or hidden area before ironing visible sections. This confirms the temperature and technique are safe for that specific garment.
Steaming: A Safer Alternative to Ironing Silk
For most silk garments, steaming is a genuinely safer alternative to ironing. Steaming operates at approximately 100°C — well below silk’s scorch threshold — and introduces moisture that relaxes silk fibers and releases wrinkles without any direct contact pressure.
Two steaming approaches work well for silk:
- Vertical steaming — Hang the garment on a padded hanger, keeping the steamer or iron’s steam function 15–20cm away from the fabric. Allow the steam and gravity to work; do not touch the fabric with the steamer head. This method is ideal for blouses, scarves, and flowing silk garments.
- Flat steaming — Lay the silk flat on a clean, absorbent surface and hold a handheld steamer close without touching the fabric. Direct steam onto the wrinkled areas and allow the moisture and heat to release creases.
Steaming is particularly suited to silk that has been hand-washed, since the fabric is already damp and the wrinkles are surface-level hydration issues rather than set creases. However, note that some silks labeled “dry clean only” can develop water spots from steaming — test on an inconspicuous area first.
Steaming vs. Ironing: When to Use Each
| Method | Best For | Temperature | Risk Level |
|---|---|---|---|
| Iron with pressing cloth | Crisp collars, cuffs, flat seams, tailored silk pieces | 110–150°C | Low — with proper cloth protection |
| Vertical steamer | Flowing garments, drapes, scarves, blouses, naturally wrinkled silk | ~100°C | Very low — no direct contact |
| Iron directly (no cloth) | Never recommended | Any temperature | High scorch and shine risk |
Use ironing with a pressing cloth when you need sharp, defined edges — pressed collars, cuff creases, or flat seams in tailored silk garments. Use steaming when the goal is gentle wrinkle release on flowing, delicate, or naturally textured silk pieces.
Frequently Asked Questions
Q: Can you iron silk directly without a pressing cloth?
A: No — ironing silk directly without a pressing cloth risks scorch marks and shine marks. Even on the lowest “silk” setting, direct contact between the iron and silk can create permanent damage. Always use a pressing cloth.
Q: What temperature should you iron silk at?
A: Iron silk at 110–150°C using the “silk” or lowest “synthetic” setting on your iron. Never exceed 150°C. The scorch threshold for silk is 180°C — above this temperature, the protein fibers oxidize and turn permanently yellow.
Q: Is steaming better than ironing for silk?
A: Yes, steaming is generally safer for silk than ironing. Steaming operates at approximately 100°C with moisture, which relaxes wrinkles without applying direct pressure or heat contact. Vertical steaming works well for blouses, scarves, and flowing silk garments.
Q: Can you iron silk that is completely dry?
A: It is not recommended — dry silk scorches more easily than damp silk. Lightly mist the fabric with water before ironing, or iron silk while it is still slightly damp from washing. The moisture helps distribute heat evenly and prevents fiber damage.
Mastering silk ironing is about respecting the fabric’s narrow comfort zone. The 110–150°C window is sufficient to relax silk’s fibers and release wrinkles — provided the temperature stays controlled, the pressing cloth stays in place, and the iron never sits still. When in doubt, reach for the steamer instead. Our complete fabric care guide covers ironing and pressing for all fabric types in greater detail.
References
- WikiHow Contributors. (2024). How to Iron Silk. WikiHow.
- Good Housekeeping UK. (2023). How to Iron Silk: The Essential Guide. Good Housekeeping.
- American Association of Textile Chemists and Colorists (AATCC). Textile Care and Labeling Standards. AATCC.


