
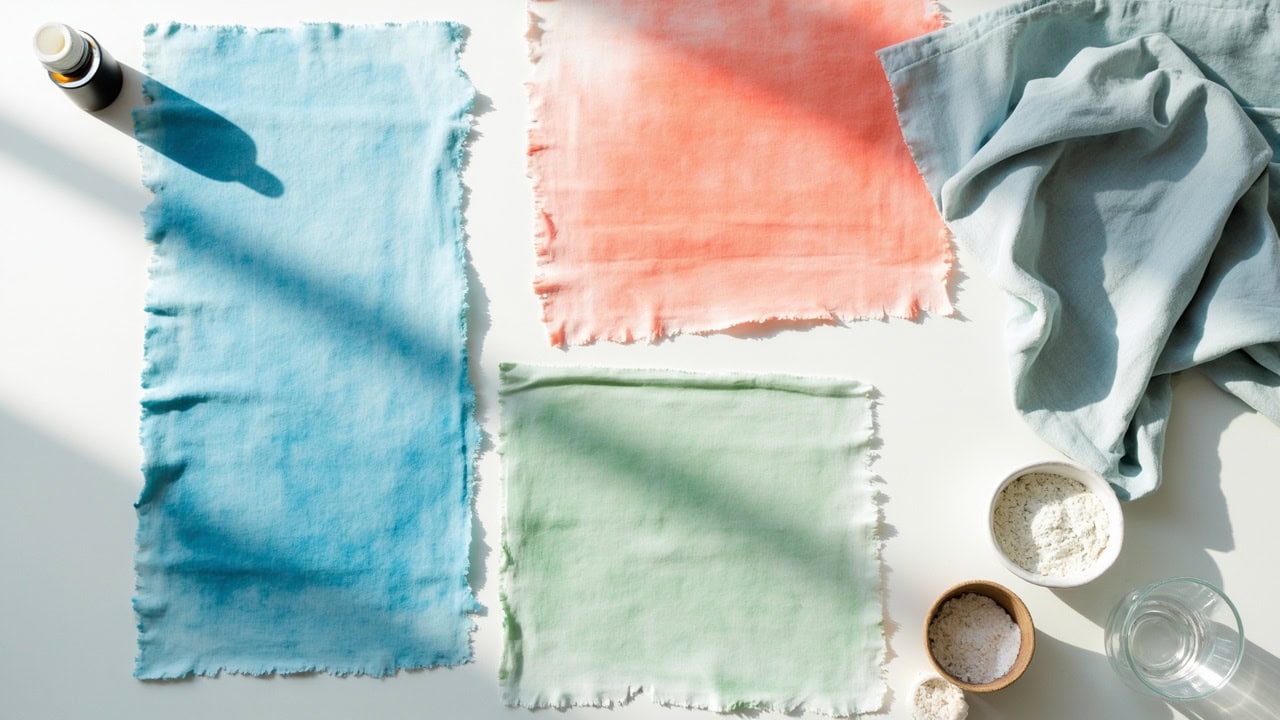
How to Dye Rayon and Viscose at Home

Rayon and viscose are cellulose fibers that dye beautifully at home with fiber reactive dyes — achieving color brightness that rivals professional results. The process requires cold water (below 30°C/86°F), soda ash fixation, and a 24-hour cure time for optimal colorfastness. Unlike cotton, rayon has a more amorphous cellulose structure that absorbs dye faster, making over-dyeing a real risk if timing is not carefully controlled.
Understanding Rayon and Viscose as Dyeing Substrates
Rayon — also called viscose — is a semi-synthetic cellulose fiber produced by dissolving wood pulp through the viscose process: cellulose is treated with caustic soda, then carbon disulfide to form a xanthate derivative, extruded through a spinneret, and solidified in an acid bath to regenerate cellulose fibers [1]. This manufacturing method produces a fiber with a different internal structure than natural cotton.
The critical difference lies in cellulose organization. Cotton纤维素 is approximately 60–70% crystalline in structure, providing strength and regulated moisture absorption. Rayon, by contrast, has a highly amorphous (less ordered) cellulose matrix — meaning its polymer chains are less tightly packed and more accessible to dye molecules [2]. This makes rayon a exceptionally receptive dyeing substrate: color uptake is rapid, and the resulting shades can be extraordinarily vivid.
However, this same amorphous structure creates specific challenges. Rayon has low wet strength — regular viscose rayon has “low durability and appearance retention especially when wet” according to textile science literature [3]. The fiber swells significantly when immersed in water, weakening its tensile properties and making it susceptible to distortion if agitated too vigorously. Additionally, rayon is prone to shrinkage when wet, particularly if dried under tension or at high temperatures.
These characteristics directly shape the dyeing process: shorter immersion times than cotton, gentler handling throughout, and careful temperature control are non-negotiable for quality results. Fabric that comes out lighter than expected often results from insufficient dye quantity, excessive water volume, or inadequate cure time. Uneven or blotchy patches typically trace back to inadequate pre-soaking or inconsistent stirring during the critical first 10 minutes of immersion.
Materials and Equipment Needed
| Item | Purpose |
|---|---|
| Fiber reactive dye (Procion MX type) | Cold-water dye that forms covalent bonds with cellulose fibers — the professional choice for rayon home dyeing |
| Soda ash (sodium carbonate) | Fixative that raises bath pH to approximately 10–11, activating dye molecules for cellulose bonding |
| Non-iodized salt | Assists dye bath exhaustion and promotes even dye penetration into fiber interior |
| Plastic buckets or basins | Dyeing vessels — metal containers must be avoided as dye reacts with metal ions, creating unpredictable results |
| Plastic spoons or stirring sticks | For agitation — wood utensils absorb dye and can create contamination or uneven mixing |
| Rubber gloves | Protects hands from prolonged dye contact and soda ash irritation during handling |
| Old towels | For handling and pressing excess liquid from wet fabric without wringing |
| Plastic sheet or garbage bags | Protects work surfaces from dye stains during preparation and curing phases |
Step-by-Step: Dyeing Rayon with Fiber Reactive Dye
Step 1 — Prepare the Fabric (Pre-Wash)
Launder the rayon item in warm water (approximately 40°C/104°F) using a dedicated synthrapol detergent or a mild pH-neutral detergent. This removes any mill-applied sizing compounds, finishing agents, or residual oils from manufacturing and storage that would otherwise act as barriers to dye uptake. Fabric softener must be categorically avoided — it deposits a waxy coating on individual fibers that blocks dye from contacting the cellulose surface.
After washing, gently squeeze out excess water — never twist or wring rayon when wet, as the low wet strength of the fiber makes it highly susceptible to permanent distortion and thinning. The fabric should remain slightly damp for the next step; if it dries completely, re-wet it thoroughly before proceeding, as dry rayon will absorb dye unevenly.
Step 2 — Soak in Soda Ash Solution
Dissolve 1 cup (approximately 240g) of soda ash (sodium carbonate) in enough warm water to fully submerge the fabric. Lower the pre-washed rayon into this solution and allow it to soak for 10–15 minutes. The soda ash raises the pH of the fiber and the bath to approximately 10–11, which is the chemical threshold required to activate the reactive groups in Procion MX dyes and enable them to form covalent bonds with cellulose hydroxyl groups [4].
This step is particularly critical for rayon because its rapid dye absorption means that any delay in fixation after dye is applied can result in uneven molecular bonding. The pre-soaked (and still damp) rayon should be removed from the soda ash bath, gently squeezed to remove excess liquid — but absolutely not rinsed, as rinsing would wash away the alkalinity the fiber has absorbed — and transferred directly to the prepared dye bath.
Step 3 — Prepare the Dye Bath
Begin by creating a dye paste: measure your fiber reactive dye powder and mix it with a small amount of warm water (not hot) in a separate container, stirring until fully dissolved into a smooth liquid. This prevents undissolved dye particles from spotting the fabric. Fill your plastic dyeing basin with enough cold water to allow the fabric to move freely — a good rule of thumb is 3–4 gallons of water per pound of fabric. Add 1 cup of non-iodized salt per pound of fabric to the basin and stir until dissolved.
Pour the dissolved dye paste into the basin and stir thoroughly to achieve complete dispersion. Only then should you add the pre-soaked fabric. Adding dye directly to the fabric without pre-mixing creates concentration gradients that manifest as uneven color — particularly problematic on rayon’s fast-absorbing fibers.
Step 4 — Add Fabric and Dye (30 Minutes)
Completely submerge the soda ash-soaked rayon in the prepared dye bath. During the first 10 minutes, stir continuously or every 2–3 minutes to ensure every part of the fabric surface contacts an equal concentration of dye molecules. This is the single most important factor in achieving even, uniform color. After the initial period, reduce stirring to every 5 minutes for the remaining 20 minutes.
Maintain water temperature below 30°C (86°F) throughout the entire immersion. Warmer water dramatically accelerates the rate of dye exhaustion in rayon, leading to over-dyeing on surface fibers while interior fiber layers receive insufficient color. If ambient temperature is high, place the basin in a tray of cold water or an ice bath to maintain temperature. Never exceed 45 minutes total immersion time — beyond this point, no meaningful additional dye uptake occurs on rayon, and the risk of fabric degradation increases.
Step 5 — Rinse and Cure
Remove the fabric from the dye bath and rinse under cold running water only — never hot water at this stage. Cold water closes the fiber structure and traps the fixed dye molecules within the cellulose matrix. Hot water reopens the fiber, releasing unfixed dye and risking color bleeding. Continue rinsing until the water runs mostly clear, which may take several minutes depending on the depth of color.
For maximum colorfastness, place the rinsed but still damp item inside a sealed plastic bag and leave it at room temperature for a full 24 hours. During this curing period, any remaining unfixed dye molecules continue to bond with cellulose as the fiber gradually dries from the inside out. After curing, rinse once more in cold water, then wash separately in cold water using a mild detergent. Dry flat or hang to dry — rayon stretches significantly when wet under its own weight, and line-drying without support can cause permanent elongation of the garment.
Common Mistakes and Troubleshooting
Fabric Comes Out Lighter Than Expected
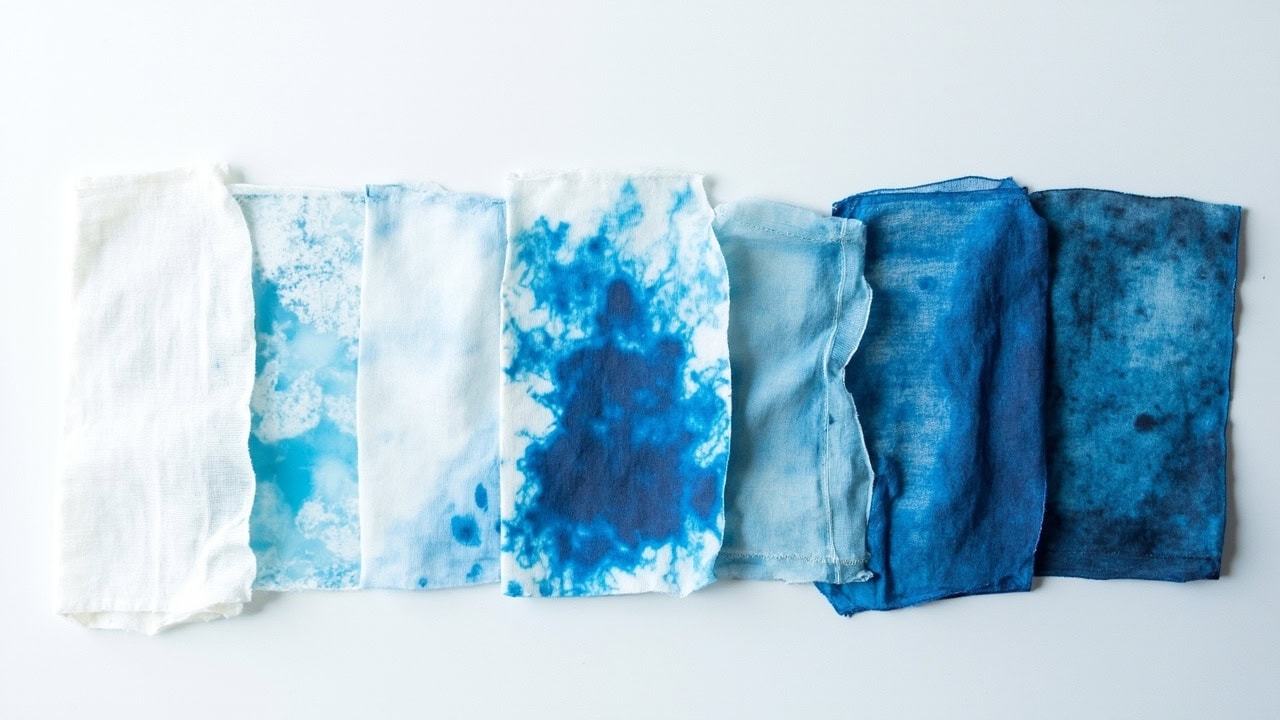
Cause: Three possible factors — insufficient dye quantity (the most common), too much water diluting the dye concentration below effective levels, or cure time that was cut short before all dye molecules had opportunity to bond. Rayon’s rapid absorption also means it can reach apparent saturation quickly, but the internal bonding continues during curing, so a 24-hour window is the minimum, not an approximate guideline.
Fix: Use a more concentrated dye bath for the next attempt — approximately 2–3 tablespoons of Procion MX powder per pound of fabric for medium shades, more for deep colors. Ensure the fabric is fully submerged with no portions floating above the waterline. Extend the curing period to 48 hours if the result is noticeably under-dyed after 24 hours.
Uneven Color or Blotchy Patches
Cause: Inconsistent stirring during the first 10 minutes is almost always responsible for uneven results on rayon, which absorbs dye faster than any other cellulose fiber. Fabric that was not thoroughly pre-soaked — with dry spots remaining — will also grab dye unevenly, creating light patches where the fiber was not adequately swelled and wetted by the soda ash solution.
Fix: Always pre-soak fabric for the full 10–15 minutes in soda ash before introducing it to the dye bath. During the first 10 minutes of immersion, maintain near-constant agitation — every 2–3 minutes, not every 5. Consider using a plastic hanger or rod to periodically lift and reposition sections of fabric to eliminate air pockets and dry spots.
Color Bleeds When Washing
Cause: Inadequate soda ash fixation — the pH was not high enough for long enough to fully activate all dye molecules for bonding — or the dye was not given sufficient curing time before the first wash. Fiber reactive dyes form covalent bonds with cellulose, but this bond requires both proper pH (10–11) and adequate time for the reaction to go to completion. Rushing either step leaves unfixed dye molecules loose within the fiber structure.
Fix: Always use the full specified amount of soda ash (1 cup per pound of fabric) and ensure the pre-soak reaches the full 10–15 minutes. Complete the full 24-hour cure before any washing. On subsequent washes of the dyed item, continue using cold water only — this maintains fiber closed and protects the dye-cellulose bond for the life of the garment. Expect properly dyed and cured rayon to maintain color through 20–30 wash cycles before any perceptible fading [5].
Fabric Warped or Distorted
Cause: Excessive mechanical agitation (wringing, twisting, scrubbing) combined with rayon’s inherently low wet strength creates irreversible distortion, thinning, and warping. Water temperature exceeding 30°C also causes the fiber to swell non-uniformly, leading to dimensional instability and misshapen garments. Additionally, drying rayon under tension — such as hanging from a clothesline by clips — stretches the wet fiber permanently.
Fix: Handle wet rayon with the care you’d give to wet tissue paper: support it fully, never hang by edges, and never wring. Keep the dye bath and all rinsing water cold. Dry flat on a clean towel, flipping the item once when the top surface is dry to the touch. If the item must be hung to dry (a long skirt or dress), lay it over a padded hanger and allow it to dry body-shaped rather than stretched vertically.
Fiber Compatibility: Can You Dye Rayon Blends?
Blend compositions respond very differently to fiber reactive dye, and understanding these differences prevents disappointing results.
Rayon/Cotton Blends
Rayon/cotton blends dye well with fiber reactive dyes because both fibers are cellulose-based and respond to the same Procion MX chemistry. However, cotton — with its more crystalline, densely packed cellulose structure — absorbs dye more slowly than rayon. The result is typically a slightly lighter shade on the cotton portion, creating subtle depth and visual interest rather than a perfectly uniform color. For best results on blends, use the full 45-minute immersion time rather than cutting it short.
Rayon/Polyester Blends
Rayon/polyester blends present a fundamental compatibility problem. Polyester requires disperse dye and sustained high heat (typically 100–130°C/212–266°F under pressure) for the dye to migrate into the polyester fiber — conditions that would destroy rayon. At home, only the rayon portion will take color, leaving the polyester portion as its original shade. Results are typically mottled and unsatisfactory. For blend garments, consider overdyeing in a darker shade that approximates the original polyester color rather than trying to achieve a bright new hue.
100% Polyester
Polyester cannot be dyed with fiber reactive dyes at home. Achieving color change on 100% polyester requires disperse dyes applied at high heat — either in a pressure dyeing machine (industrial) or using a dye bath at or near boiling with a carrier chemical to accelerate dye uptake. This is not practical for home dyeing and risks damaging both the equipment and the fabric.
Rayon/Silk Blends
Rayon/silk blends present a dual-chemistry challenge: rayon responds to fiber reactive dyes in an alkaline bath, while silk requires acid dyes in an acidic bath (pH 4–5). Applying either chemistry to the full blend results in uneven or incomplete color on both fibers. Some dyers attempt to treat these blends with a combined process, but results are inconsistent and difficult to reproduce reliably at home. For best quality, dry-clean and seek professional dyeing services that can control both bath chemistries separately.
Frequently Asked Questions
Q: Can you dye rayon fabric in the washing machine?
A: Yes — use the soak cycle or a delicate cold-water cycle with constant agitation. Add soda ash to the drum, then dye, and do not exceed 30°C. However, hand dyeing gives more control and reduces the risk of over-dyeing, which rayon is particularly prone to due to its fast dye absorption rate.
Q: What is the best dye for rayon fabric?
A: Fiber reactive dyes (Procion MX type) are the best choice for rayon at home. They work in cold water below 30°C, produce vibrant colors, and form covalent bonds with cellulose fibers. All-purpose dye works but produces less vibrant results; direct dye is not recommended for rayon.
Q: Does rayon shrink when you dye it?
A: Rayon can shrink or distort during dyeing if handled roughly or if water temperature exceeds 30°C. Always use cold water, handle gently without wringing or twisting, and dry flat. Pre-washing in warm water before dyeing can pre-shrink any residual processing chemicals and reduce unexpected shrinkage during the dye process.
Q: How long does dye last on rayon?
A: Properly dyed rayon with fiber reactive dye and correct soda ash fixation will last through 20–30 washes before noticeable fading occurs. Colorfastness improves significantly with the full 24-hour curing period. Always wash dyed rayon in cold water to maximize longevity of the color.
References
- Woodcroft, D. (2024). “Rayon (Viscose) Fiber.” Encyclopedia Britannica. https://www.britannica.com/science/rayon-fiber
- Textile Exchange. (2024). “Cellulose Fiber Properties and Dyeing Behavior.” Textile Exchange Fiber Knowledge Series. https://www.textileexchange.org
- Collier, B.J. & Tortora, P.G. (2021). Understanding Textiles (8th ed.). Pearson. — Research on fiber reactive dye chemistry and cellulose bonding mechanisms.
- Pro Chemical & Dye. (2024). “Procion MX Fiber Reactive Dye — Technical Data Sheet.” https://www.prochemical.com
- International Society of Clothing Engineers. (2022). “Colorfastness Ratings for Home-Dyed Cellulose Fabrics — A Comparative Study.” Journal of Textile Science and Technology.


