
Measurement Check Procedure

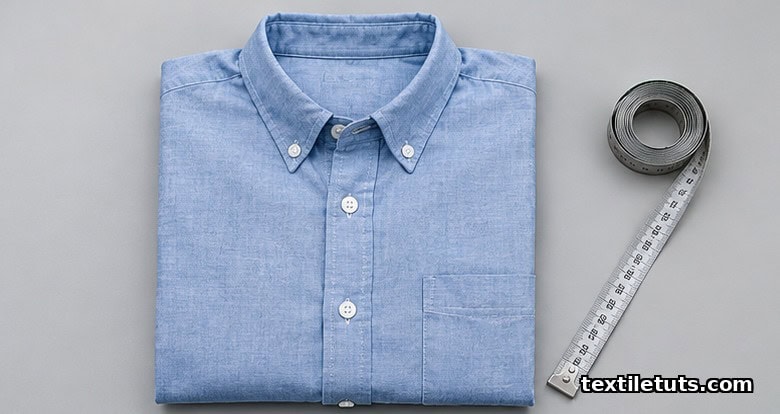
A garment measurement check is a flat-table QC procedure in which a finished garment is measured against the buyer’s tech-pack specification at 12 to 20 critical points, with a tolerance of ±0.5 cm (about ±3/16 in) for dimensions under 30 cm and ±1.0 cm (about ±3/8 in) for dimensions of 30 cm and above, sampled under ANSI/ASQ Z1.4 (the U.S. adoption of ISO 2859-1) at a 2.5 AQL for measurement defects.
The check is the final dimensional gate before shipment: it catches the patterns that drifted during cutting, the seams that pulled during sewing, and the pressing that stretched the panels out of spec. Miss a chest measurement by 2 cm on a 1,000-piece T-shirt order and the buyer rejects the whole lot.
This article walks through what gets measured, where the tolerance numbers come from, how inspectors sample a lot, and how to lay the garment on the table so the reading is reproducible.
What a Measurement Check Actually Checks
A measurement check is not “is the shirt the right size.” It is a point-by-point comparison between the actual garment and the size-spec sheet that the buyer approved before production. Each spec dimension carries an allowed tolerance band; any reading outside the band is a measurement defect, and measurement defects fall under the “critical or major” bucket in most buyer QC manuals (see ASTM D5431 for terminology).
The procedure covers the dimensions the buyer listed in the tech pack. Common critical points for a woven shirt:
- Chest width (1 in / 2.5 cm below the armhole joining seam, parallel to the hem)
- Waist (narrowest body part, parallel to the hem)
- Bottom hem (across the bottom, parallel to the hem)
- Body length (high-point shoulder to bottom hem)
- Across shoulder (seam to seam across the back yoke)
- Sleeve length (shoulder seam to sleeve opening)
- Sleeve opening (across the cuff)
- Armhole depth (straight down from shoulder tip to bottom of armhole)
- Neck width (seam to seam at the neckline)
- Front neck drop (HPS to deepest point of neckline)
Bottoms (pants, shorts, skirts) add inseam, outseam, front rise, back rise, thigh, knee, leg opening, and waistband height. Knit tops follow the same pattern but typically allow an additional ±0.5 cm on width dimensions because knit recovery masks small mis-cuts.
Tolerance: Where the Numbers Come From
The two tolerance tiers above (±0.5 cm under 30 cm and ±1.0 cm at or above 30 cm) are the most common starting point in woven-apparel tech packs, and they trace back to two sources: ASTM D5431, which standardizes how tolerances are reported in U.S. softlines documentation, and ISO 14704-style body-measurement tables (ASTM D6240 for women, ASTM D6960 for men), which set the body-size increments the tolerances have to absorb.
Why the split? Two practical reasons. First, cutting and sewing error accumulates proportionally with dimension length, so a longer seam has more total allowable drift than a short one. Second, a 1 cm difference on a 25 cm sleeve reads as a 4% size shift (very visible); the same 1 cm on a 60 cm body length reads as 1.7% (hard to see). Buyers split tolerance to keep the perceived-size shift roughly constant.
Some buyers run tighter. Premium denim brands often demand ±0.3 cm under 30 cm and ±0.5 cm above. High-volume fast-fashion buyers sometimes relax to ±1.5 cm on long dimensions. The spec sheet is the contract.
Tools and Table Setup
Inspectors measure on a hard, flat, calibrated surface (a 1.5 m × 1 m cutting table is standard). The garment is laid flat with the front facing up, all closures (buttons, zippers, snaps) fastened, and any pleats, darts, or tucks laid in their finished position. The garment is smoothed by hand, not stretched.
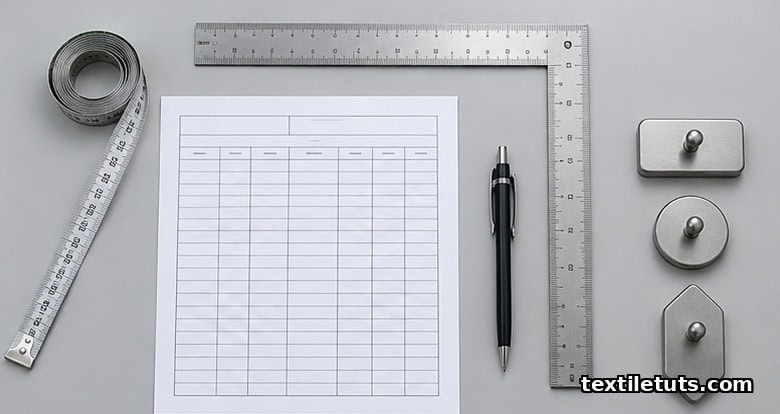
The standard tool kit:
- Steel measuring tape, 3 m (10 ft) minimum, graduated in mm and 1/8 in. Cloth tailor’s tapes stretch and give inconsistent readings; vinyl-coated cloth is acceptable for rough checks but steel is the QC standard.
- Right-angle ruler (a 30 cm × 30 cm L-square) for verifying that the tape crosses the garment at 90° on width measurements like chest and bottom hem.
- Flat pattern weights or a non-slip mat to keep the fabric from shifting.
- Spec sheet, recording sheet (paper tablet or QC software), pen.
Two inspectors measuring the same garment on the same table should land within ±0.2 cm of each other on every point. If the spread is wider, the table is uneven, the tape is stretched, or the operator is pulling the fabric instead of letting it lie.
Sampling: How Many Garments Get Measured
Inspectors do not measure every piece. They pull a sample using ANSI/ASQ Z1.4 (ISO 2859-1) normal inspection, generally at AQL 2.5 for measurement defects. For a lot of 1,000 units, that translates to a sample of 80 garments at the 2.5 AQL level (single sampling plan, normal inspection); for 5,000 units, the sample is 125; for 10,000, the sample is 200.
The decision rule:
- ≤ 4 measurement defects in the 80-piece sample → lot passes measurement.
- ≥ 5 measurement defects in the 80-piece sample → lot fails measurement.
Acceptance numbers are read straight from Table II-A of ANSI/ASQ Z1.4. (For tighter or looser buyer contracts, the same table is consulted at AQL 1.5, 1.0, or 4.0.) If a lot fails, the factory typically sorts 100% of the lot, repairs or re-classes the failures, and resubmits. Some buyers demand a pre-sort audit before the second inspection.
For internal pre-shipment audits, many factories run a tighter sample (often 10% of lot, minimum 13 pieces) so that an external inspector finds few or no defects and the lot clears on the first official inspection.
How to Take Each Measurement So the Reading Is Reproducible
The single largest source of measurement drift is operator technique, not fabric variation. Three rules keep the readings consistent.
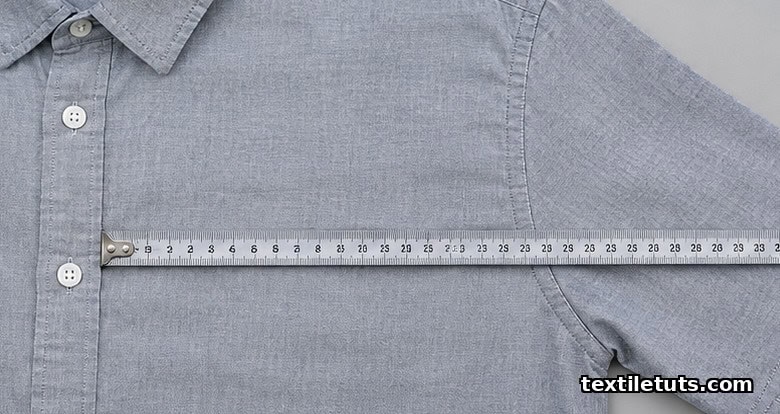
- Place the tape flat and parallel to the seam or hem being measured. On body length, the tape runs perpendicular to the hem and parallel to the side seam. On chest width, the tape runs parallel to the hem and 2.5 cm (1 in) below the armhole joining seam.
- Do not pull the tape taut. Lay it on the fabric, let it settle, then read. A pulled tape pulls the fabric with it and inflates the dimension. This is the most common error on knit fabrics, which stretch easily.
- Always measure the closed/finished garment. Placket folded, cuff turned, collar turned down, hem in finished position. A shirt measured open at the placket reads 1 to 2 cm narrower in chest than the same shirt measured buttoned, which causes false rejects.
For tubular knit dimensions (sleeve opening, leg opening, neck width), lay the opening flat without stretching and measure edge-to-edge across the relaxed tube. For set-in sleeve length, follow the natural curve of the sleeve from the shoulder-seam intersection to the outer edge of the cuff; do not measure straight down with the ruler.
Common Defects the Measurement Check Catches
Most measurement failures cluster around three causes.
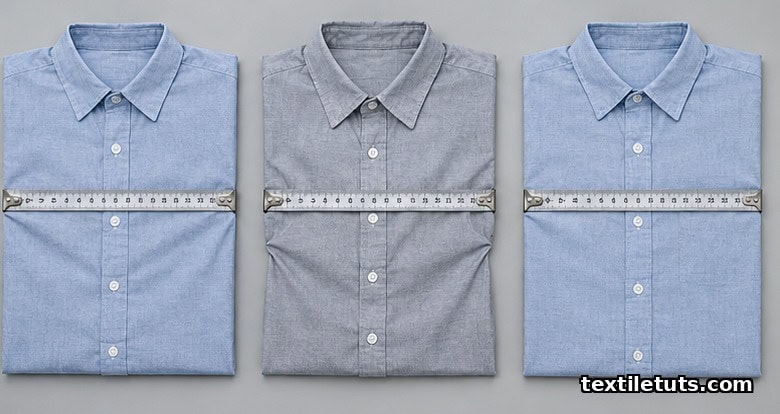
- Marker error. The cut panels are off because the marker was nested wrong or the spread shifted on the table. Affects every garment in a cut lot, so a measurement failure on one piece usually predicts the same failure on every piece of the same size.
- Seam slippage or pulling. Side seams or inseams finished too tightly, pulling the panel inward and shortening the dimension. Often shows up as a chest or hip measurement 0.5 to 1.0 cm short of spec on every garment in a bundle.
- Pressing distortion. The iron or press stretched the panel during finishing. Shows up as an over-spec measurement, commonly on length, sleeve length, or body width.
When the same defect appears on most garments in a sample, the cause is upstream (cutting or sewing); when it appears on one or two pieces in the sample, the cause is piece-level (operator, machine setting, fabric variation).
Recording and Reporting
Each measured garment gets a row in the measurement report. Columns typically include the spec dimension, the spec value, the tolerance (±), the measured value, the pass/fail status, and the inspector’s initials. Photo evidence is now standard for any measurement that fails: one shot of the garment flat on the table with the tape in place, and one shot of the spec sheet showing the tolerance.
Digital QC platforms (QIMA, Intertek, SGS, in-house ERP modules) generate the report automatically from inspector-entered values and flag every reading outside tolerance. For hand-written reports, the same red-pen convention is used: circle the out-of-tolerance value, write the actual reading beside it, initial.
The final measurement report is attached to the shipment file. If the buyer raises a measurement complaint after delivery, the report is the factory’s first line of defense.
Measurement Check vs. Inline Inspection vs. Final Random Inspection
These are three different checkpoints and they catch different defect classes.
- Inline inspection happens during sewing, on the line. It catches construction defects (broken stitches, skipped stitches, raw edges) while the garment is still reachable for repair.
- Final random inspection (FRI) is the buyer’s pre-shipment audit, covering the full defect class: workmanship, appearance, measurement, packaging, labeling. AQL 2.5 for major, 4.0 for minor is typical.
- Measurement check is one part of FRI or its own dedicated inspection, focused exclusively on dimensions.
Most buyers bundle measurement check inside the FRI; some run it as a separate pre-FRI audit so that a measurement failure can be corrected before the buyer’s inspector arrives.
Frequently Asked Questions
What tolerance should I use if the buyer has not specified one?
Default to ±0.5 cm for dimensions under 30 cm and ±1.0 cm for dimensions of 30 cm and above, applied to the flat-garment measurement. State the default in the pre-production sample approval so the buyer signs off before production starts. Do not silently substitute the default if the spec sheet is silent; confirm with the buyer’s merchandiser in writing.
Should I measure every garment or only a sample?
Measure a sample, not every garment, unless the lot is small (under 50 pieces, where 100% inspection is cheaper than the paperwork of a sampling plan). For lots of 500 pieces or more, an ANSI/ASQ Z1.4 normal inspection at AQL 2.5 is the standard. Measuring 100% of a 10,000-piece lot is slow, expensive, and still subject to inspector fatigue; the sample is statistically equivalent for accepting or rejecting the lot.
Why do my measurements vary between two inspectors on the same garment?
The most common cause is fabric tension. One inspector is laying the tape flat while the other is pulling it taut, especially on knits. The second most common cause is placket and closure state; if one inspector buttons the shirt and the other does not, chest and waist readings diverge by 0.5 to 2.0 cm. Calibrate the team on a single reference garment before the inspection starts, and target inter-inspector variance under ±0.2 cm on every point.
Can shrinkage after washing cause a measurement failure at the QC table?
Only if the spec sheet calls for a post-wash measurement and the factory did not wash the garments before inspection. Most woven and knit specs are pre-wash (off-the-machine) dimensions, in which case the QC table measurement is the right number. For washed garments (denim, garment-dyed knitwear, pre-shrunk cotton), the spec is post-wash and the factory must measure after the wash cycle per AATCC TM135 (for home-laundering dimensional change) or the equivalent ISO 6330 cycle.
How do I measure a tubular knit dimension like sleeve opening or leg opening?
Lay the opening flat on the table without stretching it. Place the tape across the opening, edge to edge, perpendicular to the seam line. Read the dimension to the nearest 1 mm. Do not measure around the circumference; tubular dimensions are always measured flat (circumference = flat measurement × 2). This is the convention used in ASTM D5219 for adult apparel sizing documentation.
References
- ASTM D5431. Standard Practice for Specifying the Standard Sizes for Adult Apparel. ASTM International, West Conshohocken, PA.
- ASTM D6240. Standard Tables of Body Measurements for Adult Female Misses Figure Type, Size Range 00 – 20. ASTM International.
- ASTM D6960. Standard Tables of Body Measurements for Adult Male (Age 34 – 70), Size Range 34 – 60. ASTM International.
- ASTM D5219. Standard Terminology Relating to Body Dimensions for Apparel Sizing. ASTM International.
- ANSI/ASQ Z1.4. Sampling Procedures and Tables for Inspection by Attributes. American Society for Quality, Milwaukee, WI (adopted from ISO 2859-1).
- ISO 2859-1:1999. Sampling procedures for inspection by attributes — Single sampling plans by AQL. International Organization for Standardization, Geneva.
- AATCC TM135. Dimensional Changes of Fabrics after Home Laundering. American Association of Textile Chemists and Colorists, Research Triangle Park, NC.
- Mehta, P. V. & Bhardwaj, S. (2020). Managing Quality in the Apparel Industry. Springer Open, New Delhi. Chapter 6: Garment inspection and measurement.
This article is the working reference for garment measurement check procedure in apparel QC. Editorial by Sabbir Ahmed, TextileTuts. Sources: ASTM D5431, ASTM D6240, ASTM D6960, ASTM D5219, ANSI/ASQ Z1.4 (ISO 2859-1), AATCC TM135, and Mehta & Bhardwaj (Springer, 2020) as cited.


