
How to Fix Uneven Tie Dye: Problems, Causes, and Solutions

Frequently Asked Questions
Q: Can you fix tie dye that turned out uneven?
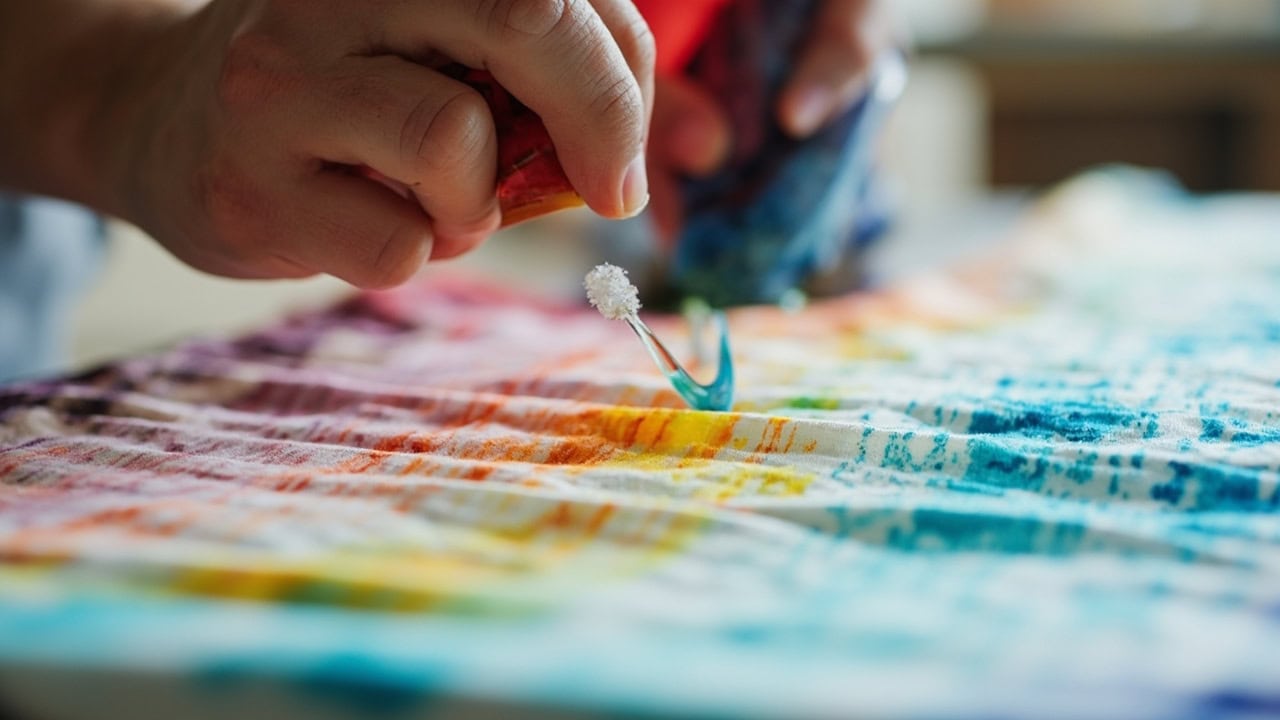
A: Yes — uneven tie dye can be fixed by spot re-dyeing light areas with concentrated dye applied directly via squeeze bottle, or by over-dyeing the entire piece with a darker shade. Both methods restore even color coverage with minimal risk to the original design.
Q: Why did my tie dye come out blotchy and uneven?
A: Blotchy tie dye results from inconsistent dye saturation — either insufficient dye concentration in some areas, uneven folding tension allowing more dye into loosely bound areas, or fabric that was not properly pre-soaked in soda ash solution. The most common cause is not using enough dye or not ensuring all exposed fabric surfaces received equal dye application.
Q: Can you use regular fabric dye to fix tie dye?
A: Yes — any fabric dye compatible with your fabric type works for fixing tie dye. For cotton and natural fibers, fiber-reactive dyes (like Procion MX) are best. For polyester, you need disperse dye with heat setting. For spot fixes, mixing dye at double concentration produces the strongest color correction.
Q: How do you prevent tie dye from fading unevenly after washing?
A: Uneven fading typically results from improper dye fixation. Always rinse tie dye in cold water until runs clear, then wash separately in mild detergent for the first 3–4 washes. Avoid bleach and harsh detergents. Hand washing in cold water extends color life significantly compared to machine washing.
Uneven tie dye results occur when dye saturation is inconsistent across the fabric — caused by insufficient dye concentration in certain areas, uneven folding tension, or improper fiber preparation before dyeing. Fixing light spots requires re-applying concentrated dye directly to uncolored areas with a squeeze bottle or spray bottle technique, while prevention focuses on consistent dye saturation, proper binding tightness, and pre-soaking fabric in soda ash solution for full color uptake.
The two most effective methods for correcting uneven tie dye are spot re-dyeing with concentrated dye for isolated light areas, and over-dyeing with a darker shade for more widespread inconsistencies. Both approaches are straightforward enough for first-time dyers to execute at home using standard tie dye supplies.
What Causes Uneven Tie Dye Results
Understanding why tie dye fails is the first step toward preventing and fixing it. Uneven results stem from several distinct root causes, most of which relate to how dye interacts with fabric during the application and setting phases.
Inconsistent dye saturation is the primary culprit in most uneven tie dye projects. Some areas receive more dye than others, either because the dye was applied unevenly or because certain parts of the bound fabric were shielded from the dye solution. Fiber-reactive dyes like Procion MX work by chemically bonding with cellulose fibers, but this reaction can only occur where dye is physically present — if a folded section restricts flow or a tightly bound area prevents dye from reaching the fabric, those zones remain light or uncolored.
Uneven folding tension creates a related problem. Loosely bound sections absorb more dye because the fabric is less compressed and more surface area is exposed. Tightly bound areas — where rubber bands compress the fabric aggressively — block dye penetration entirely, creating sharp boundaries between heavily saturated and completely uncolored zones. This is why consistent, uniform binding tension throughout the entire piece is critical to even results.
Fabric not properly pre-soaked in soda ash solution undermines the dye-fabric chemical bond. Fiber-reactive dyes require an alkaline environment (pH 10–11) to form covalent bonds with cellulose fibers. Without soda ash (sodium carbonate) pre-treatment, dye molecules sit on the fiber surface rather than bonding, leading to poor uptake in some areas and uneven color development. According to standard textile dyeing practice, fabric should soak in soda ash solution for 20–30 minutes before dye application to ensure full, even color uptake.
Dye mixed with insufficient water produces a second common failure mode: areas with adequate dye concentration take up color normally, while other areas receive a diluted solution that produces muted, washed-out tones. Mixing dye with warm (not hot) water at the proper ratio ensures complete dissolution and uniform application. Cold water prevents dye crystals from fully dissolving, leaving concentrated pockets that produce spotty results.
Using cold water instead of warm dye solution is particularly problematic with fiber-reactive dyes, which have an optimal reaction temperature range of 70–85°F (21–29°C). Below this range, dye solubility decreases significantly, and the chemical reaction between dye and fiber slows or stops entirely. This is why professional dyers recommend mixing fiber-reactive dyes with warm water and working in a room-temperature environment above 70°F.
Fabric partially drying during the dyeing process causes color fading and uneven saturation because once fiber-reactive dye begins to bond with fabric, any moisture loss interrupts the reaction. Partially dry sections stop accepting dye while wet sections continue absorbing, creating a mottled appearance with sharp transitions between saturated and faded zones. Keeping fabric consistently damp during the entire setting period — typically 6–24 hours — is essential for uniform color development.
Overcrowding in the dye bath blocks dye from reaching fabric surfaces that are pressed against each other or against the container walls. When fabric pieces touch during submersion dyeing, the contact points prevent dye solution from circulating, creating light spots that receive no color. This is especially problematic with larger items like t-shirts, where folded sections or layered fabric can shield interior surfaces from dye contact.
Materials Needed for Fixing Uneven Tie Dye
Before beginning any correction method, gather all necessary supplies. Having everything on hand prevents interruptions during the re-dyeing process, which is critical because fiber-reactive dyes begin reacting as soon as they contact pre-treated fabric.
- Fabric dye (same color family or darker shade for over-dyeing) — fiber-reactive dye like Procion MX for natural fibers, disperse dye for polyester
- Soda ash (sodium carbonate) — 1 cup per gallon of water for pre-soak solution, 1 teaspoon per squeeze bottle for touch-up mixture
- Squeeze bottles or spray bottles — narrow nozzle squeeze bottles for precision spot work, spray bottles for broader coverage
- Plastic gloves — essential for protecting hands from dye during application
- Plastic wrap — to cover fabric and maintain moisture during the setting period
- Old towels or plastic sheet — to protect work surfaces from dye stains
- Measuring cups and spoons — for accurate dye-to-water ratios
- Rubber bands or string — for re-binding fabric if new folding patterns are needed
Method 1: Spot Re-Dyeing Light Areas (Concentrated Dye Application)
Spot re-dyeing is the preferred method when specific light areas need correction but the rest of the piece has acceptable color saturation. This technique uses concentrated dye applied directly to problem spots, allowing precise correction without re-dyeing the entire garment.
Step 1: Prepare the Fabric
Wash the dyed fabric thoroughly in cold water to remove any unfixed dye residue — loose dye molecules that haven’t bonded to the fiber will continue to release and could dilute or contaminate the new dye application. Lay the fabric flat on a protected work surface covered with old towels or a plastic sheet. Identify and mentally map each light spot that requires additional color, noting the approximate size of each area so you can estimate how much concentrated dye solution to prepare.
Step 2: Mix Concentrated Dye Solution
Mix a small batch of dye at double the normal concentration — approximately 2 tablespoons of dye powder per 1 cup (8 fl oz) of warm water. Use warm water at 85–95°F (29–35°C) to ensure the dye crystals dissolve completely; undissolved dye particles will produce spotty results rather than uniform color. Add 1 teaspoon of soda ash to the mixture for fiber-reactive dyes — this maintains the alkaline pH necessary for the dye-fiber bonding reaction to continue. Mix thoroughly until no sediment remains at the bottom of the container.
For a typical touch-up covering several small light spots, you will need approximately 4–6 fluid ounces of concentrated dye solution. Prepare only what you expect to use within 2–3 hours; fiber-reactive dye solutions begin losing potency after 4–6 hours at room temperature and become significantly weaker after 24 hours.
Step 3: Apply Dye Directly to Light Spots
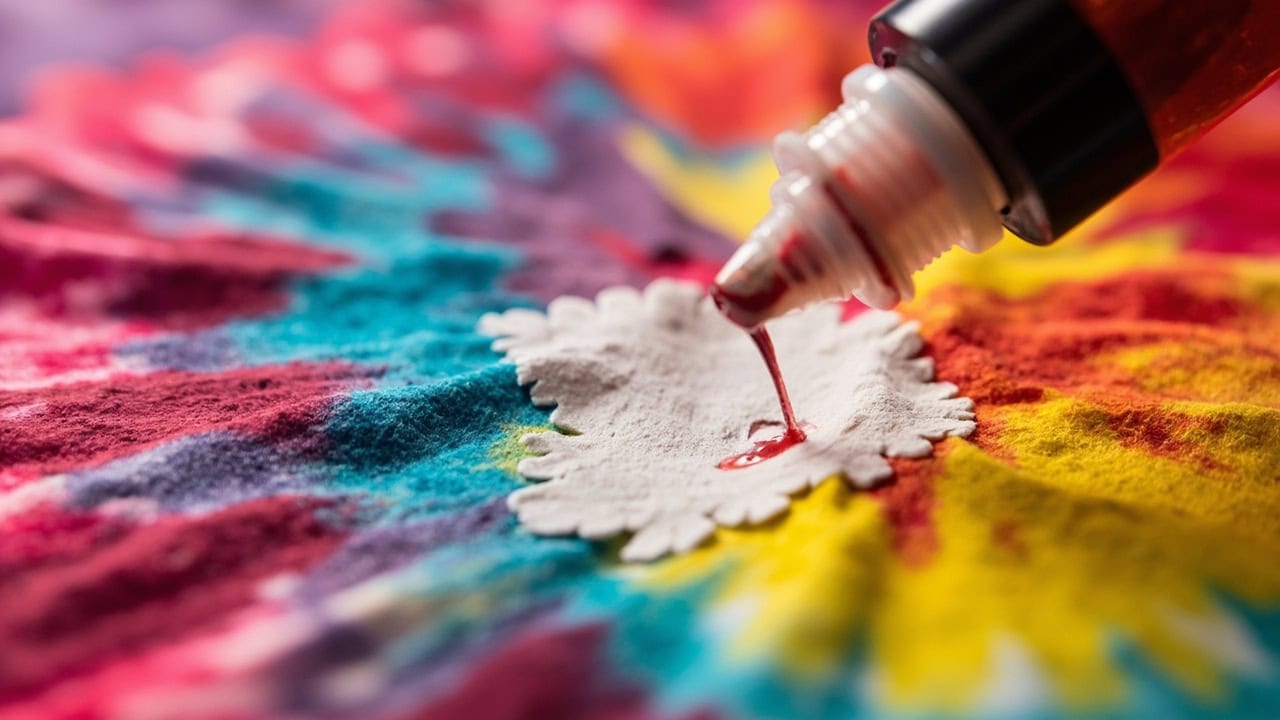
Fill a squeeze bottle with the concentrated dye solution. Apply dye precisely onto each light area, working from the center of the spot outward in a slow, controlled stream. Slightly overlap the existing color boundary by approximately 1/4 inch — this ensures the new dye blends seamlessly with the surrounding area rather than creating a visible hard edge. For larger uneven areas that exceed the reach of a squeeze bottle, use a spray bottle set to a fine mist and apply in multiple light coats, allowing each coat to absorb before applying the next.
Step 4: Cover and Let Set
After applying dye to all light spots, wrap the fabric loosely in plastic wrap to prevent moisture loss during the setting period. Allow the piece to set for 6–24 hours at room temperature (70–85°F / 21–29°C). Longer setting times produce deeper, more permanent color bonds. After the setting period, rinse the fabric thoroughly in cold water — continue rinsing until the water runs completely clear, which indicates all unfixed dye has been removed. Finally, wash the garment alone in cold water with a mild detergent to remove any residual soda ash and unreacted dye.
Method 2: Over-Dyeing with Darker Shade (Full Coverage Fix)
Over-dyeing provides a complete refresh when the original tie dye has widespread unevenness that would require excessive spot re-dyeing. By applying a darker shade over the entire piece, you create uniform color coverage that masks all previous inconsistencies in a single process.
Step 1: Select the Appropriate Darker Color
Choose a darker shade in the same color family as the original tie dye for the most natural-looking result — a faded coral becomes deep red, a washed-out turquoise becomes navy. For maximum color correction versatility, black over-dye works effectively over any vibrant color to even out inconsistencies while preserving the original pattern shapes. Navy creates excellent results over blue-based palettes; burgundy works well for red and pink tones.
If you want to preserve more of the original pattern, select a darker shade in a complementary or analogous color rather than black. The key principle is that the new dye must be darker than the lightest areas of the original tie dye — lighter dyes cannot effectively cover darker spots.
Step 2: Prepare Fabric for Over-Dyeing
Wash the original tie dye thoroughly in cold water to remove any loose, unfixed dye molecules. This prevents the old dye from releasing into the new dye bath and muddying the final color. Dampen the fabric slightly — it should be moist but not soaking wet — because moisture helps the new dye spread and absorb evenly across the fabric surface. Completely dry fabric repels dye application unevenly, while overly wet fabric dilutes the dye concentration.
Step 3: Apply Over-Dye Evenly
For smaller items like t-shirts, submerge the garment entirely in a dye bath prepared in a bucket or large container. Agitate the fabric periodically to ensure all surfaces receive equal dye exposure. For larger items or when a more controlled application is desired, apply dye using squeeze bottles in long, sweeping motions, working quickly to maintain a wet edge and prevent banding lines where the dye was applied. Ensure dye reaches all areas, paying special attention to previously light spots by pressing the dye solution directly into those areas with gloved fingers. For a layered visual effect, you can combine over-dyeing with new folding patterns — this creates a new tie dye design over the old one rather than simply darkening the existing pattern.
Step 4: Set and Rinse
Allow the over-dye to set for a minimum of 4–6 hours for immediate color development, or 24 hours for fiber-reactive dyes to achieve maximum colorfastness and wash durability. Rinse in cold water initially, then continue until the water runs clear — this may take 5–10 minutes of continuous rinsing for heavily dyed items. Wash the garment separately in cold water with mild detergent; do not machine wash with other laundry for the first 3–4 washes to prevent dye bleeding onto other items.
Preventing Future Uneven Tie Dye Results
Prevention eliminates the need for correction by addressing root causes before they produce uneven results. Three interconnected factors determine success: binding technique, dye saturation method, and fabric preparation. Neglecting any one of these leads to inconsistent outcomes regardless of how well the other two are executed.
Proper Folding and Binding Technique
Fold fabric in even, consistent layers using the same motions for each section of the piece. Apply rubber bands with uniform tightness throughout — the goal is sufficient compression to create clean resist boundaries, not maximum pressure. Test binding tightness by ensuring rubber bands do not slip off easily but can still be removed with moderate effort without tearing the fabric.
When creating multi-color designs, alternate binding patterns methodically to ensure each color section receives equal dye. Keep a mental or written record of which areas will receive which colors to avoid missed sections or accidental double-dyeing that produces muddy tones. For symmetrical patterns, use a measuring tape to mark fold lines before folding to ensure both sides of the fabric are folded identically.
Complete Dye Saturation Method
Use warm water at 85–95°F (29–35°C) to dissolve dye fully before application — this is especially important for powdered fiber-reactive dyes, which require warmth to go into complete solution. Apply dye in multiple thin coats rather than one heavy application, because thin coats penetrate fibers more evenly and reduce the risk of pools forming in folded crevices. Between coats, flip and rotate the bound fabric to ensure all exposed surfaces receive dye — sections facing downward against a work surface will not receive dye unless repositioned.
After the initial dye application, squeeze dye into crevices and tightly folded areas using gloved fingers, working from the outside of the bound bundle toward the center. This pushes dye into areas that may have been missed during initial application and ensures all exposed fabric is thoroughly saturated. The fabric should be thoroughly wet throughout the entire bound bundle — if any dry spots are visible, re-apply dye immediately.
Fabric Preparation (Critical Step)
Always pre-soak fabric in soda ash solution before applying fiber-reactive dye — this is the single most impactful step for achieving even, permanent color results. The standard solution is 1 cup of soda ash (sodium carbonate) per gallon of water, with fabric soaking for 20–30 minutes. Wring out excess solution but do not rinse the fabric afterward — the alkaline residue on the fabric surface is what enables the dye-fiber chemical bond to form.
Use freshly mixed dye solution for each project. Fiber-reactive dye solutions lose potency significantly after 24 hours at room temperature, and the reaction rate decreases further when stored at cooler temperatures. Mixing dye immediately before use ensures maximum color yield and even saturation across the entire fabric surface.
Pre-wash all fabric before pre-soaking to remove sizing, fabric finishes, oils from manufacturing, and any accumulated dirt or debris. These contaminants act as barriers between the dye and the fiber, creating inconsistent color uptake and uneven results even in otherwise perfectly executed tie dye projects.
Fiber Compatibility for Tie Dye
Different fabric fibers respond dramatically differently to tie dye processes, and fiber type directly determines which dye chemistry is required and how easily even saturation can be achieved. Selecting the right fabric-dye combination eliminates one of the major variables that causes uneven results.
| Fiber Type | Dye Type Required | Even Saturation Ease | Notes |
|---|---|---|---|
| Cotton | Fiber-reactive | Moderate | Requires soda ash pre-soak for proper bond formation |
| Linen | Fiber-reactive | Moderate | Similar behavior to cotton; absorbs dye readily |
| Rayon/Viscose | Fiber-reactive | Easy | Absorbs dye readily due to high absorbency |
| Silk | Acid dye | Moderate | Requires gentle handling; hot water needed for dyeing |
| Wool | Acid dye | Difficult | Hot water needed; fabric can shrink if handled roughly |
| Polyester | Disperse dye | Difficult | Requires heat setting at 200°F (93°C) minimum; must be pressed or steamed |
| Nylon | Acid dye | Easy | Takes dye readily; responds to acid dyes at lower temperatures |
Natural fibers — cotton, linen, and rayon — achieve the most even tie dye results when paired with fiber-reactive dyes and proper soda ash pre-treatment. These fibers have hydroxyl groups that form strong covalent bonds with fiber-reactive dye molecules, producing bright, washfast colors that resist fading.
Synthetic fibers present significantly greater challenges. Polyester requires disperse dyes activated by heat at 200°F (93°C) or higher, making even saturation difficult to achieve without specialized equipment like a dye vat or heat press. Nylon, while synthetic, responds well to acid dyes at moderate temperatures and produces excellent, even color uptake — it behaves more like natural fibers than like polyester in the dye bath.
Wool is particularly sensitive to temperature shock and mechanical agitation, which cause felting and shrinkage. If tie dyeing wool, use warm (not hot) water, handle gently, and expect more variability in results compared to cotton or linen. Silk tolerates higher temperatures and produces rich, deep colors with acid dyes, though the fabric requires careful handling to maintain its luster and drape.
Frequently Asked Questions
Q: Can you fix tie dye that turned out uneven?
Yes — uneven tie dye can be fixed by spot re-dyeing light areas with concentrated dye applied directly via squeeze bottle, or by over-dyeing the entire piece with a darker shade. Both methods restore even color coverage with minimal risk to the original design. Spot re-dyeing is ideal for isolated light spots; over-dyeing is better for widespread inconsistencies. Both methods require the same fabric preparation and setting procedures as the original dye job.
Q: Why did my tie dye come out blotchy and uneven?
Blotchy tie dye results from inconsistent dye saturation — either insufficient dye concentration in some areas, uneven folding tension allowing more dye into loosely bound areas, or fabric that was not properly pre-soaked in soda ash solution. The most common cause is not using enough dye or not ensuring all exposed fabric surfaces received equal dye application. Even experienced dyers encounter this issue when binding tension varies across the fabric bundle or when dye solution is applied too quickly to allow full absorption.
Q: Can you use regular fabric dye to fix tie dye?
Yes — any fabric dye compatible with your fabric type works for fixing tie dye. For cotton and natural fibers, fiber-reactive dyes (like Procion MX) are the standard choice and produce the most washfast, vibrant results. For polyester, you need disperse dye with heat setting at 200°F (93°C) or higher. For spot fixes, mixing dye at double the normal concentration produces the strongest color correction — approximately 2 tablespoons dye powder per cup of warm water with 1 teaspoon soda ash added.
Q: How do you prevent tie dye from fading unevenly after washing?
Uneven fading typically results from improper dye fixation — either insufficient setting time, incorrect water temperature during rinsing, or inadequate pre-soaking in soda ash solution before dyeing. Always rinse tie dye in cold water until runs clear, then wash separately in mild detergent for the first 3–4 washes to prevent dye bleeding onto other garments. Avoid bleach and harsh detergents, which break down dye molecules and accelerate fading. Hand washing in cold water extends color life significantly compared to machine washing, which subjects fabric to mechanical agitation that loosens weakly bonded dye molecules.
References
- Jacquard Products. (2024). Procion MX Fiber-Reactive Dyes: Technical Data Sheet. Jacquard.
- ASTM International. (2023). ASTM D1230-23: Standard Test Method for Determination of Colorfastness of dyed Textiles. ASTM International.
- American Association of Textile Chemists and Colorists. (2022). AATCC Evaluation Procedure 11: Colorfastness to Laundering. AATCC.
- Cotton Incorporated. (2024). Dyeing Procedures for Cotton Fibers: Technical Guidelines. Cotton Incorporated.
- Textile Exchange. (2023). Responsible Dyeing Methodology: Fiber-Reactive Dye Best Practices. Textile Exchange.


