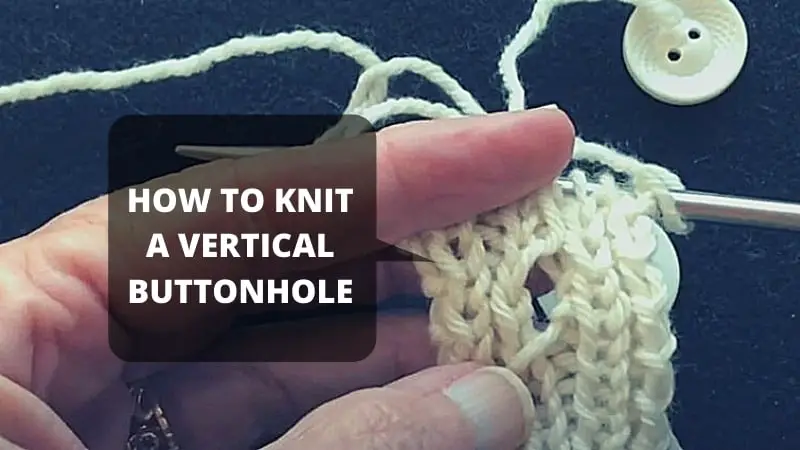
How To Knit A Vertical Buttonhole?
To knit a vertical buttonhole in rib fabric: cast on an even number of stitches in 1×1 rib, position a purl bump at your button centerline, then work an increase row (purl through front and back) to create vertical edges. Continue ribbing around the increased stitches while maintaining a purl channel for the button opening, working 8–10 rows for a 12mm button, then close by knitting two stitches together at the top. This technique preserves the rib pattern’s structural integrity while creating a stretchy, durable opening.
The vertical buttonhole differs from horizontal versions by running parallel to the rib stretch, which provides superior recovery on fitted garments that undergo frequent buttoning. It works best on 1×1 or 2×2 rib bands, and the Craft Yarn Council recommends needles US 7–8 (4.5–5.0mm) for worsted-weight yarn with a gauge of 20–22 stitches per 10cm.
This tutorial covers the complete step-by-step process, yarn weight adjustments, and pattern variations so you can adapt the technique to any project.
Vertical Buttonhole: Step-by-Step Process
Quick-Reference: Yarn Weight & Needle Specifications
| Yarn Weight (Category) | Needle Size (US) | Stitches per 10cm | Row Multiplier for Buttonhole |
|---|---|---|---|
| Lace (0) | 000–1 (1.5–2.25mm) | 32–40 | 1.5× standard |
| Fingering (1) | 1–3 (2.25–3.25mm) | 28–32 | 1.25× standard |
| Worsted (4) | 7–8 (4.5–5.0mm) | 20–22 | 1× standard |
| Bulky (6) | 10–11 (6.0–8.0mm) | 12–16 | 0.75× standard |
Standard row counts: 8–10 rows for a 12mm button, 14–18 rows for a 20mm button. Adjust proportionally based on your actual gauge.

Step 1: Establish the 1×1 Rib Pattern
Begin by casting on an even number of stitches to establish a 1×1 rib pattern. The buttonhole position must align with the center of the button band before you start. Standard button band widths range from 1.5cm (0.6in) for lightweight garments to 3.8cm (1.5in) for heavier outerwear.
Work in 1×1 rib until the piece reaches the desired length for your button placement. End the row with a knit stitch. Position the purl bump precisely at the center of the button band—this becomes your vertical centerline for the buttonhole.
For standard worsted-weight projects, a typical button band contains 12–16 rows of ribbing. The purl stitch at the center creates the foundation for the vertical opening. Reference our tutorial on how to knit a buttonhole in rib for foundational ribbing techniques.
Step 2: Increase One Stitch with Purl
On the next row, increase one stitch into the purl position. Purl through the front and back of the stitch to create the increase. This creates a purl bump on each side of the centerline, forming the vertical edges of your buttonhole.
For 2×2 rib or seed stitch bands, the natural texture distribution means no additional increases are required—the stitch definition already provides the necessary edge stability.
Step 3: Continue Rib Pattern to Row End
Complete the row by working the 1×1 rib pattern to the final stitch. Maintain consistent tension throughout—this ensures the buttonhole edges remain even. The pattern must reach the finishing edge without interruption.
Step 4: Work the Second Row with Increased Stitches
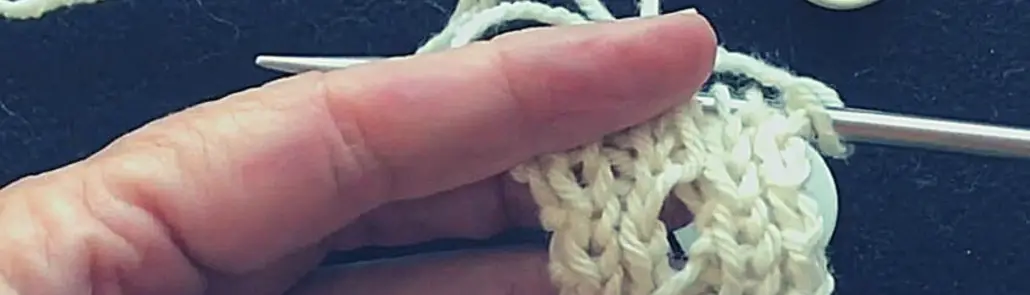
On the following row, work the increased stitches using the same technique. After completing the increases, you will notice two purl bumps positioned symmetrically on each side of the centerline. These purl sections create the vertical channel that forms the buttonhole.
Step 5: Form the Rib Pattern Around the Increased Stitches
Knit the two increased stitches while maintaining the purl stitches on each side. This creates a clean vertical opening. The purl stitches on either side of the opening should measure approximately 3–4mm in width to accommodate standard flat buttons ranging from 10mm to 15mm in diameter.
For heavier yarns such as chunky-weight (Category 5), adjust your needle size to US 9–11 (5.5–8.0mm) to maintain proper gauge. The increased stitch technique remains consistent, but row gauge may require 6–8 rows to achieve the same buttonhole height as finer weight yarns.
Step 6: Attach Second Yarn and Continue Knitting
After completing the second row, attach a second ball of yarn at the buttonhole edge. Begin knitting the second knit stitch and continue in your chosen rib pattern. Work all stitches to the row’s finishing edge.
The second yarn creates a parallel track of ribbing alongside the buttonhole opening. This technique allows the buttonhole to be worked in any rib pattern—1×1, 2×2, or seed stitch—without disrupting the existing garment structure.
Step 7: Repeat Rows to Desired Buttonhole Length
Repeat the process for row 3, maintaining consistent tension and stitch placement. The number of rows required depends directly on button diameter. For a standard 12mm button, work approximately 8–10 rows. For a larger 20mm button, allocate 14–18 rows minimum.
For reference, medium-weight worsted yarn typically produces approximately 28–32 rows per 10cm in rib pattern. Adjust your row count proportionally based on your actual gauge measurement.
Step 8: Close the Buttonhole
The closing row requires knitting two stitches at the top of the buttonhole, then purling those two stitches together. This decrease closes the opening while maintaining the rib pattern’s continuity. The closing technique prevents unraveling and creates a clean finished edge.
Standard buttonhole reinforcement involves working 2–3 rows of horizontal stitching across the top before closing. This creates a reinforced edge that resists stretching under stress—particularly important for frequently-used garment buttons.
Pattern Variations for Different Yarn Weights
For lace-weight yarns (Category 0), use needles sized US 000–1 (1.5–2.25mm). The smaller needle size produces a firm, defined buttonhole appropriate for delicate garments. Increase row count by approximately 50% compared to worsted-weight standards to achieve equivalent buttonhole dimensions.
Fingering-weight projects (Category 1) require needles US 1–3 (2.25–3.25mm). Work 1.25× the standard row count for your chosen button size. The tighter gauge from finer needles produces a crisper edge on the buttonhole.
Bulky-weight yarns (Category 6) demand needles US 10–11 (6.0–8.0mm). Reduce row counts to 0.75× standard recommendations. The larger stitch size naturally creates a more substantial buttonhole opening.
Final Words
Whether you are a first-time knitter or an experienced tailor, mastering the vertical buttonhole technique significantly expands your garment-making capabilities. The vertical orientation provides superior stretch recovery compared to horizontal buttonholes, making it the preferred choice for fitted garments requiring frequent buttoning and unbuttoning.
With proper gauge consideration and row-count adjustment for your specific yarn weight, this technique produces professional-quality results suitable for any ribbed button band application.


