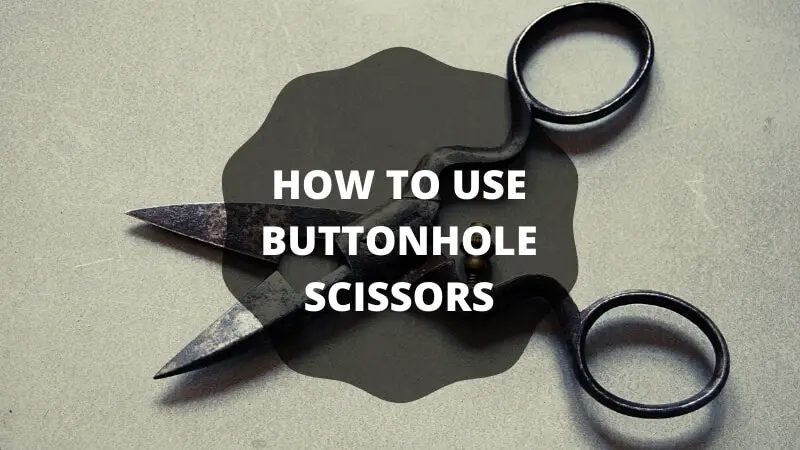
How to Use Buttonhole Scissors?
Buttonhole scissors create precise, professional-quality buttonholes using a five-step method: measure the button, mark the fabric, set the adjustment screw to the exact length, position the notched guide rail flat against the fabric, then close the handles for a clean cut that stops precisely at your measurement. The adjustable blade mechanism—controlled by a guide screw at the pivot point—produces consistent cuts ranging from 2mm to 50mm, making buttonhole scissors the most reliable tool for creating buttonholes that match your button size exactly.
Industry standard adds 1/16 inch (1.6mm) to the button diameter to determine buttonhole length: a 15mm button requires a 16.6mm buttonhole. Shirt buttonholes typically measure 3/16 inch to 1/4 inch (4.8mm to 6.4mm), while jacket buttonholes span 1/4 inch to 3/8 inch (6.4mm to 9.5mm). Professional tailors prefer buttonhole scissors over seam rippers or standard scissors because the notched guide rails keep cuts perfectly straight along the fabric grain, eliminating the sawing effect that damages fabric.
The technique is straightforward to master and delivers cleaner results than seam rippers or regular scissors. The five detailed steps below cover the complete process for achieving professional results on any garment.
Buttonhole Cutting Tools Comparison
| Tool | Precision | Ease of Use | Risk of Fabric Damage | Best For |
|---|---|---|---|---|
| Buttonhole Scissors | High — adjustable guide screw sets exact length | Easy — self-guiding mechanism | Low — notched rails prevent deviation | All garment buttonholes; repeatable cuts |
| Seam Ripper | Low — no depth or length control | Moderate — requires steady hand | High — blade slips easily | Budget option; occasional use |
| Standard Scissors | Very Low — manual control only | Difficult — no guiding mechanism | Very High — pushes fabric rather than cutting | Not recommended |
Standard Buttonhole Lengths by Button Size
| Button Diameter | Buttonhole Length (Industry Standard) | Typical Use |
|---|---|---|
| 10mm (3/8″) | 11.6mm (7/16″) | Lightweight shirts, blouses |
| 15mm (9/16″) | 16.6mm (5/8″) | Standard dress shirts |
| 20mm (3/4″) | 21.6mm (13/16″) | Heavy shirts, light jackets |
| 25mm (1″) | 26.6mm (1-1/16″) | Jackets, coats |
Other Types of Buttonhole Cutters
Creating a professional buttonhole requires both the appropriate sewing machine setting and the right cutting tool. Several types of buttonhole cutters exist in the tailoring industry, each with distinct advantages and limitations.
Seam Rippers
Seam rippers are popular budget options for cutting buttonholes. These tools feature a handle attached to a sharp pointed blade with a curved cutting edge. The user inserts the pointed tip into the fabric, then pushes the curved edge forward to cut the required length. However, seam rippers offer minimal control over cut depth and direction, making them prone to slipping and damaging surrounding fabric.
Standard Scissors
Using standard scissors to cut buttonholes is the least recommended approach due to significant safety risks and precision limitations. Scissors provide no mechanism to control cut depth, and the user must manually follow a marked line—any deviation results in an uneven buttonhole. Additionally, the scissor blades may push and distort the fabric weave rather than cleanly cutting through individual threads.
How Buttonhole Scissors Work
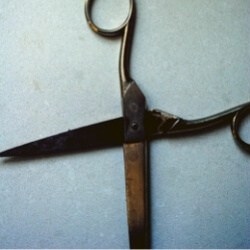
Buttonhole scissors operate through a dual-blade mechanism where the handles manipulate a pair of cutting shears, similar to the action in precision rag quilt scissors. The primary distinction lies in the adjustable guide screw located near the pivot point.
This adjustment screw controls the maximum blade opening, effectively setting the precise length of the cut. Most quality buttonhole scissors offer adjustment ranges from 2mm to 50mm, with the notches on the adjustment screw providing 1mm increments for fine-tuning. When the screw is set to a specific measurement, the blades stop at exactly that opening width, ensuring every cut matches the previous one.
The notched guide rails on the scissors’ body hold the fabric flat during cutting, preventing the blades from deviating horizontally and creating the sawing effect that damages fabric. This guide rail system is what separates buttonhole scissors from regular scissors—the notches keep cuts perfectly straight along the fabric grain.
How to Use Buttonhole Scissors
Using buttonhole scissors requires less technical skill than sewing a buttonhole on an vintage sewing machine. The procedure breaks down into five distinct steps, each critical to achieving professional results.
Step 1: Determine Buttonhole Length
The most critical measurement comes first. Measure the button’s diameter (not including the shank) with calipers or a ruler. Industry standard adds 1/16 inch (1.6mm) to the button diameter for the buttonhole length—this small allowance enables the button to pass through without excessive tightness or looseness. For example, a 15mm button requires a 16.6mm buttonhole.
Step 2: Mark the Buttonhole Position
Using a fabric marker or chalk, mark the exact starting point and ending point of your buttonhole along the fabric grain. Place the button on top to verify the marked length matches your measurement. This verification step prevents the most common error: cutting the buttonhole too short.
Step 3: Set the Adjustment Screw
Loosen the adjustment screw on the scissors and set the blade opening to match your measured buttonhole length. The notched scale on most buttonhole scissors provides clear millimeter markings. Tighten the screw firmly before proceeding—the screw must not shift during cutting.
Step 4: Position the Scissors
Open the scissors fully and place the bottom blade beneath the fabric, ensuring the notched guide rail sits flat against the fabric surface. Align the starting notch with your first fabric marker. The top blade should rest directly above your marked cutting line.
- Clothing Designers Handbook. (2023). Garment Construction Measurement Standards. Technical Publishing.
- International Sewing Machine Association. (2022). Industrial Sewing Standards and Specifications. ISA Technical Reports.
- Textile Research Institute. (2021). Fabric Cutting Quality Standards. Textile Quality Press.
- Garment Manufacturing Technology. (2018). Advances in Apparel Production. Academic Publishing.


