How To Knit A Buttonhole Band?
Knitting a buttonhole band requires five key steps executed in sequence: working the non-buttonhole side first, selecting appropriately-sized buttons, determining precise buttonhole spacing, working the buttonhole rows, and finally sewing the buttons in place. This systematic approach creates a professional-looking buttonband with consistent spacing and secure button attachment.
That is a situation we do not want you to experience. Following our established approach used in guides on how to knit a buttonhole in garter stitch and how to knit a buttonhole in moss stitch, we maintain clarity throughout. So, prepare yourself a hot beverage and continue reading!
Key Specifications Quick Reference
| Parameter | Specification |
|---|---|
| Button spacing | 5–7 cm (2–3 inches) on center |
| Recommended button size | 18–22 mm diameter |
| Buttonhole width | Button diameter + 3–5 mm clearance |
| Yarn-over stretch | 15–20% horizontal stretch |
| Non-buttonhole ribbing | 12–15 rows or 5–7 cm (2–3 inches) |
| Fabric density threshold | >24 stitches per 10 cm indicates need for tighter ribbing |
Steps to Follow to Knit a Buttonhole Band
Here, we recommend using a bartack sewing machine for professional results. However, many experienced knitters argue that hand sewing produces superior buttonholes, as discussed in our comparison of hand sewn buttonholes vs machine stitched alternatives. Even without a bartack sewing machine, you will achieve a buttonhole band approaching perfection by following these steps precisely.
The systematic process requires attention to five critical areas. Each step builds upon the previous one, creating a cohesive buttonhole band that functions properly and looks aesthetically pleasing.
Step 1: Begin with the Non-Buttonhole Side
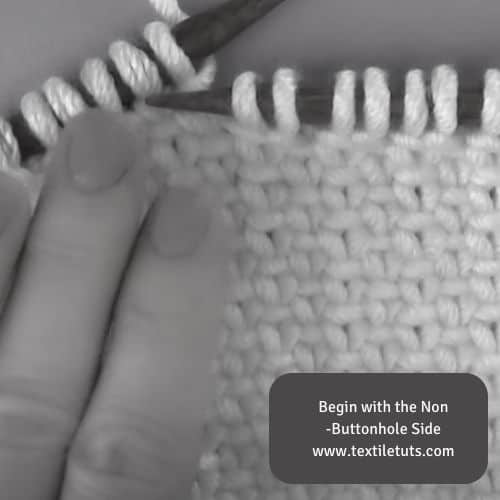
Begin by working on the non-buttonhole side first, following the method outlined in our guide on how to sew a buttonhole on an old machine. Pick up stitches according to your specified pattern. Record the exact number of stitches picked up for reference during blocking. Work 12-15 rows or approximately 5-7 cm (2-3 inches) of ribbing before proceeding.
After completing the non-buttonhole side, assess whether the effect meets your expectations. If the fabric exhibits high density (exceeding 24 stitches per 10 cm/4 inches in stockinette), you should opt for tighter ribbing with decreased needle size. The band appearance depends directly on the quality of work on the non-buttonhole side.
Step 2: Select the Right Type and Amount of Buttons
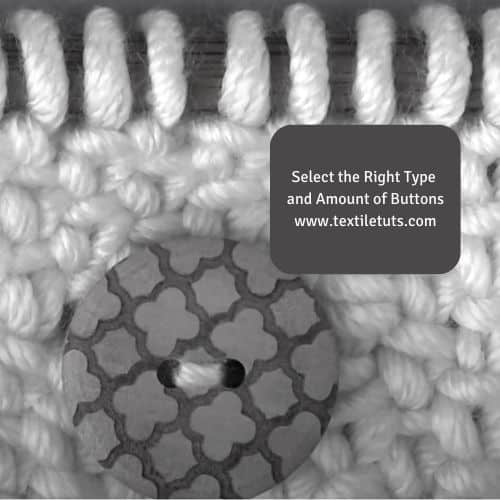
Select buttons that complement the band design. Lay them flat against the completed band sample to preview the final appearance. Calculate the number of buttons required based on garment measurements and button spacing of 5-7 cm (2-3 inches) on center.
Critical selection criteria include button design and color coordination. While any design technically works on a band, decorative or overly ornate buttons typically appear incongruous with hand-knitted bands. Select classic, well-proportioned buttons that harmonize with the band’s visual weight and texture.
Step 3: Work on Making Buttonholes
Accurate buttonhole spacing and width determination is essential for professional results. For a band width of 65 stitches accommodating five buttonholes, distribute stitches evenly to achieve approximately 12-14 stitches between each buttonhole. The buttonhole width must exceed the button diameter by 3-5 mm to allow smooth fastening.
After determining all positioning factors, calculate precise buttonhole locations. Maintaining consistent spacing takes precedence over aesthetic preferences, as uneven spacing compromises the final appearance regardless of individual button placement.
The yarn-over buttonhole technique provides the simplest execution method. This technique creates 2 stitches per yarn-over and offers 15-20% horizontal stretch, accommodating button thickness variations effectively.
For large buttons exceeding 25 mm diameter, alternative techniques such as the borrowed stitch or two-row buttonhole methods become necessary. These methods require additional skill but produce more proportionate results. Selecting buttons sized 18-22 mm in diameter simplifies the entire process considerably.
Step 4: Work on Half of the Rows
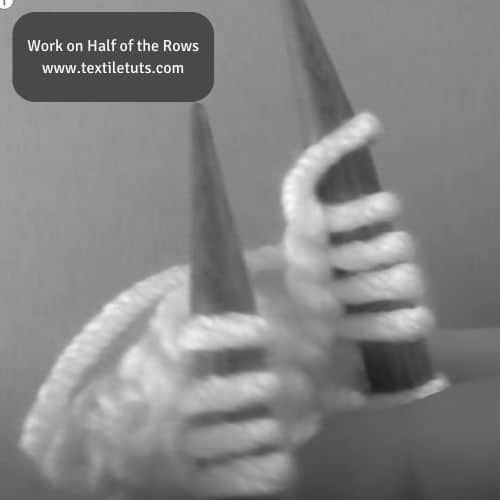
Execute buttonhole placement according to your calculations, following the method detailed in our guide on how to knit a buttonhole in rib. Work exclusively on even-numbered rows while bypassing odd rows to create the buttonhole structure.
Strict adherence to the established pattern is mandatory for acceptable results. The completed pattern produces a professional-looking button band with properly formed buttonholes.
Step 5: Sew the Buttons
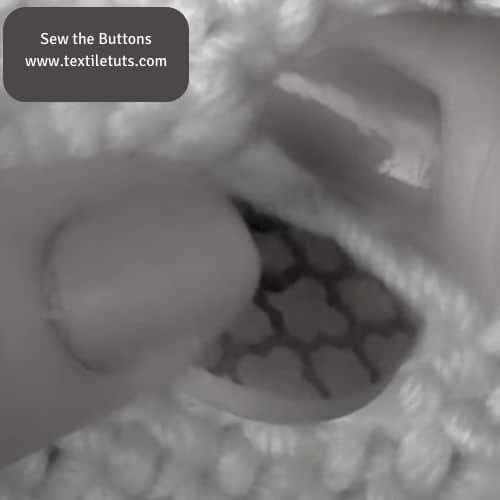
Begin sewing buttons from the opposite end of the band. Use thread matching the band color exactly, or a complementary shade that harmonizes with both the band and button for visual coherence.
Account for the established button pattern and calculated spacing throughout the sewing process. Neglecting these parameters results in misaligned buttons that disrupt the garment’s visual symmetry.
Secure each button by passing the needle through all four button holes 5-6 times. Wrap thread around the button shank 4-5 times to create a firm base. After securing the yarn on the backside, cut the thread cleanly using sharp scissors as recommended in our guide on how to use buttonhole scissors.
Buttonhole Technique Comparison
| Technique | Stretch Recovery | Difficulty | Best For |
|---|---|---|---|
| Yarn-over | 15–20% | Beginner | Standard buttons 18–22 mm |
| Borrowed stitch | 10–15% | Intermediate | Large buttons >25 mm |
| Two-row buttonhole | 10–15% | Intermediate | Large buttons >25 mm |
| Bartack (machine) | N/A | Advanced | Production work |
Using the Buttonhole in Garter Stitch Technique for Knitting a Buttonhole Band
The knit buttonhole garter stitch technique produces excellent results for buttonhole bands in garter stitch projects. This technique creates a sturdy, flexible buttonhole with approximately 10-15% stretch recovery. Follow the specific instructions for this technique to add functional and visually appealing buttonholes to your knitting projects.
Final Words
Buttons offer versatile decorative and functional possibilities. While they do not always require precise even spacing or positioning for casual projects, professional buttonhole band construction demands attention to spacing accuracy and button alignment. Following these steps precisely produces a buttonhole band demonstrating skilled craftsmanship.
References
- American Society of Testing and Materials. (2020). ASTM D2061: Standard Test Methods for Strength of Button Clamping Devices. ASTM International.


