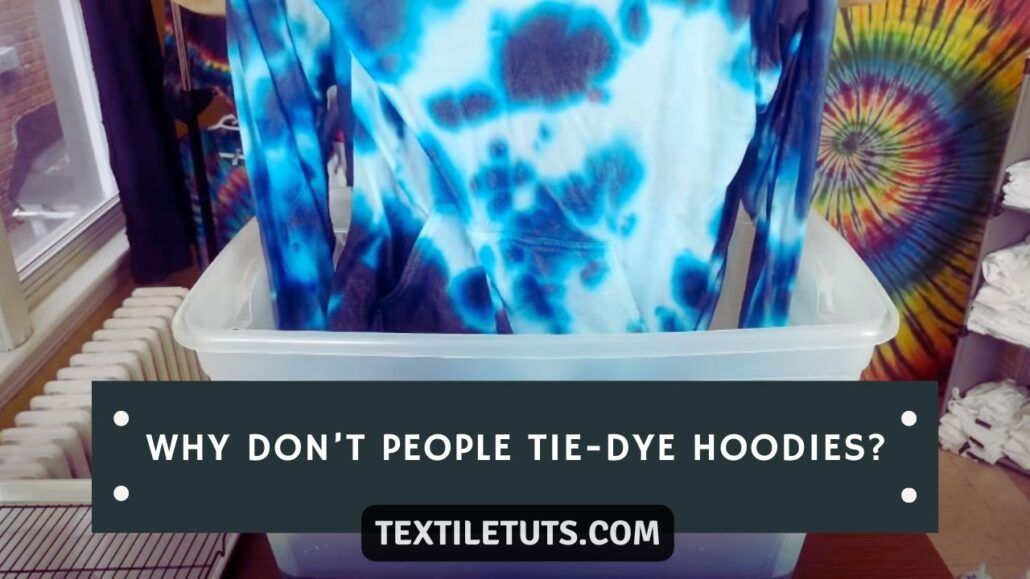
Why Don’t We Tie Dye Hoodie?
Tie-dyeing a hoodie is significantly harder than tie-dyeing a t-shirt — it requires more effort, produces uneven results on typical synthetic blends, and involves a messy, hard-to-control process that often disappoints first-time crafters. Most people avoid tie-dyeing hoodies because the thicker fabric, polyester content, and multi-step procedure yield blotchy, unpredictable designs rather than the vibrant patterns you see on standard tie-dye shirts.
In this blog, I explain why people avoid tie-dyeing hoodies and provide guidelines on how to tie-dye a hoodie so you can make your one-of-a-kind creation. Let’s get started!
Why Don’t People Tie-Dye Hoodies?
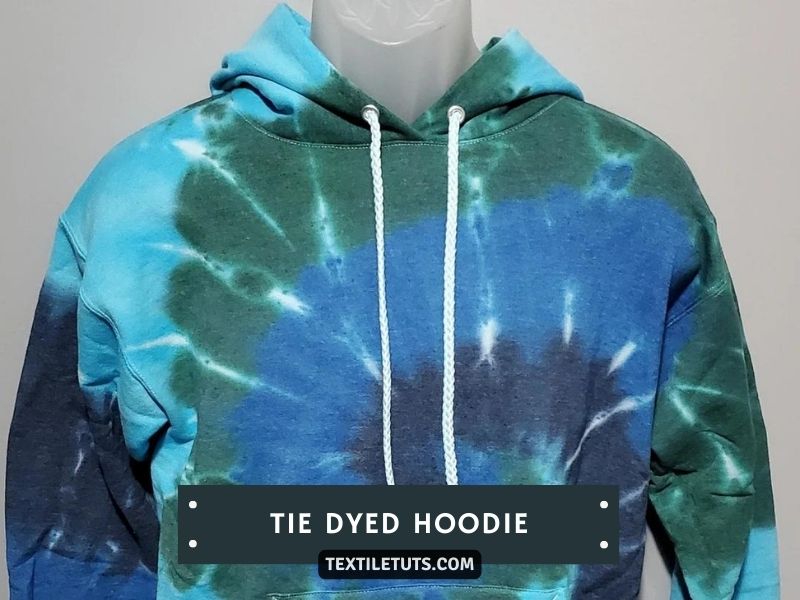
Tie-dyeing a hoodie produces an eye-catching, unique design that no one else will have. However, people rarely do it and it is not a current fashion trend. Several specific reasons explain why most crafters avoid tie-dyeing hoodies.
Hoodies Are Not an Ideal Tie-Dye Fabric
Hoodies are not as popular as other garments for tie-dye projects because they are typically made from synthetic fabric blends. Most commercial hoodies contain 60-80% polyester, which resists fiber-reactive dyes and produces muted, blotchy results compared to 100% cotton garments.
Polyester-blend hoodies cost significantly more than standard cotton tie-dye shirts, and their thick fleeceback construction (typically 280-400 GSM) is harder to bind and dye evenly. Additionally, the tight collar, cuffs, and waistband ribbing absorbs dye differently than the main body fabric.
| Cotton Content | Expected Result | Recommended Dye Type |
|---|---|---|
| 100% cotton | Vibrant, saturated colors | Fiber-reactive (Procion MX) |
| 80%+ cotton | Bright colors with slight muted areas | Fiber-reactive |
| 50-79% cotton | Pastel, muted tones; white polyester shows through | Fiber-reactive (limited results) |
| Below 50% cotton | Dull, blotchy results | Disperse dye (requires heat) |
| 100% polyester | No absorption with fiber-reactive dye | Disperse dye (200-250°F / 93-121°C) |
A Complex Multi-Step Procedure
The tie-dyeing process is complex and requires many steps. Many crafters feel the results are unpredictable and not worth the effort, especially given the higher cost and lower success rate on hoodies compared to t-shirts.
Setting Dye Requires 6-24 Hours of Waiting
After applying fiber-reactive dye, the hoodie must set for 6-24 hours while wrapped in plastic to maintain humidity. During this time, the dye reacts with the cotton fibers at a molecular level. Rushing this step or allowing the fabric to dry out produces uneven, faded results. This waiting period, combined with the pre-washing, dyeing, rinsing, and drying stages, makes the total project time 24-48 hours.
Getting Even Dye Distribution Requires Practice
Distributing dye evenly across a hoodie is difficult because the thick fleeceback fabric has uneven surface texture compared to jersey knit t-shirt fabric. The results are unpredictable, and many crafters have been disappointed by patchy, inconsistent patterns on their first attempts.
The Design Is Permanent
Once you have dyed a hoodie, you cannot undo it. Unlike fabric paint or iron-on transfers, tie-dye chemically bonds to the cotton fibers and remains permanent through multiple wash cycles. The only way to change the design is to discharge it using chlorine bleach or sodium hypochlorite, which weakens the fabric and produces unpredictable results.
Not Everyone Finds the Aesthetic Appealing
The bold, psychedelic aesthetic of tie-dye does not appeal to everyone. Many consumers prefer solid, minimalist clothing over the high-contrast, multicolored patterns that tie-dye produces. Tie-dyed hoodies can also appear juvenile or overly casual in professional or dressy settings.
Additionally, the bright, saturated colors produced by fiber-reactive dyes may clash with broader wardrobes and limit outfit coordination options.
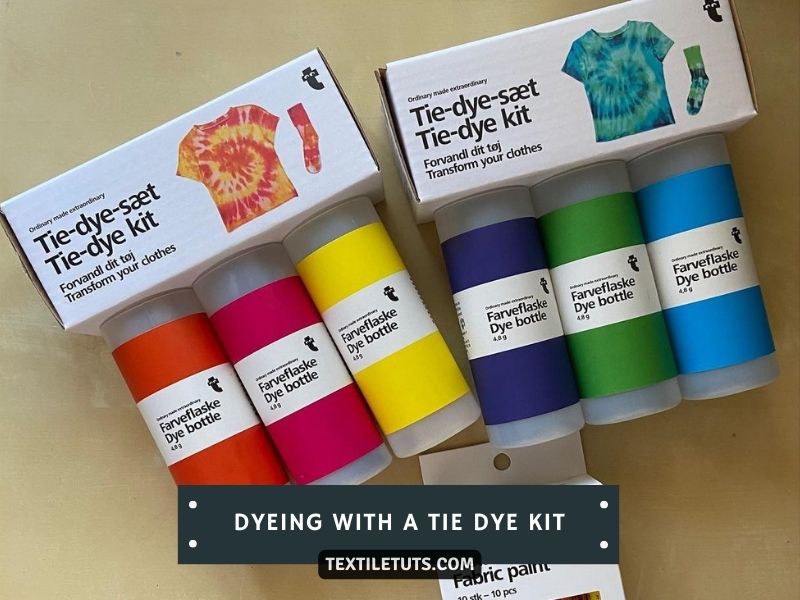
Tie-Dyeing a Hoodie with a Tie-Dye Kit
You can tie-dye a hoodie yourself without professional help. A dye kit allows you to add colorful designs to a plain white hoodie, creating a fun project that takes 1-2 hours of active work plus 6-24 hours of setting time.
Tying a dyed hoodie follows a similar process to tie-dyeing a shirt, but the thicker fabric and larger surface area require adjustments in dye application and binding technique. Before you begin, keep these essential facts in mind.
Choose the Right Hoodie
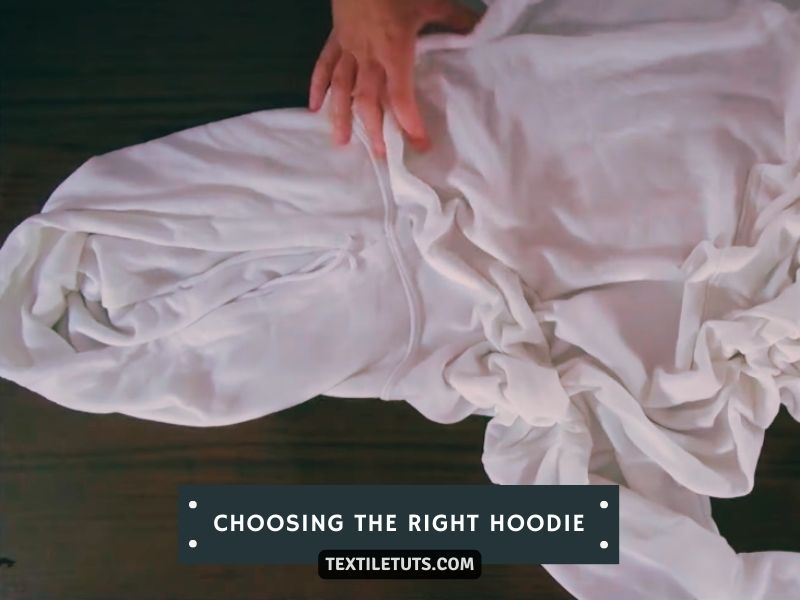
Not all fabrics produce equal results in tie-dyeing. Natural fibers—cotton, hemp, rayon, and linen—work best because they are highly absorbent and bond readily with fiber-reactive dyes. Synthetics like polyester, nylon, and acrylic do not absorb these dyes effectively.
For vibrant, long-lasting results, use a hoodie with 80% or higher cotton content. Blends with less than 50% cotton yield muted, pastel-like colors where the white polyester fibers show through. Avoid hoodies with DWR (durable water repellent) coatings, as these coatings repel dye. Lighter base colors display the dye pattern more vividly than darker bases.
Prepare Your Fabric
Before tie-dyeing, wash the fabric in hot water (at least 40°C/104°F) with laundry detergent to remove oils, fabric softeners, and finishes that would prevent even dye penetration. Do not use fabric softener in the wash or dryer.
After washing, dampen the fabric with clean water—it should be thoroughly moist but not dripping. Dry fabric rejects dye, while soaking-wet fabric dilutes the dye concentration.
Choose Your Dye
Use fiber-reactive dyes (such as Procion MX, Dharma Fiber Reactive, or Rit All-Purpose Dye) for cotton hoodies. These dyes chemically bond to cellulose fibers when activated with soda ash (sodium carbonate) at a pH of 10-11. For polyester-blend hoodies, you need disperse dyes, which require temperatures of 200-250°F (93-121°C) to penetrate the synthetic fibers—a process that typically requires a stovetop or institutional steamer rather than room-temperature setting.
| Dye Type | Best Fabric | Setting Temperature | Setting Time | Colorfastness |
|---|---|---|---|---|
| Fiber-reactive (Procion MX) | 100% cotton, 80%+ cotton blends | Room temp (18-24°C / 64-75°F) | 6-24 hours | Excellent (wash-resistant) |
| All-purpose (Rit) | Cotton, linen, silk | Warm (40-60°C / 104-140°F) | 20-30 minutes | Moderate (may fade) |
| Disperse dye | Polyester, nylon, acetate | 200-250°F (93-121°C) | 30-60 minutes | Good (heat-set required) |
| Vat dye | Cotton, linen, rayon | 120-140°F (49-60°C) | 20-30 minutes | Excellent |
All-purpose Rit dye requires a fixative like salt and works at lower temperatures but produces less colorfast results on cotton than fiber-reactive dyes. For consistent, wash-resistant results, use a fiber-reactive dye system with soda ash pre-soaking.
Decide on Your Design
Sketch your pattern before binding the fabric—this determines how much dye you need and which colors to prepare. Standard tie-dye patterns include spiral, bullseye, crumple, chevron, and stripes. Each pattern uses a different folding and binding technique to control dye penetration.
Create tight rubber band knots where you do not want dye to penetrate. You can make swirls, stripes, or any design you imagine. The number of rubber bands directly controls how many distinct color sections appear in the final piece.
Set Up Your Work Area
Cover your work surface with a plastic tablecloth or garbage bag to protect it from dye. Wear chemical-resistant gloves (not latex, which dye penetrates) and old clothes. Have a bucket of water nearby for rinsing tools between colors. You will apply dye using squeeze bottles, spray bottles, or fabric immersion depending on your technique.
Step-by-Step Process for Tie-Dyeing a Hoodie
With a tie-dye kit, you can transform a plain hoodie into a wearable work of art. The process involves 10 distinct stages from setup through final rinsing. Follow these steps in order for consistent results.
You will need these supplies:
- A white or light-colored hoodie with 80%+ cotton content
- 1-3 bottles of fiber-reactive tie dye (for vibrant colors) or all-purpose dye
- Chemical-resistant gloves (nitrile or rubber, not latex)
- 6-10 rubber bands
- 2-gallon plastic bucket or trash bag for setting
- Plastic tablecloth or drop cloth
- Squeeze bottles with narrow tips
Step 1: Put on Protective Gloves
Put on chemical-resistant gloves before handling any dye. Dye stains skin deeply and can take 1-2 weeks to fade naturally. Cover your work surface with the plastic tablecloth before proceeding.
Step 2: Wet the Hoodie
Wet the hoodie under running water and wring it out until damp but not dripping. Lay it flat on your protected work surface. The fabric must be moist for the dye to penetrate evenly.
Step 3: Set Up the Work Space
Arrange your workspace with all materials within reach. Place the hoodie at the center. Have your dye bottles pre-mixed and ready, your rubber bands counted out, and a 2-gallon bucket or large plastic bag ready for the setting phase. Wear old clothes or a dedicated apron.
Step 4: Select Your Tie-Dye Pattern
Choose your pattern type. The most common techniques are:
| Pattern | Technique | Difficulty |
|---|---|---|
| Spiral | Pinch center, twist fabric into a pinwheel, bind at 4-6 points | Easy |
| Bullseye | Pull fabric into concentric circles from center point | Easy |
| Chevron | Accordion-fold lengthwise, bind at 1-inch intervals | Medium |
| Crumple | Crumple fabric randomly, bind at 8-12 points | Easy |
| Stripes | Fold accordion-style, bind at regular intervals along length | Easy |
Refer to your tie-dye kit instructions for specific technique details for each pattern.
Step 5: Bind the Fabric
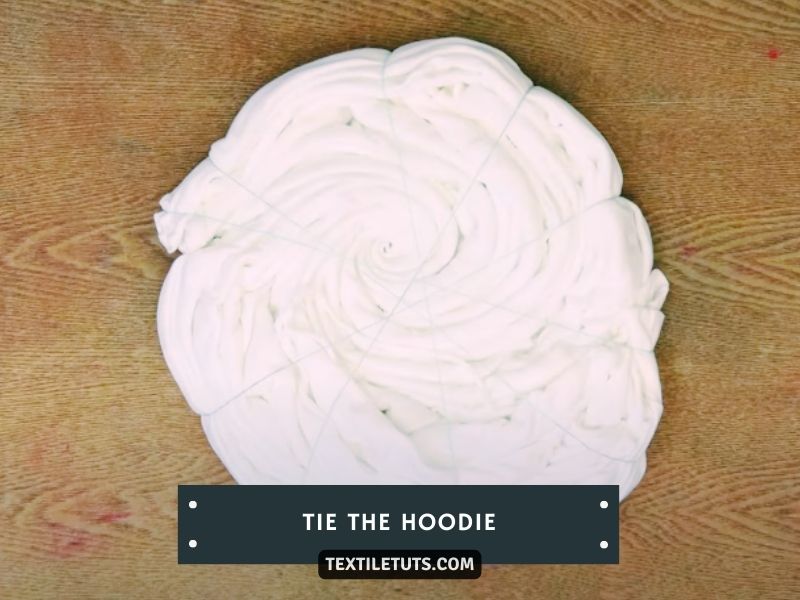
Bind the fabric using rubber bands to create 6-12 separate sections. Each bound section remains undyed (white) or shows the base color when you apply dye. For multicolor designs, apply different dyes to different sections. Ensure bands are tight—the dye must not penetrate past the band line.
Step 6: Mix and Prepare the Dye
Put on gloves and prepare your dye. For fiber-reactive dyes, mix the powdered dye with lukewarm water (approximately 40°C/104°F) in squeeze bottles. Add 1 cup of dissolved soda ash solution to each 16 oz of dye mixture for proper fiber bonding. Shake or stir until fully dissolved. For best results, use dye within 24 hours of mixing.
Step 7: Apply the Dye
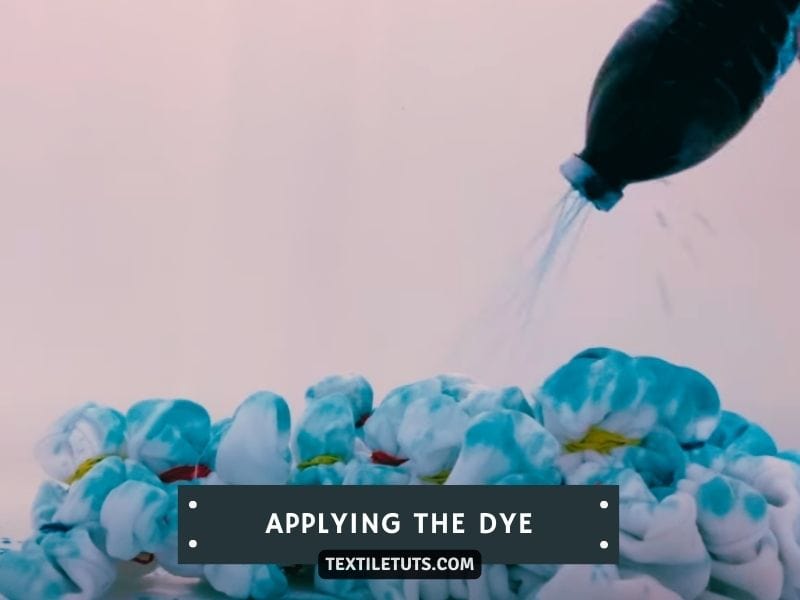
Apply dye to each section using squeeze bottles. Hold the fabric taut over a protected surface and squeeze dye directly onto the fabric, working it into the fibers. Saturate each section completely—fiber-reactive dye requires full saturation to achieve maximum color intensity. Apply different colors to adjacent sections for a multicolor design.
Step 8: Wrap and Set the Dye
Place the bound, dyed hoodie in a 2-gallon plastic bucket or large garbage bag. Seal tightly to retain moisture. Leave at room temperature (18-24°C / 64-75°F) for a minimum of 6 hours, or up to 24 hours for maximum color intensity. Do not open or disturb the bundle during setting. Temperature below 15°C (59°F) significantly reduces dye bonding.
Step 9: Rinse and Remove Excess Dye
After the setting period, carefully remove the hoodie from the bag. Cut and remove the rubber bands while rinsing under cold water. Gradually increase water temperature as you rinse—starting cold prevents the dye from setting further in areas you want light. Rinse until the water runs completely clear, which may take 5-10 minutes of continuous rinsing.
Step 10: Wash and Air Dry
Run the hoodie through a separate first wash cycle in your washing machine using cold water and a mild detergent. Do not add other clothing items during this first wash. Remove promptly and hang to air dry in a shaded area—direct sunlight causes color fading during the initial curing period. The colors will continue to set and stabilize for 48-72 hours after the first wash.
NOTE
Follow the specific instructions provided in your tie-dye kit, as different dye formulations have varying setting times and temperature requirements. Use nitrile or rubber gloves—latex gloves allow dye to penetrate. Have fun experimenting with different colors and patterns to create a unique tie-dye hoodie that reflects your personal style.
Why Is Tie-Dye Making a Comeback?
Tie-dye became a major fashion trend in the 1960s and 1970s counterculture movement, but its history extends much further. Tie-dye originated in China during the Sui dynasty (5th century AD) and independently in Peru (500-810 AD). Shibori, a Japanese tie-dye technique, developed during the 8th century. The method appeared in the United States by 1909 and became widely popular by the late 1960s.
The current revival began in the early 2000s when fashion designers incorporated tie-dye into runway collections. It has returned as a popular DIY craft trend, driven by social media creativity and the appeal of personalized clothing.
The current wave of interest combines nostalgia with sustainability—tie-dye provides an inexpensive way to refresh existing garments rather than purchasing new ones, aligning with broader consumer interest in creative reuse.
Affordable Path to a Unique Design
Tie-dye provides an inexpensive way to add personality to clothing. A basic tie-dye kit costs $10-20 USD and can transform a $15-30 plain hoodie into a one-of-a-kind piece. This cost-per-wear advantage appeals to younger consumers who value individuality over brand names.
Retro Style and Nostalgia Appeal
Tie-dye is now considered a retro craft with growing collector interest. Many consumers now in their 20s and 30s grew up wearing tie-dye from childhood and seek to revisit that aesthetic as adults. The bold, saturated colors and psychedelic patterns have been updated with modern color palettes and more refined crafting techniques.
Beginner-Friendly Craft with High Impact
Tie-dye is a versatile craft suitable for all skill levels. It requires minimal equipment, no specialized sewing or cutting skills, and produces visible results in 24-48 hours. The technique works on various fabric types and produces diverse pattern outcomes, making each project unique.
Celebrity and Designer Adoption
The current tie-dye resurgence traces to early 2000s fashion collections, with celebrities like Gwen Stefani and Nicole Richie popularizing the look. More recently, Kendall Jenner, Bella Hadid, and high-end designers like Marc Jacobs have incorporated tie-dye into their collections, lending it mainstream fashion credibility.
Sustainable Fashion and Upcycling
Tie-dye serves as an effective upcycling technique for refreshing old garments. Rather than discarding faded or stained clothing, crafters transform pieces into fresh designs. This sustainability angle aligns with broader environmental awareness in textile consumption.
The Best Tie-Dye Patterns
Different tie-dye patterns produce distinct aesthetic results. Here are the most effective patterns for hoodie projects:
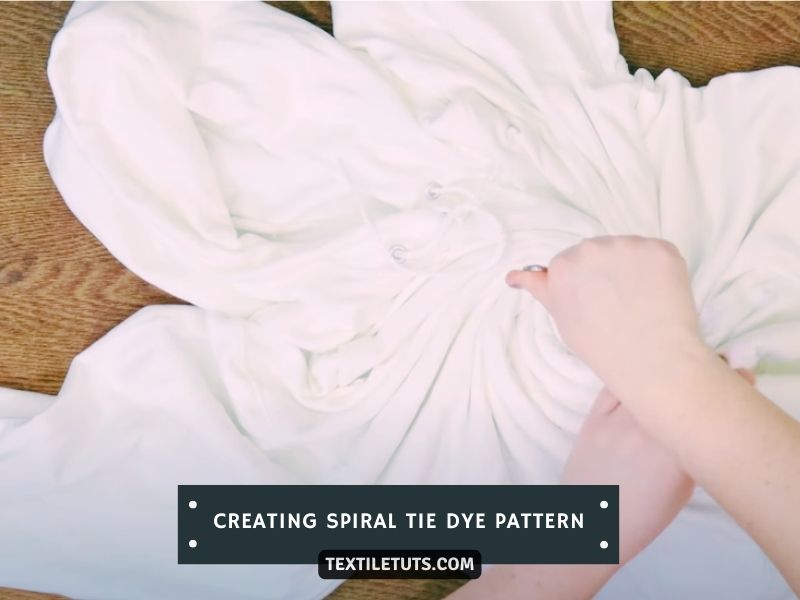
Spiral
The spiral is the most recognizable tie-dye pattern. Fold the hoodie in half, then in half again, and twist from the center to create a pinwheel shape. Bind the center with a rubber band and apply different dyes to each quadrant. The result is a distinctive spiral galaxy pattern radiating from the center point.
Bullseye
Pull the fabric outward from a center point to create concentric rings. Bind at 2-3 points along each ring with rubber bands. Apply different dyes to each ring section for a target-like design. This pattern is effective for showcasing multiple colors.
Chevron
Accordion-fold the hoodie lengthwise (like a paper fan) and bind at 1-inch intervals with rubber bands. Apply colors in alternating sections. The result is horizontal zigzag stripes when unfolded—a pattern that works especially well on hoodies with a front pocket.
Crumple
Crumple the entire hoodie surface into a loose ball shape and bind with 8-12 rubber bands at random points. Apply dye freely across the entire surface. The random binding creates an organic, abstract pattern with no two pieces looking identical.
Stripes
Fold the hoodie in half lengthwise and secure with rubber bands at 2-3 evenly spaced points along the length. Apply different colors to each bound section. When unfolded, you get vertical stripes with white resist lines where the bands were placed.
Do Tie-Dye Shirts Eventually Lose Their Color?
Most tie-dye shirts fade over time because fiber-reactive dyes are not permanently colorfast to repeated laundering. The rate of fading depends on wash temperature, detergent type, and exposure to ultraviolet light. On average, a well-cared-for cotton tie-dye garment retains 70-80% of its original vibrancy after 20 wash cycles.
Proper care significantly extends color lifespan. Follow these maintenance practices:
Wash in Cold or Lukewarm Water
Wash tie-dye garments in cold water (below 30°C/86°F) using a mild detergent. Hot water accelerates dye release from cotton fibers and causes colors to bleed and run. Always wash separately for the first 3-5 cycles until excess dye is fully removed.
Avoid Bleach and Harsh Chemicals
Bleach and oxygen-based whiteners degrade fiber-reactive dyes on cotton. Even trace amounts in shared wash loads can cause significant color loss. Use dye-specific color-care laundry products instead.
Air Dry Away from Direct Sunlight
Hang tie-dye garments to dry in shade. The heat from a dryer causes color fading, and ultraviolet radiation from direct sunlight degrades dye molecules over time. If you must use a dryer, use the lowest heat setting and limit drying cycles.
Using Bleach to Tie-Dye Hoodies
Bleach tie-dye (also called discharge tie-dye) works by removing color from fabric rather than adding it. This requires sodium hypochlorite (household bleach) or thiourea dioxide as the active agent. The technique is fundamentally different from conventional tie-dye and carries specific risks for hoodie projects.
Bleach may not produce even results on all fabric types. Polyester fibers require higher bleach concentrations and longer exposure times than cotton, and the results are less predictable. Bleach also degrades cellulose fibers—prolonged exposure (over 10-15 minutes) weakens cotton fabric and can cause actual fabric breakdown and holes.
For cotton hoodies, bleach discharge creates a tan-to-white effect rather than the vibrant multicolor results of fiber-reactive dyes. For polyester-blend hoodies, bleach may produce uneven, brownish discoloration rather than a clean discharge pattern.
Tie-Dyeing a 50% Cotton and 50% Polyester Hoodie
Creating vibrant patterns on a mixed-fabric hoodie presents specific challenges. When you tie-dye 50/50 cotton-polyester hoodies, the cotton fibers absorb fiber-reactive dye effectively, while the polyester fibers resist it entirely.
The result is muted, pastel-like colors where the white polyester fibers show through the cotton dye. Colors appear softer and less saturated than on 100% cotton. Disperse dyes required for polyester bonding demand temperatures of 200-250°F (93-121°C)—achievable only via stovetop dyeing, institutional steamer, or heat press, not the room-temperature setting used for cotton fiber-reactive dyes.
Pre-washing with hot water and laundry detergent (avoiding fabric softener) helps open fiber pores. Using high-quality fiber-reactive dyes and allowing extended setting time (24 hours instead of 6) produces the best achievable results on blended fabric, though the outcome will not match the vibrancy of a pure cotton garment.
References
- Wikipedia contributors. (2025). Tie-dye. Wikipedia.


