
How To Fix Blotchy Fabric Dye? Easy Fixes in A Few Steps!
You can fix blotchy fabric dye using dye fixatives for mild cases, bleach or dye remover for moderate blotchiness, or by completely re-dyeing the garment for severe unevenness — the right approach depends on your fabric type and the severity of the discoloration. Commercial dye fixatives work for mild patchiness, natural acid treatments (vinegar or lemon juice) handle moderate issues, and a full re-dye gives you a fresh start when other methods fail.
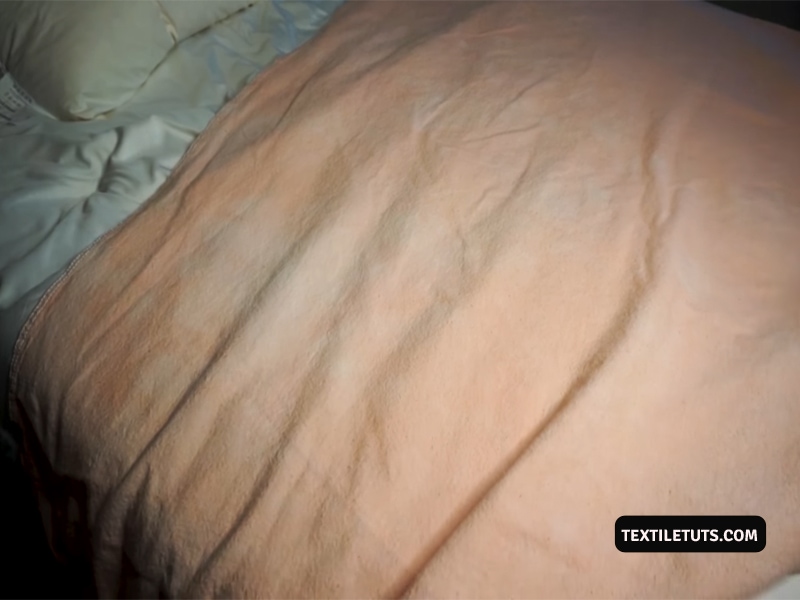
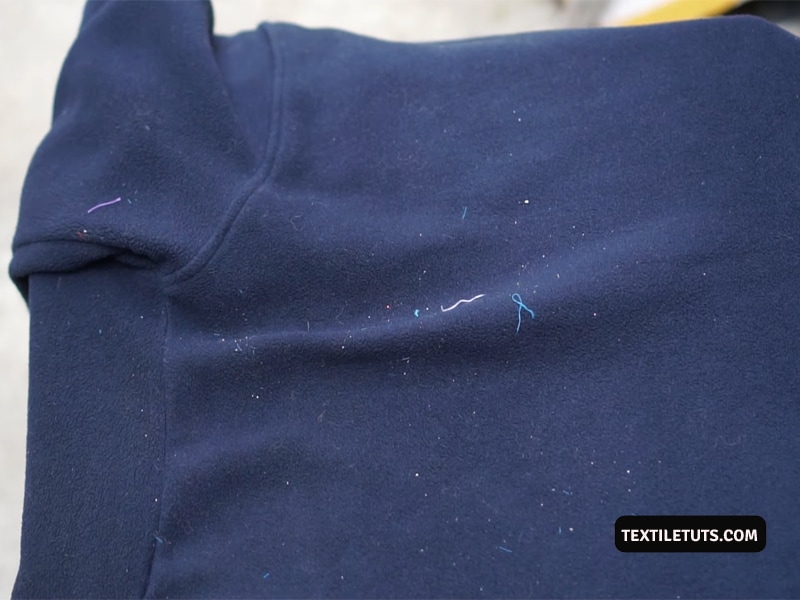
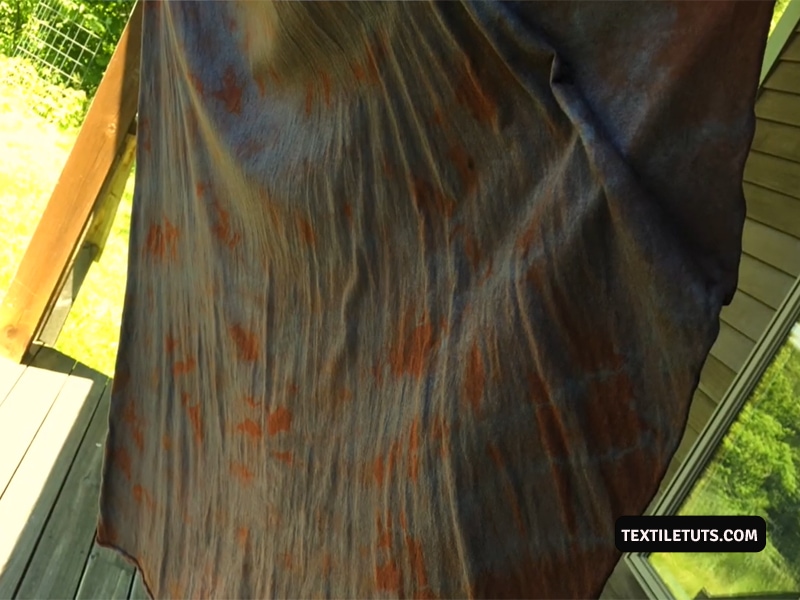
Few things are more disappointing than pulling a freshly dyed garment from the bath only to find uneven, splotchy patches where you expected uniform color. The good news is that blotchy dye is almost always fixable with the right approach.
This guide covers the root causes of uneven dyeing, three distinct correction methods with step-by-step instructions, and the prevention techniques that ensure professional-quality results every time.
Why Does Dyed Fabric Become Blotchy or Uneven
Even after taking every precaution during the dyeing process, an uneven, blotchy result can be deeply frustrating. Understanding the specific causes helps you prevent the problem in future projects and choose the right correction method.
Uneven Dye Application
The primary cause of blotchy fabric dye is uneven application. Specific factors that lead to patchy color include:
Fabric Residue and Preparation Issues
Insufficiently prepared fabric is a major cause of uneven dye absorption. Specific preparation failures that lead to blotchiness include:
Unsatisfactory Water Quality
Water condition directly affects dye uptake and color uniformity. The following water quality issues cause visible patchiness:
Overcrowded Dye Bath
When multiple garment pieces are placed in a single dye bath and the fabric overlaps or piles up, the dye cannot circulate evenly around each piece. This stacking effect creates unexposed areas and areas of concentrated dye, resulting in obvious patchiness on the finished fabric.
Incorrect Dye Solution Preparation
An improperly mixed dye solution produces uneven results. Specific preparation errors include:
Insufficient Dye Fixative
Skipping or under-applying the recommended dye fixative causes the dye to remain loosely bonded to fabric fibers. This leads to color that appears blotchy initially and fades or bleeds after just a few washes. Professional results require applying fixative immediately after dyeing, following the manufacturer’s specified concentration.
Beyond these common causes, blotchy dyed fabric can also result from defective dyeing equipment, failure to follow dye manufacturer instructions, or using expired dye products.
Quick Rules for Over-Dyeing Blotchy Dyed Fabric

After an uneven dye job, over-dyeing offers a quick and effective recovery method. Before you begin, follow these fundamental rules to ensure the second attempt produces a uniform, professional result.
Clean Fabric Thoroughly First
Before any other step, the fabric must be completely free of insoluble materials, residues, and dirt. Any residual chemicals or contaminants will interfere with uniform dye absorption during the over-dyeing process.
Select the Right Dye for the Fabric Type
The key to uniform color distribution lies in selecting the correct dye product for your specific fabric. All-purpose dyes work on natural fibers, cotton, linen, wool, silk, rayon, and nylon. Fabrics containing more than 35% polyester, acrylic, or acetate require a dedicated synthetic fiber dye instead.
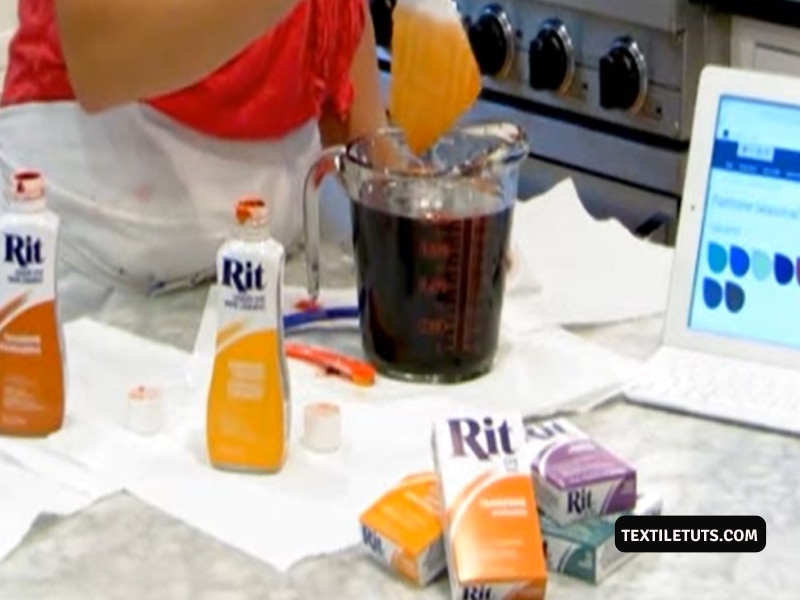
Mix the Dye Correctly
Mix dye powder in 2 cups of very hot water until fully dissolved before adding it to the dyebath. Never pour undiluted dye directly onto fabric. Use a ratio of 1 liquid bottle or 2 powder packets per 2 pounds of dry fabric, doubling the amount for bold or deep colors.
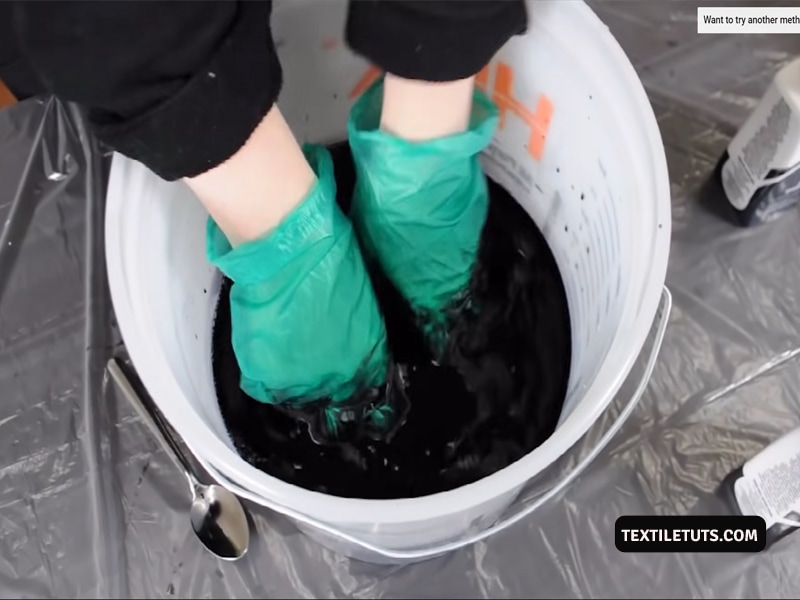
Use Darker Colors for Over-Dyeing
When over-dyeing blotchy fabric, you must choose darker, more saturated colors. Deep navy, black, burgundy, and forest green dyes are effective at masking underlying uneven patches. Lighter or pastel colors will not adequately conceal the original blotchiness and may result in an even worse uneven appearance.
Test the Dye on a Fabric Swatch First
Before submerging your garment, test the dye bath on a scrap piece of fabric of the same material. This confirms the color strength and allows you to adjust the ratio before committing to the full piece.
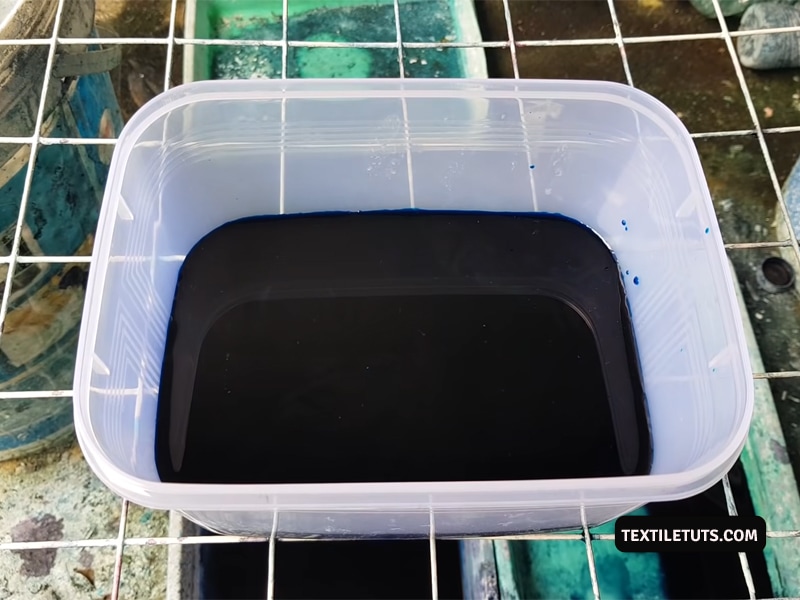
Use a Properly Sized Dye Bath Container
Use a container that holds at least 3 gallons of water per pound of fabric. The fabric must be able to move freely in the solution without overlapping or crowding. Stainless steel or large plastic containers work best—avoid porcelain or fiberglass sinks, which can stain.
Follow the Recommended Dyeing Time
Keep fabric in the dye bath for 10 to 60 minutes depending on the fabric type and desired color depth. Removing it too early produces a pale, uneven result. Leaving it too long wastes resources and can cause fiber damage. The first 10 minutes are the most critical—stir slowly and continuously during this window to ensure even color distribution.
Three Methods to Fix Blotchy Fabric Dye
When you have an unevenly dyed fabric, three primary methods can restore an acceptable result. Choose the approach that best matches your fabric type, the severity of the blotchiness, and the tools you have available.
Fabric Compatibility for Re-Dyeing
Before choosing a method, it helps to know whether your fabric can be successfully re-dyed or whether fixatives are your only option.
| Fabric Type | Can Be Re-Dyed? | Best Approach | Notes |
|---|---|---|---|
| Cotton, Linen, Rayon | Yes — excellent results | Re-dye or fixative | Absorb dye readily at 140°F with salt |
| Silk, Wool, Nylon | Yes — good results | Re-dye or acid fixative | Use vinegar (1 cup per 2 lbs); lower temps for wool and silk |
| Polyester / Acrylic blends (<35%) | Yes — moderate results | Dedicated synthetic dye | Requires dye bath at 200°F; longer soaking time |
| Polyester / Acrylic blends (>35%) | Difficult — poor results | Dye fixative only | Standard dyes cannot penetrate synthetic fibers effectively |
| 100% Polyester or Acrylic | No — will not absorb standard dye | Dye fixative or garment replacement | Requires special disperse dyes and boiling temperatures |
| Acetate | No — fiber dissolves in dye bath | Not recommended | Acetate is damaged by standard dyeing processes |
Key Dyeing Parameters at a Glance
Keep these critical measurements on hand throughout the dyeing process:
| Parameter | Natural Fibers | Synthetic Blends | Nylon / Silk / Wool |
|---|---|---|---|
| Water Temperature | 140°F (60°C) | Up to 200°F (93°C) | Below 185°F (85°C) for silk; 140°F for wool and nylon |
| Water-to-Fabric Ratio | 3 gallons per pound | 3 gallons per pound | 3 gallons per pound |
| Salt (for cotton/linen/rayon) | 1 cup per 2 lbs fabric | Not applicable | Not applicable |
| Vinegar (for silk/wool/nylon) | Not applicable | Not applicable | 1 cup per 2 lbs fabric |
| Dye Bath Time | 30–60 minutes | 30–60 minutes | 10–30 minutes (nylon dyes fast) |
| Critical Stirring Window | First 10 minutes continuous | First 10 minutes continuous | First 10 minutes continuous |
| Final Rinse Temp | Cool water | Cool water | Cool water |
| Washing After Dye | Max 105°F (40°C) with salt | Max 105°F (40°C) with detergent | Delicate cycle, cool water |
Method 1: Commercial Dye Fixative
Commercial dye fixatives work by absorbing excess unfixed dye from the water and helping distribute it more evenly across fabric fibers. This method is most effective when the blotchiness is mild and the original dye color is still visible.
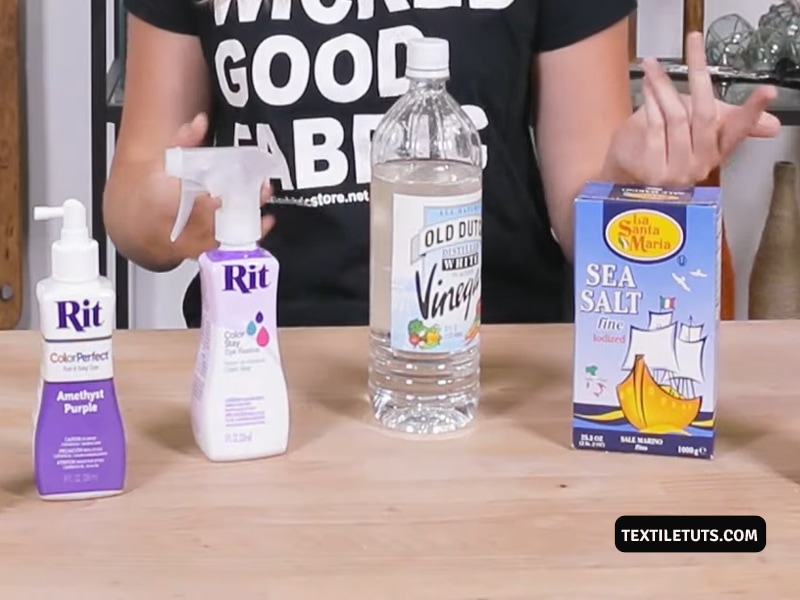
Method 2: Natural Dye Fixatives
Vinegar (acetic acid) and lemon juice (citric acid) act as natural mordants, helping to lock residual dye into fabric fibers while removing excess pigment. This method works best for mild to moderate blotchiness on natural fibers.
Fill a large bucket with water and add white vinegar or lemon juice in a 3:1 water-to-acid ratio. For example, use 6 cups of water with 2 cups of white vinegar for a standard load.
Submerge the fabric completely and let it soak for at least 8 hours or overnight. The acid environment helps set remaining dye while pulling excess pigment from over-saturated areas.
After soaking, rinse the fabric thoroughly under running cool water until the water runs clear. Follow the care label guidelines for the specific fabric type to complete the process.
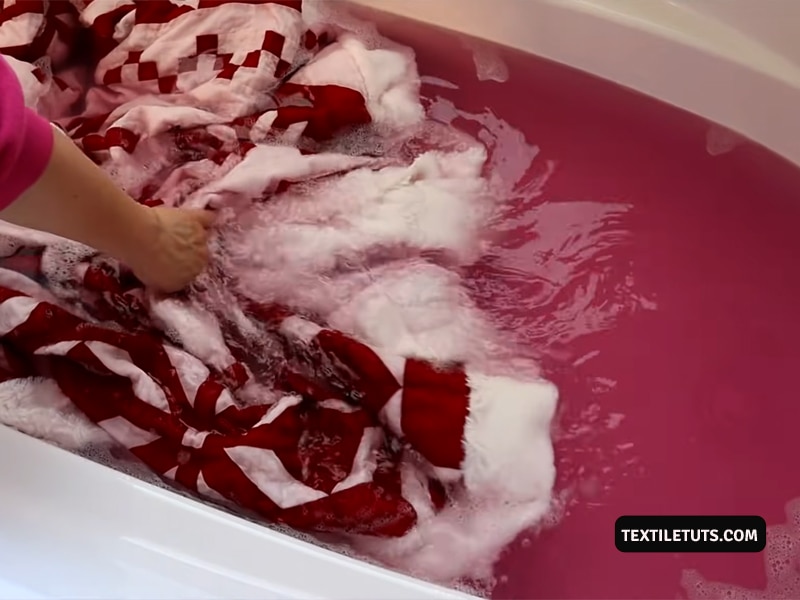
Method 3: Re-Dyeing from Scratch
When fixatives fail to produce an even result, re-dyeing the entire fabric piece is the most reliable solution. This method gives you complete control over the process and guarantees a uniform final color.
For re-dyeing, you will need:
Step-by-Step Re-Dyeing Procedure
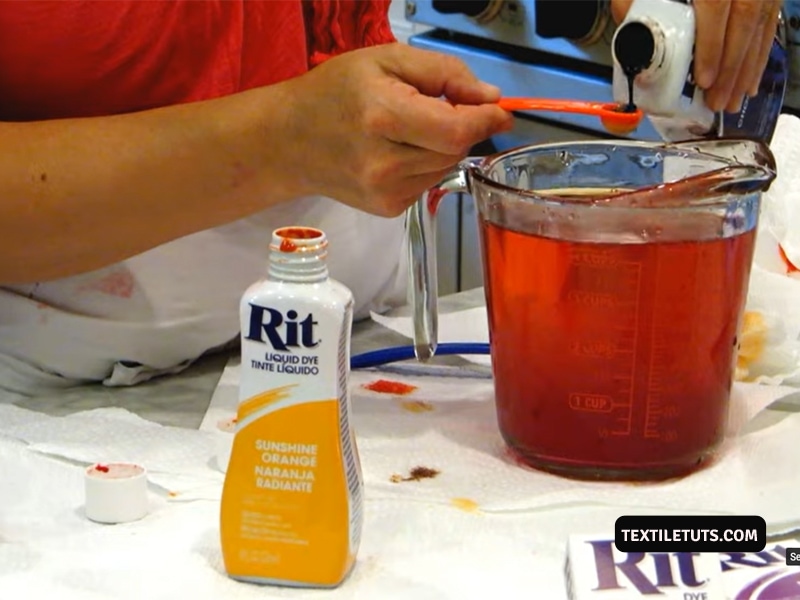
Fill your container with hot water at 140°F (60°C) and add soda ash at a ratio of 1 tablespoon per gallon. Stir until fully dissolved. Always check the manufacturer’s dilution instructions on the soda ash package before proceeding.
Soak the blotched fabric in the soda ash solution for 8 hours or overnight. The soda ash raises the fabric’s pH, preparing it to absorb dye uniformly in the subsequent step. This pre-treatment is essential for achieving even color distribution on previously dyed fabric.
Remove the fabric from the solution and gently squeeze out excess liquid. The fabric should be damp but not dripping wet before entering the dye bath.
Prepare your dye bath by dissolving powder dye in 2 cups of very hot water, then add it to 3 gallons of hot water per pound of fabric. Add salt (for cotton, linen, rayon) or vinegar (for nylon, silk, wool) at a ratio of 1 cup per 2 pounds of fabric, plus 1 teaspoon of dishwashing liquid to promote level dyeing.
Fully submerge the damp fabric in the dye bath. Maintain water temperature between 140°F and 200°F depending on fabric type (140°F for natural fibers, up to 200°F for synthetic blends). Keep the fabric submerged for 10 to 60 minutes. The first 10 minutes require continuous slow stirring to prevent new blotchiness from forming.
Remove the fabric and run it through a thorough rinse in cool water until the water runs clear. Then wash in the machine using half a cup of salt and color-protective detergent at a maximum of 105°F (40°C) to set the dye. Dry completely flat or on a low-heat setting to prevent uneven shrinkage.
How to Prevent Blotchy Fabric Dye: Tips for Even Results
Prevention is always more effective than correction. With the right preparation and technique, achieving uniform, professional-quality dyeing results is entirely achievable on the first attempt.
Uniform color distribution depends on thorough preparation, consistent technique, and controlling the key variables that affect dye absorption.
Thoroughly Pre-Wash and Prepare Fabric
Before dyeing, the fabric must be completely clean and free of any finishes, oils, or chemical residues. Pre-wash in warm soapy water without fabric softener to remove any manufacturing finishes that could interfere with dye uptake.
For thick or heavily finished fabrics, use the maximum recommended wash temperature or an alkaline pre-treatment. For delicate or lightweight fabrics, a gentle warm wash is sufficient. Fabrics that are not properly pre-washed will develop uneven color and may fade significantly after just two to three subsequent washes.
Maintain Continuous Stirring Throughout Dyeing
The most critical factor in achieving even dye distribution is continuous, gentle stirring throughout the entire process. The first 10 minutes are especially important—stir slowly and consistently to prevent dye from pooling in low-lying fabric folds.
For small fabric pieces, uniform results are relatively easy to achieve. For large or heavy fabric pieces, consider using a gentle rotating motion or agitation method rather than manual stirring to maintain consistency across the entire surface.
Set and Monitor Correct Water Temperature
Water temperature directly controls how effectively dye molecules bond with fabric fibers. Always use a thermometer to verify temperature before adding fabric. The ideal water temperature is 140°F (60°C) for natural fibers like cotton, linen, and rayon. For synthetic blends, temperatures up to 200°F may be used if the fabric care label permits.
Temperature inconsistencies during the dye bath cause differential dye uptake rates across the fabric, resulting in visible patchiness. A simple kitchen thermometer eliminates this variable entirely.
Apply a Soya Milk Pre-Treatment
A soya milk mordant pre-treatment significantly improves dye absorption uniformity on natural fibers. Soak the clean, pre-washed fabric in diluted soya milk for 30 minutes, then wring out gently and allow it to semi-dry before dyeing. This treatment creates a more receptive fiber surface that accepts dye more evenly.
After the soya milk treatment, ensure the fabric is not dripping before immersing it in the dyebath—dripping liquid will cause local concentration variations and potential stains on the final piece.
Follow Proper Fabric Dyeing Practices
Always use a dye bath container large enough to allow the fabric to move freely without overlapping. Even if the fabric piece is small, thick materials require proportionally more solution to ensure complete immersion.
Pre-wet fabric slightly before immersion, as this helps it absorb color more evenly and reduces the risk of dry spots. Use traditional squeezing and pressing motions to remove excess water and trapped air pockets from the fibers before submerging.
If you need to pause the dyeing process, remove the fabric from the dye bath entirely rather than leaving it to soak unattended. Gently squeeze out excess solution, hang the fabric to prevent pooling, and resume when ready. Never allow any portion of the fabric to remain above the water line, as this produces dark, uneven patches where the dye concentrates as the water evaporates.
When dyeing garments with zippers, buttons, or metal hardware, remove or unzip these accessories before dyeing. Metal interferes with dye fixation and can cause localized color variations around the hardware. Similarly, fully unfold any folded areas such as sleeves or cuffs to prevent concealed areas from remaining unexposed to the dye.
Frequently Asked Questions
Can I use table salt for dyeing or re-dyeing fabric?
Yes. Both standard table salt and cooking salt work effectively for dyeing fabric. Salt acts as a dyeing assistant (mordant) that helps bond dye molecules to natural fibers. For cotton, linen, rayon, and ramie, use 1 cup of salt per 2 pounds of dry fabric. For nylon, silk, and wool, use 1 cup of white vinegar per 2 pounds instead.
What is the standard time for soaking fabric in a dye bath?
The standard soaking time is 30 to 60 minutes for most fabric and dye combinations. Polyester-cotton blends require a minimum of 30 minutes. Nylon dyes quickly and requires less time—often as little as 10 to 15 minutes. The first 10 minutes demand continuous stirring regardless of fabric type.
What is the correct water temperature for the dye solution?
For natural fibers (cotton, linen, rayon, silk, wool), the standard temperature is 140°F (60°C). For synthetic fabric blends, temperatures up to 200°F are appropriate if the fabric care label permits. Always verify with a thermometer—do not estimate.
Wrapping Up
Fixing blotchy fabric dye requires identifying the root cause, selecting the appropriate correction method, and following professional-grade procedures with specific measurements and timings. The three most effective methods are commercial dye fixatives for mild cases, natural acid fixatives (vinegar or lemon juice at a 3:1 water-to-acid ratio) for moderate issues, and a complete re-dye for severe blotchiness.
The smartest approach is prevention through proper fabric preparation, correct water temperature (verified with a thermometer at 140°F for natural fibers), continuous stirring during the first 10 minutes, and adequate water-to-fabric ratios of 3 gallons per pound. Follow these guidelines and you will consistently achieve even, professional-quality dyeing results.
References
- Rit Dye. (2024). How to Dye Using the Sink or Bucket Method. Rit Dye.
- Rit Dye. (2024). Using Rit All-Purpose Dye. Rit Dye.
- Wikipedia. (2024). Dyeing. Wikimedia Foundation.
- Rit Dye. (2024). Using Rit ColorStay Dye Fixative. Rit Dye.


