
How to Sew a Pillowcase: Quick Beginner Project

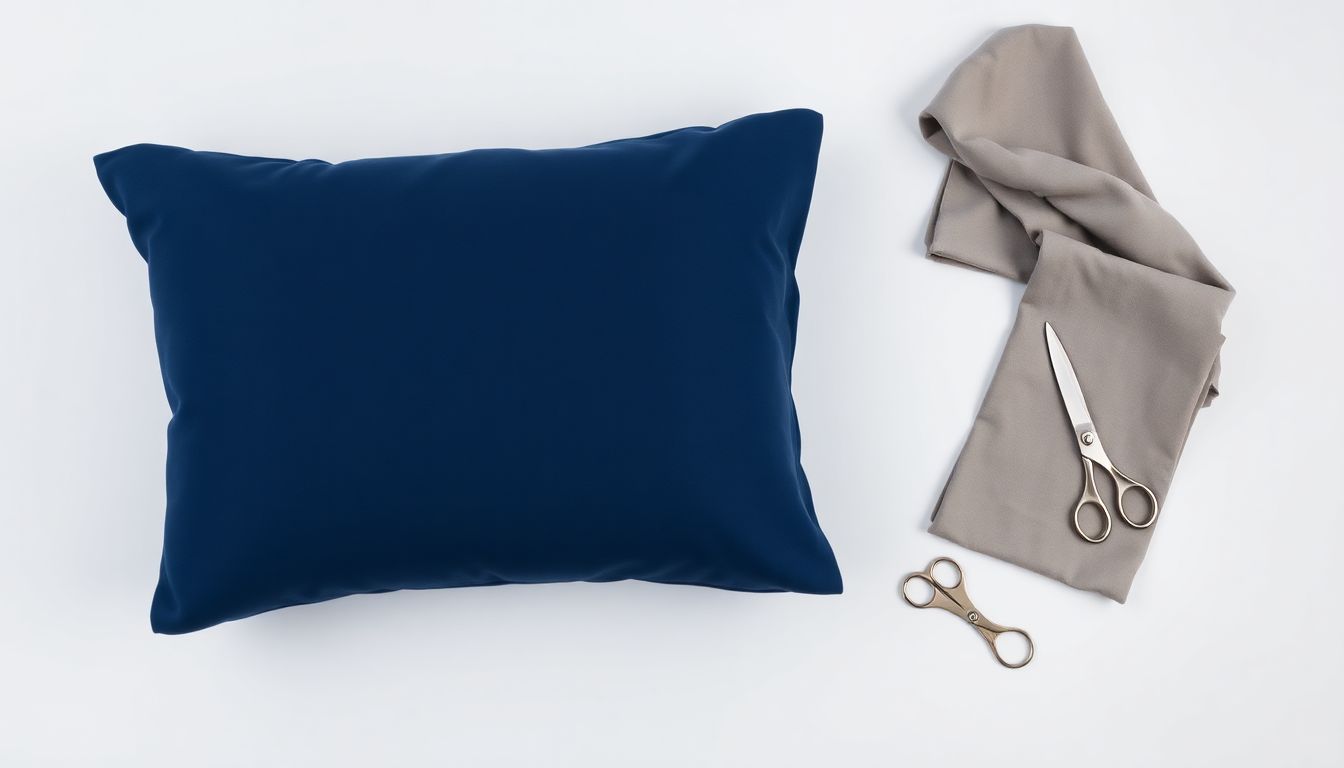
A pillowcase is a removable fabric cover that protects your pillow from body oils, sweat, and general wear while adding decorative style to your bedroom. Sewing a pillowcase involves cutting fabric, stitching three seams, and enclosing raw edges with a French seam technique that creates a professional finish resisting fraying through 200 or more wash cycles. The pillowcase project requires only fabric, matching thread, scissors, and a sewing machine—completing the entire project in under 20 minutes from cut to finished pillowcase. Once you master the French seam technique, you can customize pillowcases with any fabric print or color to match your bedroom decor.
Store-bought pillowcases frequently use low-thread-count fabric—between 120 and 180 TC—that pills within months of use. Choosing your own cotton woven fabric lets you select options like organic cotton, linen, or high-quality quilting cotton with a thread count of 200 TC or higher for superior durability. The pillowcase construction project teaches three fundamental sewing skills applicable to nearly every garment and home decor project: maintaining consistent seam allowance, executing clean backstitch reinforcement, and handling fabric through the machine feed dogs.
What Is a Pillowcase and Why Sew Your Own?
A pillowcase is a removable fabric cover that encases and protects your pillow from body oils, sweat, and general wear. The textile industry recognizes two standard pillowcase sizes in the United States: Standard and Queen pillows measure 20″ × 26″, while King pillows measure 20″ × 30″. European sizes differ significantly, with standard square pillows at 26″ × 26″. When cutting fabric, add 1 inch to each dimension for seam allowances and hem clearance, resulting in a 21″ × 32″ cut for Standard/Queen pillowcases.
Commercial pillowcases frequently use below-specification fabrics to reduce manufacturing costs. Many mass-produced pillowcases feature thread counts between 120 and 180 TC, which produces a thinner, less durable fabric that develops pilling after 20–30 wash cycles. In contrast, quilting cotton with a 200+ TC woven tightly using a plain weave structure resists pilling and maintains its integrity through 200+ wash cycles according to fabric durability testing by the American Association of Textile Chemists and Colorists (AATCC).
Sewing your own pillowcase delivers measurable advantages in fabric quality, customization, and skill development. You choose the exact fabric weight, weave structure, and fiber content. A cotton woven fabric with a thread count of 200 or higher provides breathability for comfortable sleep while withstanding frequent laundering. Beyond practicality, this beginner project builds muscle memory for three skills you’ll use in nearly every sewing project: maintaining consistent seam allowance, executing clean backstitch reinforcement, and handling fabric through the machine feed dogs.
Tools and Materials Needed
Gather these supplies before starting—most are standard equipment in any home sewing kit:
- Fabric: 1 yard of cotton woven (quilting cotton or percale works best for beginners)
- Matching all-purpose thread (polyester or cotton-covered polyester)
- Fabric scissors or rotary cutter with self-healing mat
- Ruler or measuring tape
- Straight pins or clips
- Iron and ironing board
- Sewing machine with a universal needle (size 80/12)
- Optional: seam gauge, fabric marker or chalk
The 80/12 universal needle works well for cotton woven fabrics between 3.5 oz and 5 oz per square yard. This needle size creates a hole small enough to prevent tunneling in tight weave structures while large enough to push cotton fibers aside without shredding. Change your needle every 8–10 hours of sewing time—a dull needle causes skipped stitches, thread breakage, and uneven seams that distort the fabric.
Step-by-Step: How to Sew a Pillowcase
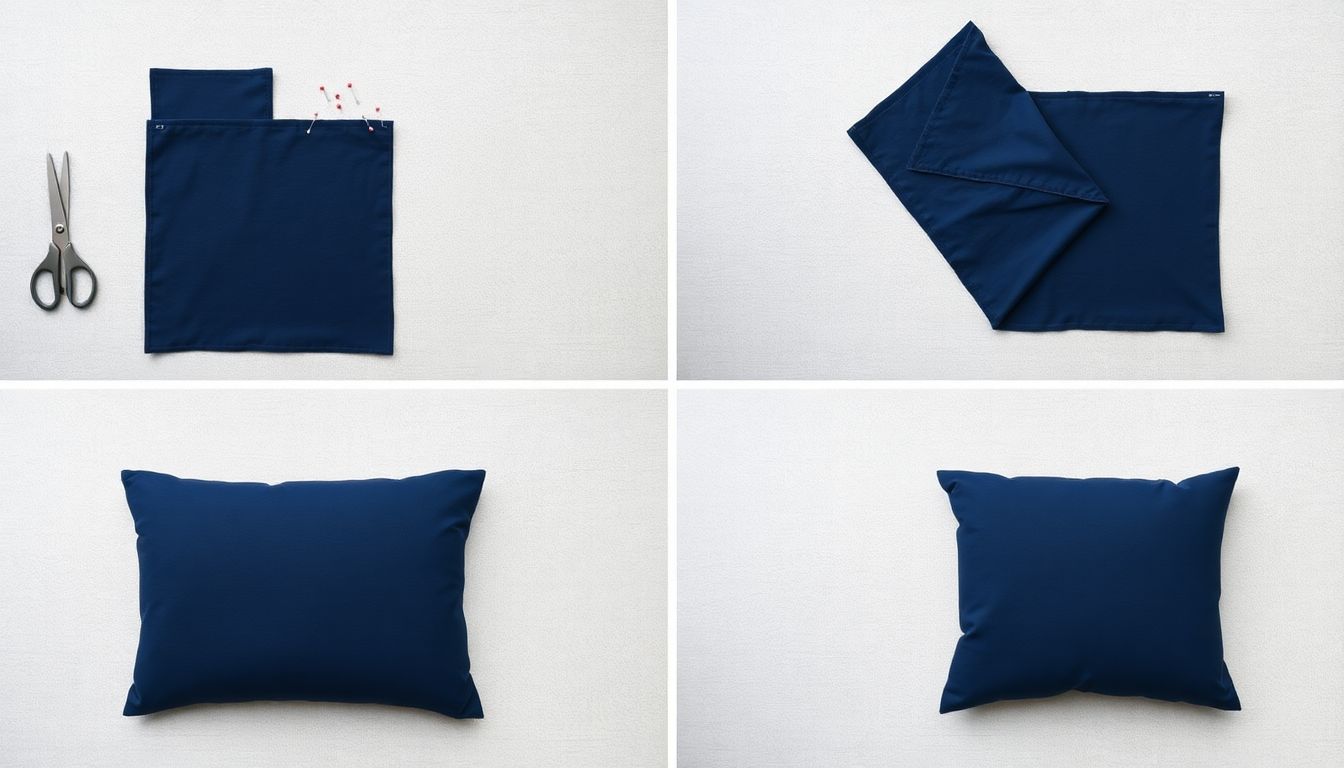
The French seam technique encloses all raw edges within two rows of stitching, producing a professional finish visible from both the exterior and interior of the pillowcase. This method originated in French haute couture and remains the standard for high-end bedding and garments where exposed raw edges would compromise durability or appearance.
Step 1: Cut the Fabric
Cut one rectangle 21″ × 32″ for the main body and one strip 3″ × 21″ for the hemmed end flap. For a Queen pillowcase use 21″ × 32″; for King use 21″ × 36″. Use fabric scissors held at a 45-degree angle to the weave for clean cuts, or a rotary cutter on a self-healing mat for precision. Always cut along the grainline—the lengthwise threads that run parallel to the fabric selvedge—to prevent stretching and distortion.
Step 2: Finish the Hem Edge
Fold one short end (21″ side) under 1/4″ and press with iron set to medium-high heat without steam; fold again under 1/4″ and press. The double-fold hem creates a clean edge that resists fraying. Pin every 3–4 inches and stitch close to the folded edge at 2.5mm stitch length. This hem becomes the pillowcase opening, so accuracy matters—uneven hem stitching shows prominently when the pillow is inserted and removed daily.
Step 3: Pin Right Sides Together
Place the hemmed piece face-up on your work surface. Lay the main rectangle on top with right sides facing—that means the printed or “public” side of the fabric touching the printed side of the hemmed piece. Align all raw edges along the sides and bottom. The hemmed edge should be at the top; this becomes the pillowcase opening. Pin every 4 inches with pins perpendicular to the seam line for easy removal while sewing.
Step 4: Sew the First Seam
Using a 1/2″ seam allowance, sew along both side seams and the bottom. Set your machine to 2.5mm stitch length for cotton woven fabric. Backstitch 3–4 stitches at the start and end of each seam for security—this prevents the seam from opening during laundering. Maintain consistent speed; rushing produces uneven stitch tension and puckered seams on cotton fabrics.
Step 5: Trim and Grade the Seam
Trim seam allowances to 1/4″ using scissors. Clip corners diagonally—cut into the corner at a 45-degree angle, staying 1/8″ away from the stitch line. This removes bulk without compromising seam strength. Grading means trimming one seam allowance shorter than the other (trim to 1/4″ then trim again to 1/8″) so layers don’t create a visible ridge when the pillowcase is turned.
Step 6: Turn and Press
Turn the pillowcase right side out through the hemmed opening. Push corners out squarely using a turning tool, chopstick, or a knitting needle—never use a sharp object that could puncture the seam. Press flat with iron on medium heat, pressing from the wrong side first, then the right side. Proper pressing sets the seams and removes puckers before the final French seam step.
Step 7: Sew the French Seam (Enclosing Seam)
This is the signature step that makes handcrafted pillowcases look professional. With wrong sides out (fabric turned inside out), fold the pillowcase so the original seam sits 1/4″ from the folded edge. Sew with a 1/4″ seam allowance, completely enclosing the raw edges. The first seam’s 1/2″ allowance gets trimmed to 1/4″, then the 1/4″ French seam encloses everything. When turned right side out, all raw edges are hidden inside the double seam wall.
Step 8: Final Press and Inspect
Press all seams flat on the right side. Inspect all three seams (two sides and bottom) for security by gently tugging them. The interior should display only a clean French seam—about 3/8″ wide—with no exposed fabric edges or fraying threads visible. Any exposed raw edges indicate the French seam didn’t fully enclose; unpick and resew at that spot before laundering.
Common Mistakes and How to Fix Them
Avoiding these common pillowcase construction errors ensures professional results on your first attempt. Uneven seam allowance causes the pillowcase to twist after washing. Fabric shifting during sewing creates v-notches or wavy seams. Wrong side confusion places seams on the exterior. French seam enclosure failure exposes raw edges inside the pillowcase. Iron scorching damages cotton fabric with shine or melt marks. Understanding these problems in advance lets you prevent each one with specific techniques during construction.
| Mistake | Problem | Fix |
|---|---|---|
| Uneven seam allowance | Pillowcase twists when turned | Use a seam gauge or painter’s tape as a guide on the machine bed; mark seam line with chalk before pinning |
| Fabric shifting | V-notch or wavy seams | Pin every 3–4 inches; sew slowly; use a walking foot for thick cotton weaves |
| Wrong side confusion | Seams end up on the outside | Mark the fabric wrong side with chalk before pinning; remember: right sides touch, wrong sides face out |
| French seam not enclosing fully | Raw edges visible inside | Trim first seam to 1/4″; the second seam must be sewn with wrong side out |
| Iron scorching cotton | Shine or melt marks on fabric | Use medium-high heat without steam; always press on wrong side first, then right side through a press cloth |
Fabric Options for Pillowcases
Quilting cotton, percale cotton, and linen each behave differently during pillowcase construction—affecting cutting accuracy, pressing technique, and finished durability. The fabric type determines how easily you can identify grain lines, whether the fabric slips under the presser foot, and how much fray resistance the finished pillowcase will have. Selecting the appropriate fabric for your skill level prevents construction problems and ensures a pillowcase that lasts through years of washing.
Quilting cotton is the best choice for beginners. This medium-weight woven fabric has a thread count of approximately 200 TC, providing durability without excessive thickness. It handles crisply, making it easy to identify grain lines and align patterns. Quilting cotton resists stretching during sewing and presses flat without slipping. The wide variety of prints available at fabric stores makes customization easy.
Percale cotton offers a smoother, tighter weave with a thread count of 250–300 TC. This produces a cooler, crisper hand feel preferred for luxury bedding. Percale requires more precise cutting because it frays more readily than quilting cotton. The tighter weave also makes it slightly more slippery under the presser foot; reduce machine speed and use more pins.
Linen (from flax fibers) is highly breathable and softens beautifully with each wash cycle. However, linen is an intermediate-level fabric due to its tendency to fray extensively and slip during sewing. The woven fabric structure allows threads to shift more than cotton, requiring careful pinning and slower stitching. If choosing linen for a pillowcase, interface the hem allowance with lightweight fusible web to prevent sagging.
Avoid for your first pillowcase: Satin, silk, charmeuse, or any slippery synthetic blend. These fabrics shift under the presser foot, creating misaligned seams that frustrate beginners. The lack of grip makes pinning and cutting inaccurate. Master cotton pillowcases first, then advance to slippery fabrics with a walking foot and fabric stabilizers.
When to Use French Seams vs. Standard Seams
The French seam method used in this tutorial represents the gold standard for pillowcases that undergo frequent washing. Here’s when to choose each technique:
French seam (used in this tutorial): Encloses all raw edges within a double seam structure. This is the ideal choice for pillowcases that will be washed weekly—hotel-quality bedding and high-end retail pillowcases consistently use French seams. The enclosed construction prevents fraying through 200+ wash cycles according to textile testing standards. The technique adds approximately 5 minutes to construction time but dramatically improves longevity and professional appearance from both inside and outside the pillowcase.
Standard seam with zigzag: A single seam finished with a zigzag stitch on the raw edge. This method is faster—requiring only one pass through the machine—but raw edges remain visible inside the pillowcase. Acceptable for decorative pillowcases that are rarely washed or for items intended for temporary use. The zigzag finish provides moderate fraying resistance but will deteriorate faster than French seams in frequently laundered items.
Flat-felled seam: The most durable option, used in men’s dress shirts and workwear. This technique sandwiches one seam allowance inside another with both exterior stitch lines visible. Flat-felled seams require more skill and typically a specialized walking foot or felling foot attachment. Reserve this technique for advanced projects or items subject to extreme stress.
Caring for Your Sewn Pillowcase
Proper washing and care for your cotton pillowcase ensures the fabric maintains its integrity and the seams stay secure. Launder in warm water at 40°C (104°F) or cooler to minimize shrinkage—cotton woven fabrics typically shrink 3–5% on first wash if not pre-shrunk. Use a mild detergent without optical brighteners if using naturally colored or printed fabrics.
Tumble dry on medium heat and remove promptly to prevent wrinkles that set during cooling. Iron on medium-high heat while still slightly damp for best results. The French seam construction keeps all internal edges secure through repeated wash cycles, but inspect seams periodically—after 50+ washes, check that the enclosing stitch hasn’t loosened. Resew any separation immediately to prevent the seam from opening further.
Frequently Asked Questions
How long does it take to sew a pillowcase?
A beginner can complete a pillowcase in 20–30 minutes. With practice, an experienced sewer finishes in 10–15 minutes. The longest steps are cutting accurately and pressing—not the actual stitching.
What size seam allowance should I use for a pillowcase?
Use a 1/2-inch seam allowance for the first seam and 1/4-inch for the French seam enclosure. The pillowcase will finish to approximately 20 inches wide after accounting for seam consumption.
Can I sew a pillowcase by hand?
Yes—use a running stitch or a fell stitch with a 1/2-inch seam allowance, then hand-stitch the French seam enclosure. Hand-sewing takes 120–180 minutes versus 20 minutes with a machine.
Why does my pillowcase twist after washing?
Twisting comes from uneven seam allowances—if one side seam is sewn at 1/2 inch and the other at 3/8 inch, the pillowcase will skew. Always measure and mark seam lines before sewing, or use tape as a guide on the machine.
Related Pillowcase Projects
Expand your pillowcase skills with these related projects. How to sew an envelope pillowcase variant uses the same French seam technique with a different closure design. For coordinated bedroom styling, how to sew a pillowcase set with matching pillow sham teaches you to scale the construction for standard pillow sizes. The pillowcase construction techniques you have practiced—maintaining consistent seam allowance, executing French seams, and pressing properly—transfer directly to how to sew a simple tote bag using the same straight-stitch and fabric-handling skills.
Proper pillowcase care extends its lifespan significantly. After mastering pillowcase construction, how to wash cotton fabrics correctly keeps your finished projects looking their best through years of use.


