
How to Sew Curtains: Step-by-Step for Beginners

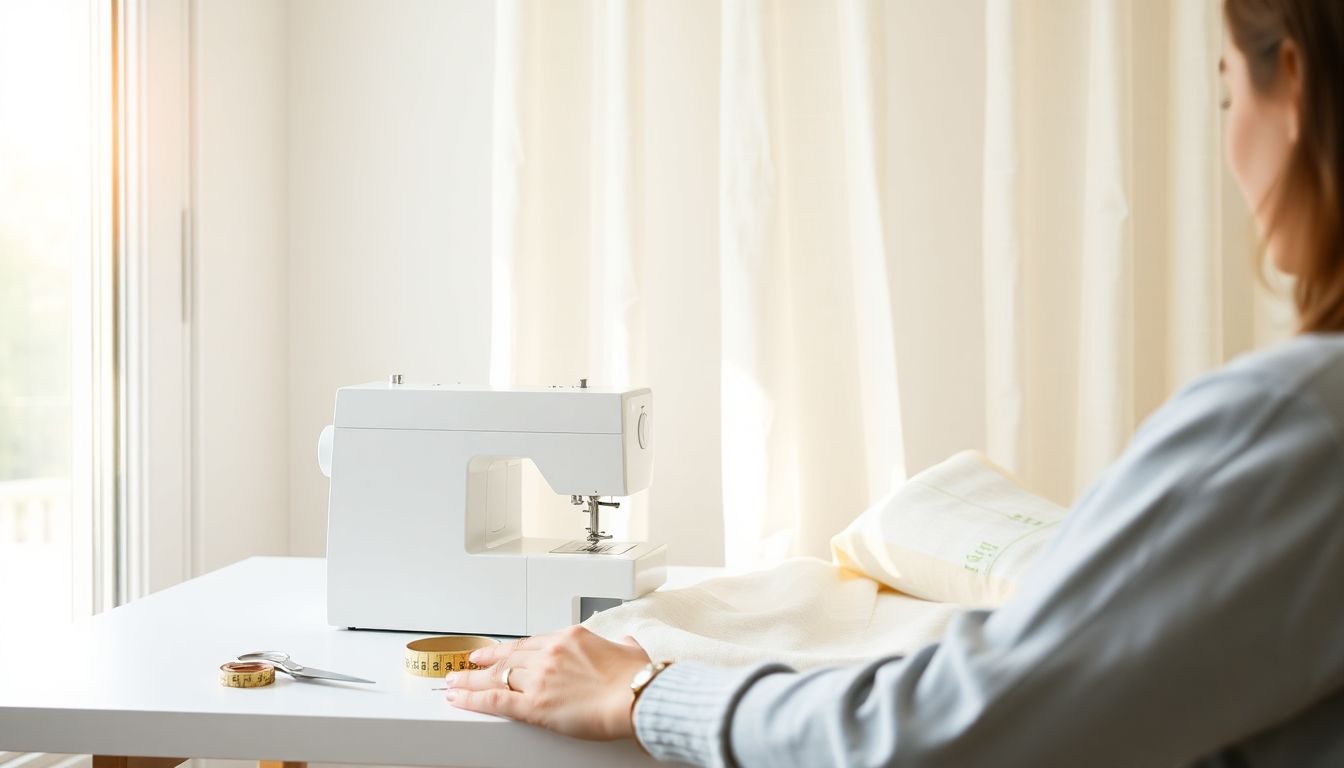
Sewing curtains requires a sewing machine, fabric of your chosen weight, curtain header tape, and basic supplies. Completing the entire project takes 2–3 hours for beginners. The process involves four critical measurements (width, length, header height, and rod width) that determine the final fit, followed by cutting, hemming both sides and bottom, attaching header tape, and hanging on a curtain rod. This guide walks you through every step with precision, so even if you have never touched a sewing machine before, you can produce professional-quality curtains for any room in your home.
What You Need Before Starting: Tools and Materials
Gather these items before you begin — having everything on hand prevents mid-project trips to the fabric store. Total cost for basic curtain-making supplies ranges from $30–80 depending on fabric choice, making DIY curtains significantly more affordable than store-bought alternatives, which can cost $50–300 per panel.
- Sewing machine (standard mechanical or computerized, any brand) — a straight stitch and zigzag stitch are the essential stitch patterns needed. See Brother’s curtain sewing guide for machine recommendations.
- Fabric (linen, cotton, cotton-blend, or blackout lining) — amount based on your window measurements; natural fibers are recommended for beginners
- Curtain header tape (also called curtain tape or buckram) — the stiff interfacing strip at the top that creates the pocket for the curtain rod and forms the pleats
- Curtain rod and rings (or grommets for tab-top curtains)
- Sharp fabric scissors or rotary cutter with self-healing mat — never use these scissors on paper, as sharpening for fabric is different from paper
- Seam ripper — mistakes happen during learning; a seam ripper is essential for every sewer
- Iron and ironing board — pressing seams as you go is non-negotiable for professional results
- Pins and a pin cushion — glass-head pins are recommended because they do not melt when exposed to iron heat
- Measuring tape (soft fabric tape measure works best) — do not substitute with a rigid ruler for measuring curved or draped fabric
- Pencil or fabric marker for marking cut lines — air-soluble or water-soluble markers are ideal as they disappear after pressing
Step 1: Measuring Your Windows for Curtains — The Four Key Measurements
The four measurements for curtain making are: rod width (measure the curtain rod between the brackets — this is your finished curtain width), drop length (measure from where the curtain will hang, usually 1–2 inches below the window frame, to the floor or sill), header height (add 3–4 inches above the window frame for the header tape pocket that creates the rod casing), and full fabric length (drop length plus 4 inches for top and bottom hems). These four measurements determine how much fabric you need for the horizontal dimension and the vertical dimension, and you lose approximately 3 inches to hemming and header tape attachment. Accurate measurements are the foundation of well-fitting curtains — errors at this stage compound through every subsequent step, so measure twice before cutting.
- Rod width — measure the curtain rod between the brackets (this is your finished curtain width). This measurement determines how much fabric you need for the horizontal dimension.
- Drop length — measure from where the curtain will hang (usually 1–2 inches below the window frame) to the floor or sill. For floor-length curtains, measure to the floor; for sill-length curtains, measure to the windowsill. Pro tip: measure at multiple points along the height — older homes often have floors and ceilings that are not perfectly level.
- Header height — add 3–4 inches above the window frame for the header tape pocket. This creates the casing through which the curtain rod passes and the area where pleating hooks attach.
- Full fabric length — drop length + 4 inches for top and bottom hems. This is the raw length before hemming — you will lose approximately 3 inches to hemming (1 inch double-fold side hems × 2 sides, and 3 inches bottom hem) and header tape attachment.
Note on fullness: Gathered curtains require extra fabric to look full and luxurious rather than flat and utilitarian. Multiply your rod width by 1.5–2 for standard gathered curtains. For pinch-pleat curtains, which create formal, sculpted pleats, multiply by 2.5 — the extra fabric is required to form the deep pleats that define this style.
Step 2: Calculating Fabric Yardage
Calculate fabric yardage using the formula: ((Drop length + 8 inches) × number of panels × multiplier) ÷ 36 = total yardage needed. The multiplier varies by curtain type — basic rod-pocket curtains use 1.5× width for a simple, casual look; grommet top uses 1.75× width for modern, minimal folds; pinch-pleat uses 2.25–2.5× width for professional, formal draping requiring the most fabric; and tab-top uses 1.5× width for a casual, decorative style. For a 36-inch wide window with an 84-inch drop using basic rod-pocket style for two panels: ((84 + 8) × 2 × 1.5) ÷ 36 = 276 ÷ 36 = 7.67 yards. Rounding up to 8 yards ensures enough fabric for matching patterns and any cutting errors.
| Curtain Type | Multiplier | Notes |
|---|---|---|
| Basic rod pocket | 1.5× width | Simple, casual look — the rod passes through a channel at the top of the curtain. See Simplicity’s curtain sewing basics for style variations. |
| Grommet top | 1.75× width | Modern, minimal folds — metal rings are sewn into the top header |
| Pinch-pleat | 2.25–2.5× width | Professional, formal draping — pleats are pinched and sewn at the top, requiring the most fabric |
| Tab-top | 1.5× width | Casual, decorative tabs — fabric loops sewn to the top edge hold the rod |
Calculation formula: ((Drop length + 8″) × number of panels × multiplier) ÷ 36 = total yardage needed
Example calculation: For a 36-inch wide window with an 84-inch drop, using basic rod-pocket style (1.5× multiplier) for two panels: ((84 + 8) × 2 × 1.5) ÷ 36 = (92 × 2 × 1.5) ÷ 36 = 276 ÷ 36 = 7.67 yards. Rounding up to 8 yards ensures you have enough fabric for matching patterns, matching directional nap, and any cutting errors.
Step 3: Cutting Your Curtain Fabric
Cut curtain fabric by laying it flat on a clean, flat surface or self-healing mat — never cut fabric on a carpeted floor because the pile shifts and distorts measurements. Allow fabric to relax for at least 30 minutes after removing it from the bolt because tightly rolled fabric can stretch. Pre-wash fabric before cutting if using natural fibers because cotton, linen, and rayon shrink significantly (3–8% shrinkage is common) on first wash. Mark cut lines with a fabric marker or pencil using the soft side of the tape measure as a guide for straight lines. Cut with sharp scissors (fabric dulls scissors quickly — use dedicated fabric scissors only and do not cut paper with them) or use a rotary cutter on a self-healing mat for the cleanest straight cuts. Cut all panels at once from the same fabric roll to avoid shade variation because fabric dye lots can differ noticeably between rolls. Cut the lining 2 inches narrower than the face fabric on each side (4 inches total narrower) so the lining is hidden inside the side hems.
- Lay fabric flat on a clean, flat surface or self-healing mat. Do not cut fabric on a carpeted floor — the pile shifts and distorts measurements.
- Allow fabric to relax for at least 30 minutes after removing it from the bolt — tightly rolled fabric can stretch, and you want your cuts to be true before pre-washing.
- Pre-wash your fabric before cutting if using natural fibers — cotton, linen, and rayon shrink significantly (3–8% shrinkage is common) on first wash. Pre-washing eliminates this surprise after your curtains are already sewn and hung.
- Mark the cut lines with a fabric marker or pencil — use the soft side of the tape measure as a guide for straight lines. For curved edges or corners, use tailor’s chalk.
- Cut with sharp scissors (fabric dulls scissors quickly — use dedicated fabric scissors only and do not cut paper with them). Alternatively, use a rotary cutter on a self-healing mat for the cleanest straight cuts. See Burda Style window treatment tutorials for cutting technique variations.
- If making multiple panels, cut all pieces at once from the same fabric roll to avoid shade variation — fabric dye lots can differ noticeably between rolls, and curtains on the same window must match.
- Cut the lining 2 inches narrower than the face fabric on each side (4 inches total narrower) — this allows the lining to be hidden inside the side hems for a clean, internal finish.
When cutting, always cut along the fabric grain — the lengthwise threads that run parallel to the selvage edge. Cutting on the bias (diagonally) causes curtains to drape poorly and stretch out of shape over time. The selvage (self-finished edge) should be on the sides, not the top or bottom.
Step 4: Sewing the Side Hems
Sew side hems using a double-fold technique: fold the side edge 1 inch toward the back and press firmly with a hot iron, fold again 1 inch and press to create a double-fold hem that encloses the raw edge completely, pin every 4–6 inches to hold the hem in place during sewing using glass-head pins that can withstand iron heat without melting, and sew along the inner fold line (the fold closest to the raw edge) using a straight stitch at 2.5mm stitch length with backstitch at the beginning and end of each seam for strength. Curtains endure more stress from opening and closing than typical garment seams because of their weight and handling. Repeat on the opposite side of the panel.
- Fold the side edge 1 inch toward the back of the fabric and press firmly with a hot iron — pressing is half the work of sewing; do not skip it.
- Fold again 1 inch and press again — this creates a double-fold hem that encloses the raw edge completely. The folded edge should be on the inside (back) of the curtain.
- Pin every 4–6 inches to hold the hem in place during sewing. Use glass-head pins that can withstand iron heat without melting.
- Sew along the inner fold line (the fold closest to the raw edge) using a straight stitch at 2.5mm stitch length. Backstitch at the beginning and end of each seam for strength — curtains endure more stress than typical garment sewing due to their weight and handling.
- Repeat on the opposite side of the panel.
- Backstitch at the beginning and end of each seam — curtains undergo more stress from opening and closing than typical garment seams.
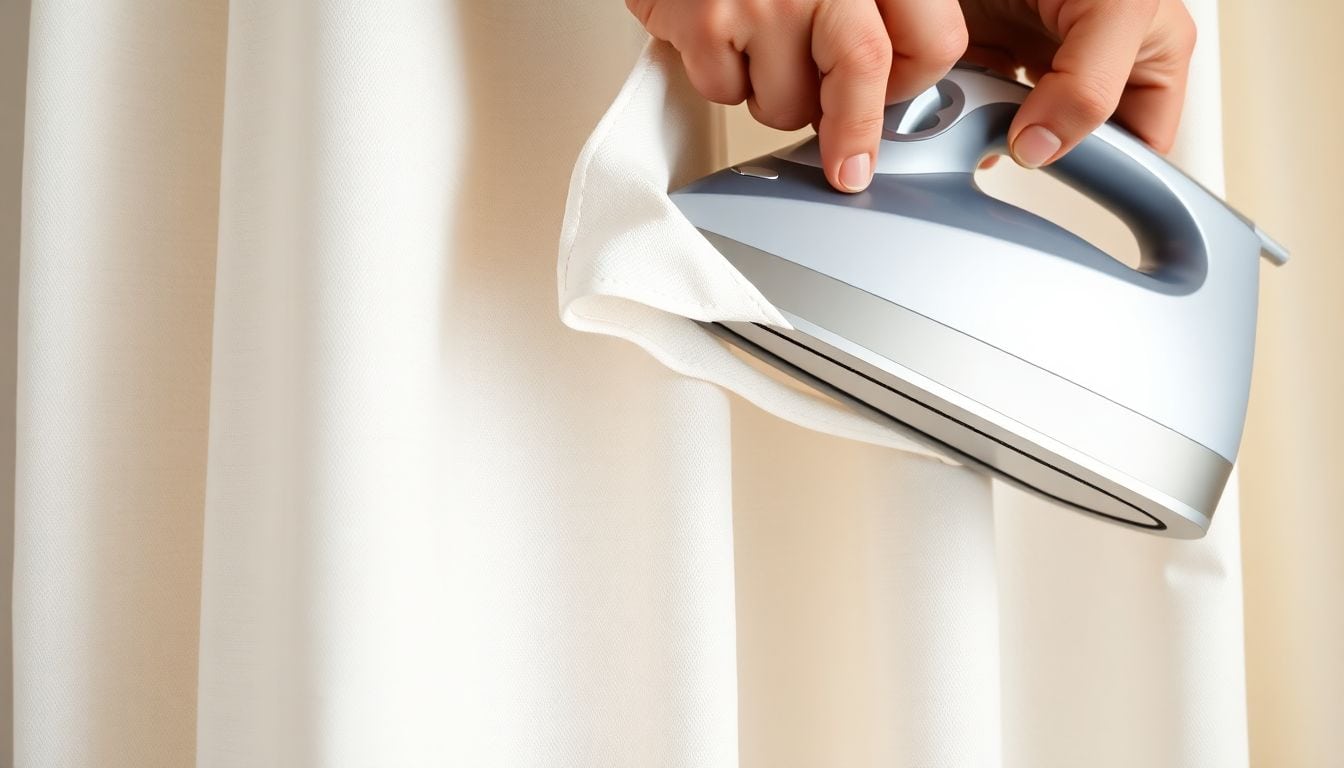
For the inner edges of the hem (the side facing the center of the panel if making double panels), consider using a zigzag stitch on the raw edge before folding, especially for cotton blends — this prevents the fabric from fraying over years of washing and handling. Polyester fabrics can be fused with pressing methods instead of stitching for a totally flat inner edge.
Step 5: Sewing the Bottom Hem
Sew the bottom hem by folding the bottom edge up 1 inch toward the back and pressing firmly, then folding up another 2 inches and pressing to create a 3-inch total hem that provides sufficient weight to keep the curtain hanging straight and professional in appearance. Pin horizontally across the hem to hold it flat using longer pins (1.5 inches or longer) that pass through multiple layers securely. Sew along the upper fold line (the first 1-inch fold) using a straight stitch, removing pins as you sew because never sewing over pins prevents broken needles, machine damage, and visible dents in your stitch.
- Fold the bottom edge up 1 inch toward the back and press firmly.
- Fold up another 2 inches and press again — this creates a 3-inch total hem that provides sufficient weight to keep the curtain hanging straight. For floor-length curtains, some sewers prefer a 4-inch hem for extra weight and a more luxurious look.
- Pin horizontally across the hem to hold it flat — use longer pins (1.5 inches or longer) to pass through multiple layers securely.
- Sew along the upper fold line (the first 1-inch fold) using a straight stitch. Remove pins as you sew — never sew over pins, as this can break your needle, damage your machine’s throat plate, or create a visible dent in your stitch.
- For blackout curtains, attach the blackout lining before this step: sew the lining to the back of the face fabric along the sides and bottom before bottom hemming. The lining should be 1 inch shorter than the face fabric so it is fully concealed inside the hem.
If you are making lined curtains, the lining attaches to the face fabric along the side seams before you hem the bottom. The lining hem should be 1 inch shorter than the face fabric hem so it sits inside the face fabric and is invisible from the front when the curtain hangs. After attaching the lining to the sides, treat the combined layers as one fabric for the bottom hem.
Step 6: Attaching Curtain Header Tape
Attach header tape by pinning it along the top raw edge on the back side of the fabric with pleat pockets facing up toward the ceiling (this is critical — if the tape is attached upside down, pleats point toward the floor instead of the ceiling, which is a common beginner mistake that requires unpicking the entire seam). Sew along the top and bottom edge of the header tape with a straight stitch using a seam guide or machine’s edge guide to maintain an even 3/8-inch seam allowance. Knot the draw cords at the bottom of the tape (inside the casing) to secure the pleats because leaving the cords untied allows them to pull out completely when you try to gather the curtain. Pull the cords to gather the curtain to your desired width, then tie off the cord bundle and tuck it inside the header casing to prevent the cords from showing or dangling.
- Pin the header tape along the top raw edge of the curtain panel on the back side of the fabric — the header tape has pre-formed pockets (called pleats or loops) that must face toward the window, not toward the room.
- Position the pleat pockets facing up (toward the ceiling) — this is critical. If you attach the tape upside down, your pleats will point toward the floor instead of the ceiling, which is a common beginner mistake that requires unpicking the entire seam.
- Sew along the top and bottom edge of the header tape with a straight stitch, using a seam guide or machine’s edge guide to maintain an even 3/8-inch seam allowance.
- Remove pins as you sew — never sew over pins. A broken needle mid-seam means unpicking an entire line of stitching.
- Knot the draw cords at the bottom of the tape (inside the casing) to secure the pleats — leaving the cords untied allows them to pull out completely when you try to gather the curtain.
- Pull the cords to gather the curtain to your desired width — for standard fullness, gather until the curtain width matches the rod width. For fuller curtains, gather more tightly.
- Tie off the cord bundle and tuck inside the header casing — this prevents the cords from showing or dangling.
Pro tip: Leave the cord loose until the curtain is hung — this lets you adjust fullness after installation. You cannot add fabric back if you gather too tightly, so err on the side of looseness during initial gathering.
For pinch-pleat header tape, the pleats are pre-formed and sewn into the tape — your job is to attach the tape to the curtain panel and insert the plastic or metal pleat hooks into the pre-formed pockets. Pinch-pleat tape typically requires a hook every 4–6 inches across the panel width for proper support.
Step 7: Hanging Your Curtains
Hang curtains by threading the rod through the header tape pocket for rod pocket curtains (the simplest hanging method), sliding fabric tabs directly onto the rod for tab-top curtains before placing the rod on the brackets, aligning grommets in pairs and threading the rod through each grommet for grommet curtains, or hooking rings through pleat loops or header openings for pinch-pleat or taped curtains with rings and inserting the pleat hook into the pre-formed pocket before hooking the ring over the hook. Hang the curtain and adjust the gathers evenly across the rod so the pleats are uniformly spaced with no gaps or bunching. Steam or iron the curtains while hanging to remove any shipping or storage creases — steam works best on natural fibers; for polyester, use a low-heat iron with a pressing cloth.
- Rod pocket curtains: Thread the curtain rod through the header tape pocket, then place the rod on the brackets. This is the simplest hanging method.
- Tab-top curtains: Slide the fabric tabs directly onto the rod before placing the rod on the brackets.
- Grommet curtains: Align grommets in pairs and thread the rod through each grommet in sequence.
- Pinch-pleat or taped curtains with rings: Hook the rings through the pleat loops or header openings. For pinch-pleat curtains, insert the pleat hook into the pre-formed pocket, then hook the ring over the hook.
- Hang the curtain and adjust the gathers evenly across the rod — the pleats should be uniformly spaced with no gaps or bunching.
- Steam or iron the curtains while hanging to remove any shipping or storage creases — this is especially important for linen and cotton curtains that have been folded. Steam works best on natural fibers; for polyester, use a low-heat iron with a pressing cloth.
After hanging, stand back and evaluate from at least 6 feet away — this is the distance at which most people view their windows. Check that the curtains hang at equal lengths on both sides and that the bottom hem is level. If one side is slightly longer, you can adjust by repositioning the rod or by steam-shrinking the longer side (works best on natural fibers).
Common Beginner Mistakes and How to Fix Them
Every curtain sewer makes these mistakes the first time — knowing about them in advance helps you avoid the frustration of unpicking hours of work.
| Mistake | Problem | Fix |
|---|---|---|
| Skipping pre-washing | Fabric shrinks after first wash (especially natural fibers like cotton and linen, which shrink 3–8%) | Always pre-wash fabric before cutting — this is non-negotiable for natural fibers. Synthetic blends may also shrink 1–3%. |
| Uneven hem length | Floor is not level or measuring was inconsistent | Measure at multiple points along the window height and use the shortest measurement for the cutting length. Use a laser level for reference if your floors are visibly unlevel. |
| Curtains too short after hemming | Did not account for hem allowance — losing 4–5 inches total to hemming is common | Add 4 inches to drop length before cutting. This accounts for 3 inches of bottom hem and 1 inch of top hem/seam allowance. |
| Header tape sewn upside down | Pleats point the wrong direction (toward floor instead of ceiling) | Check the tape orientation before pinning — the pleat pockets must face toward the ceiling/window, not toward the room. If sewn incorrectly, unpick the entire top seam and re-sew. |
| Skipping pressing | Sewn seams look unprofessional and do not lie flat — pressing is the difference between homemade and handmade | Press every seam as you go. Sewing without pressing is the single biggest indicator of an amateur result. A well-pressed seam looks sharper and lays flatter than any fancy stitch can compensate for. |
Caring for Your Finished Curtains
After investing 2–3 hours in sewing your own curtains, proper care extends their life significantly. Curtains collect dust, pollen, and cooking grease (especially in kitchens) over time. How you clean them depends on the fabric content.
For how to wash curtains, check our dedicated guide. Most cotton and linen curtains can be machine washed on a gentle cycle in cold water and tumble dried on low heat. Remove them promptly to prevent wrinkles. Polyester curtains are typically machine washable on warm water. Dry clean-only curtains (like silk or blackout-lined cotton) should be treated as indicated on the fabric label.
Vacuum your curtains monthly using an upholstery attachment on low suction to reduce the frequency of washing. This is especially important for light-colored curtains in kitchens or rooms near busy roads where dust and grease accumulation is faster.
Frequently Asked Questions
Can beginners sew curtains without a serger?
Yes — a standard sewing machine with a straight stitch and zigzag stitch is sufficient. A serger creates overlocked edges that look professional but are not required for curtain construction. Use a zigzag stitch on the raw inner edges of hems to prevent fraying over time.
What fabric is best for beginners to sew curtains?
Cotton or cotton-blend fabrics are ideal for beginners — they are affordable, easy to cut and sew, press well, and do not slip as much as silk or synthetics. Lightweight linen also works well but wrinkles more easily. Avoid slippery synthetics like polyester charmeuse until you have basic sewing confidence.
How much fabric do I need for a single curtain panel?
For a standard 36-inch wide window with 84-inch drop, you need approximately 3–4 yards of fabric for basic rod-pocket curtains (1.5× fullness) or 5–6 yards for pinch-pleat curtains (2.5× fullness). Always round up — having extra fabric is better than coming up short.
Should curtain lining be attached before or after the main curtain?
Attach lining before finishing the bottom hem — sew the lining to the back of the face fabric along the side edges first, then fold and sew the combined layers together for the bottom hem. This creates a clean, internal finish with no exposed lining edges.
References
- Brother Industries. (2024). Curtain Sewing Guide: Tips and Techniques. Brother International.
- Simplicity Pattern Co. (2023). Curtain Sewing Basics: From Measurements to Hanging. Simplicity Creative Group.
- American Sewing Guild. (2022). Window Treatment Sewing Resources. American Craft Magazine.
- Coats. (2024). Thread Selection Guide for Home Decor Sewing. Coats Thread Manufacturing.
- Burda Style. (2023). Window Treatment Sewing Tutorials. Burda Media.


