
How to Remove Bleach Stains from Clothes (Restoration Guide)

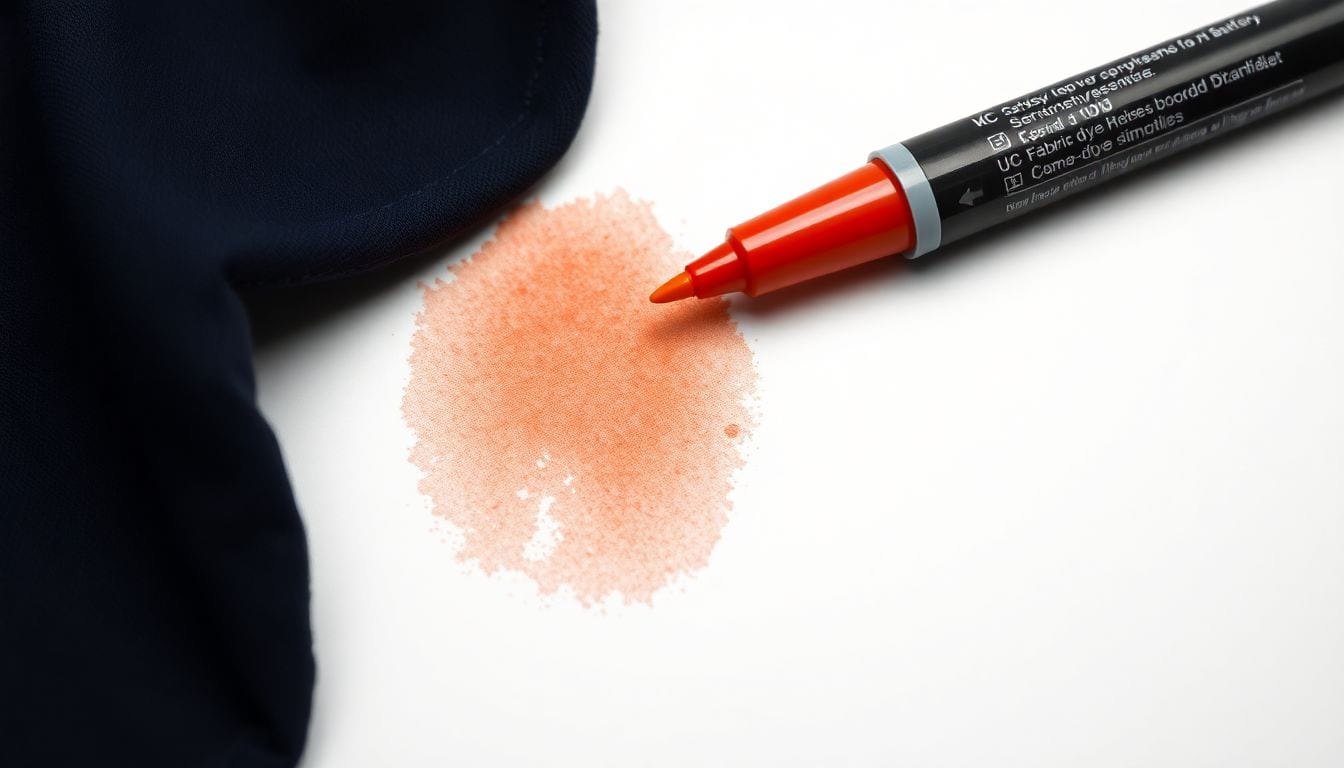
A bleach “stain” is not a stain in the traditional sense — it is permanent color destruction. Chlorine bleach oxidizes and destroys the chromophores (color molecules) in fabric dye, leaving white or orange-yellow spots that cannot be reversed by conventional stain removal. Restoration requires adding color back (fabric dye markers, fabric paint, or overdyeing) or, if caught within seconds of bleach contact, neutralizing with sodium thiosulphate (Na₂S₂O₃, a reducing agent used in photographic fixer) before the oxidation reaction completes.
Why Bleach Stains Cannot Be Removed Conventionally
To understand why bleach damage is permanent, it helps to understand what bleach actually does at a chemical level. Chlorine bleach — sodium hypochlorite (NaClO) in a 3–6% water solution — is classified by AATCC as a powerful oxidizing agent. It works by breaking the chemical bonds that make up a fabric dye’s chromophore groups.
Most modern fabric dyes, particularly azo compounds (which account for the majority of commercial colorants), contain conjugated pi orbital systems — the electron structures responsible for absorbing visible light and producing color. When sodium hypochlorite contacts these systems, it releases free chlorine radicals that aggressively attack the carbon-nitrogen double bonds in azo linkages. This oxidation fractures the chromophore’s entire electron conjugation system.
Once those bonds are broken, the dye molecule can no longer absorb visible light. The color is not “removed” — it is chemically annihilated. The original dye molecules break down into simpler compounds such as carbon dioxide, ammonia, and water. There is quite literally nothing left to extract or dissolve, which is why laundering, stain removers, and conventional cleaning chemistry cannot reverse the damage.
In some cases — particularly on dark navy or black fabrics — partial oxidation occurs. The chlorine bleach degrades some chromophore groups but leaves others intact, producing orange, yellow, or reddish intermediate compounds. This is why dark clothes frequently display orange or copper-colored spots rather than pure white after bleach contact. The dye has not disappeared; it has been chemically transformed into a different chromophore with a different absorption profile.
Emergency Treatment: Within 30 Seconds of Bleach Contact
If you catch a bleach spill immediately — within the first 30 seconds — there is a narrow window for emergency intervention. After the oxidation reaction completes (typically within 60 seconds of initial contact), the color loss is irreversible.
Step 1: Rinse immediately with cold water. Hold the affected area under a strong stream of cold water to dilute and physically flush away unreacted bleach before it penetrates deeper into the fabric structure. Do not use warm or hot water, as heat accelerates the oxidation reaction.
Step 2: Apply sodium thiosulphate. Sodium thiosulphate (Na₂S₂O₃), the active compound in photographic fixer solution, neutralizes free chlorine by reducing it to chloride ions — a harmless component of common table salt. It is available at camera shops and some craft stores. Prepare a 1% solution (approximately 1 teaspoon of photographic fixer per 500ml of water) and soak the affected area for 3–5 minutes, or apply it directly with a clean cloth.
Step 3: Rinse thoroughly and launder. After neutralization, rinse the area again with cold water, then launder the garment as normal using a gentle detergent.
The critical limitation: the oxidation reaction between bleach and dye is rapid, typically completing within 60 seconds of initial contact. Even with perfect emergency treatment, minor surface-level color loss at the outermost dye molecules is typical because those molecules react before the sodium thiosulphate can reach them. The primary goal of emergency treatment is to prevent the reaction from spreading beyond the initial contact zone.
Restoration Method 1: Fabric Dye Markers (Best for Small Spots)
For isolated bleach spots on solid-colored fabrics, permanent fabric dye markers are the fastest and most cost-effective solution. Brands such as Tulip, iCraft, and Dharma Trading produce alcohol-based fabric markers in a broad spectrum of colors.
How to apply them: Select the closest matching color to your garment’s original shade. For navy, black, brown, and similar dark tones, multiple markers in slightly different shades may be layered to achieve a convincing match. Apply the dye in thin, even coats directly to the bleach spot. Allow each coat to dry fully before applying the next — this prevents the dye from spreading beyond the affected area and builds depth of color gradually. Once the color matches the surrounding fabric, heat-set with a dry pressing cloth and a hot iron set to the appropriate temperature for your fabric type (check the garment label).
Fabric dye markers work best on flat, closely woven fabrics where the bleached area is no larger than a few centimeters in diameter. They are less effective on loosely woven or textured fabrics such as terry cloth, fleece, or ribbed knits, where the dye marker cannot coat the fiber surfaces evenly. The primary limitation is color matching — even the best marker sets may not provide an exact match for complex or heathered original colors.
Restoration Method 2: Fabric Paint (Best for Larger Areas)
For bleach spots that are too large for a dye marker to practically cover, fabric paint provides more flexible coverage. Fabric paints are pigmented acrylic emulsions designed to bond permanently to textile fibers when heat-set.
How to apply it: Select a fabric paint color matching the original garment or mix two or more colors to achieve a custom blend. Use a soft-bristle brush to apply the paint in thin, even coats over the bleached area, working carefully to blend the edges into the surrounding undamaged fabric. Allow each coat to dry completely before applying the next. Typically 2–3 coats are sufficient for opaque coverage. Once the final coat is dry, heat-set according to the manufacturer’s instructions — generally a medium-hot iron for 30–60 seconds without steam, through a pressing cloth.
One creative application: treat the bleach spot as a design element rather than a flaw. By applying fabric paint in a deliberate pattern — a floral motif, a geometric shape, a camouflaging texture — you transform an accident into an aesthetic feature. This approach is particularly effective on colored garments where an exact color match would be difficult to achieve with a marker.
Restoration Method 3: Overdyeing (Best for Large Areas)
When the bleach-affected area is large, multiple spots are present, or the garment is particularly valuable, overdyeing the entire garment is the most reliable full-coverage solution. How to overdye clothes submerges the entire garment in a dye bath, applying new color uniformly across the fabric surface.
The critical consideration for overdyeing bleach-damaged fabric: bleached areas absorb dye differently than intact fabric. The oxidation damage creates microscopic pitting and surface roughness on the fibers, increasing their surface area and porosity. This means the damaged zones typically accept and hold more dye than the surrounding undamaged fabric, producing a noticeably lighter or more saturated patch — a phenomenon called differential uptake. To counteract this, select a dye color darker than the original garment shade. Going darker ensures the bleached areas blend into the newly dyed field rather than appearing as lighter highlights.
For natural fibers (cotton, linen, rayon, hemp): fiber-reactive dyes such as Dharma Trading’s Fiber Reactive Procion MX produce the most permanent, wash-fast results. These dyes chemically bond to cellulose fibers at room temperature when activated with soda ash (sodium carbonate). For synthetic fibers (polyester, nylon, acetate): disperse dyes require heat application (typically 200–210°F in a dye bath on a stovetop) and produce durable results on man-made fabrics. All-purpose dyes like Rit are the most accessible option for beginners and work across fiber types, though they produce less permanent results than fiber-reactive or disperse dyes.
After overdyeing, apply a commercial color fixative appropriate to your dye type — such as Rit ColorStay Dye Fixative for all-purpose dyes, or a vinegar-and-salt mordant for fiber-reactive dyes — to maximize wash fastness. Launder separately for the first few washes to prevent dye transfer.
What Happens After Bleach on Different Colors
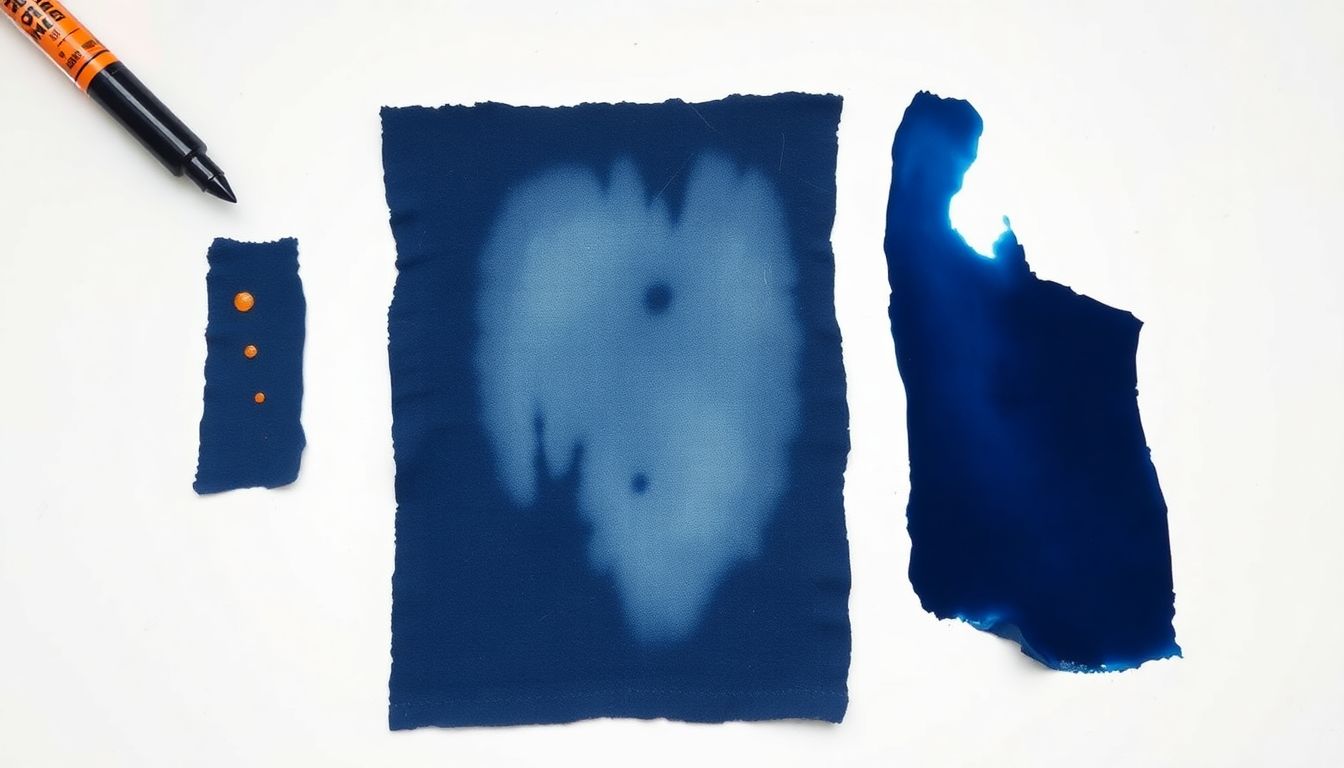
The outcome of bleach contact varies significantly depending on the original dye chemistry, the fabric fiber type, and the concentration of bleach applied. The table below summarizes typical effects on common garment colors.
| Original Color | After Bleach Effect | Easiest Restoration |
|---|---|---|
| Dark navy/black | Orange-red spot | Dark fabric dye marker |
| Red | White or pink spot | Red fabric marker; overdye |
| Dark green | Yellow-green spot | Overdyeing only |
| White | No visible change | N/A — already white |
| Grey | White/light spot | Dark marker or overdye |
| Black | Orange-brown spot | Dark fabric marker; overdye |
Dark colors like navy and black are most visibly dramatic because their complex azo dye structures — which absorb across the full visible spectrum to produce deep dark tones — are selectively degraded. When the long-chain conjugated systems are partially broken, they lose their ability to absorb red and green wavelengths, leaving only the shorter-wavelength orange and yellow compounds visible. Red dyes, by contrast, are often simpler structures (anthraquinone-based or azo with fewer conjugated double bonds), so they tend to degrade more completely to white or pale pink rather than producing an intermediate orange color.
References
- Encyclopaedia Britannica. (2025). Dye. https://www.britannica.com/science/dye
- Wikipedia. (2025). Bleach. https://en.wikipedia.org/wiki/Bleach
- AATCC. (2025). About AATCC — Colorfastness & Wet Testing. https://www.aatcc.org/about/
- Rit Dye. (2025). Overdyeing Instructions. https://www.ritdye.com/knowledge/overdyeing/
- TURI — Institute for Research and Technical Assistance. (2025). Colorfastness to Bleach Testing. https://www.turi.org/Testing,_Testing_Info/Fabric_Testing_Methods/Colorfastness/Colorfastness_to_Bleach


