
How to Take In Pants at the Waist: 3 Methods Ranked by Difficulty

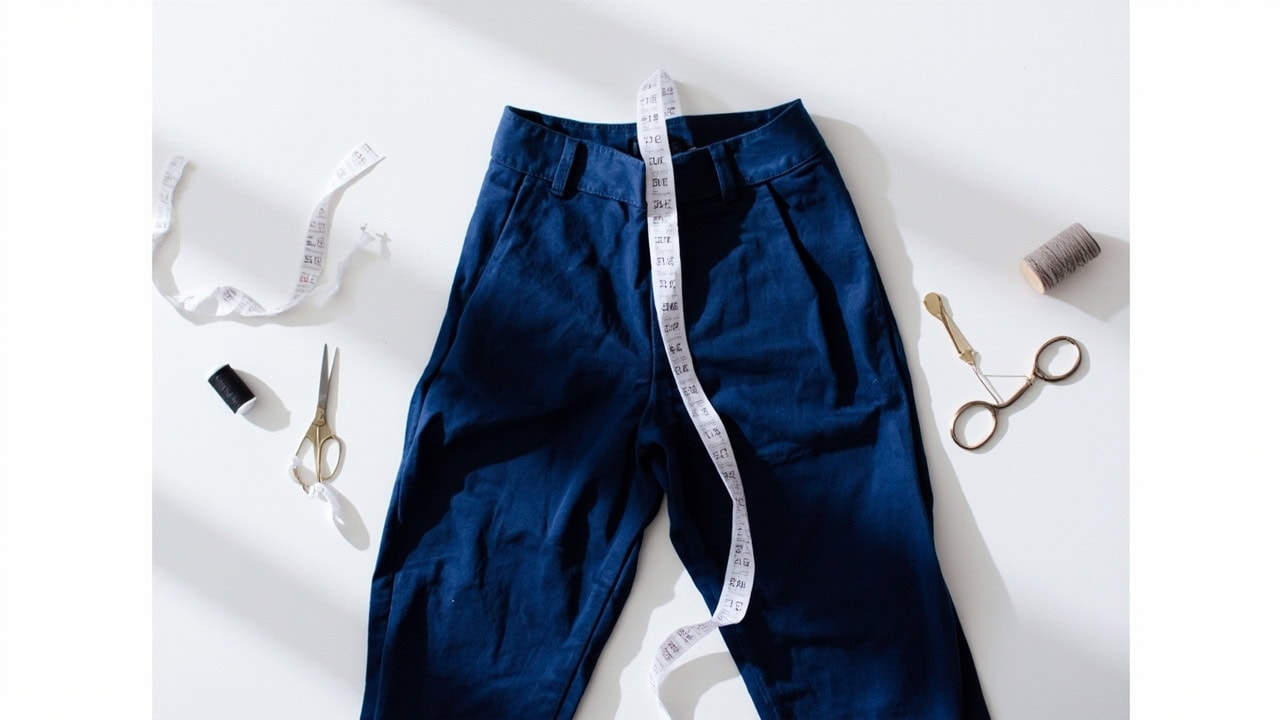
There are three primary methods for taking in pants at the waist, ranked from most permanent to quickest fix: (1) traditional dart and seam sewing for a lasting alteration, (2) no-sew elastic band insertion for reversible size adjustment, and (3) waist stay or belt loop attachment for a semi-permanent hold. The sewing method requires basic machine sewing skills and 30–45 minutes of work; the no-sew method takes under 10 minutes with no equipment needed.
Why Pants Become Too Loose at the Waist
Weight loss, fabric stretching, or purchasing the wrong size are the most common causes of a loose-fitting waistband. Over time, even well-constructed pants can develop waistband issues due to daily wear and fabric fatigue. Understanding why your pants have become loose helps you choose the right alteration method and avoid future fit problems. For comprehensive guidance on all garment alterations, consult our clothing alterations guide.
Waistband elastic loses tension gradually through repeated wear cycles. Elastic fibers typically experience tension loss of 15–30% after 1,000 stretch cycles, depending on the elastane content and fabric construction (Textile Research Journal). This is particularly common in stretch fabrics, blended materials, and pants with integrated elastic waistbands. The natural waist measurement—located approximately 1 inch above the hip bone—serves as the standard reference point for all garment alterations involving waist fit.
Taking in the waist is preferable to buying new pants when the rest of the fit is correct. If the leg silhouette, hip width, and rise measurements work for your body, a waist alteration restores the original comfortable fit without sacrificing fit elsewhere. The key is accurate measurement: always measure around your natural waist while standing in a relaxed posture, keeping the measuring tape parallel to the floor at approximately 1 inch above the hip bone prominence.
Method 1: Permanent Sewn Dart Alteration (Best for Tailored Pants)
Difficulty: Intermediate | Time: 30–45 minutes | Tools: Sewing machine or hand needle, matching thread, pins, seam ripper
The dart alteration method provides the most professional, permanent result for dress pants, chinos, and formal trousers. A dart is a folded wedge of fabric that tapers from a point at the waistline to nothing 2–3 inches below, removing excess fabric without creating bulk. This technique has been fundamental to tailoring since the 1950s and remains the standard approach used by professional tailors worldwide. To master this core tailoring skill, learn how to sew a dart properly before attempting your first waist alteration.
Step 1: Mark the Adjustment
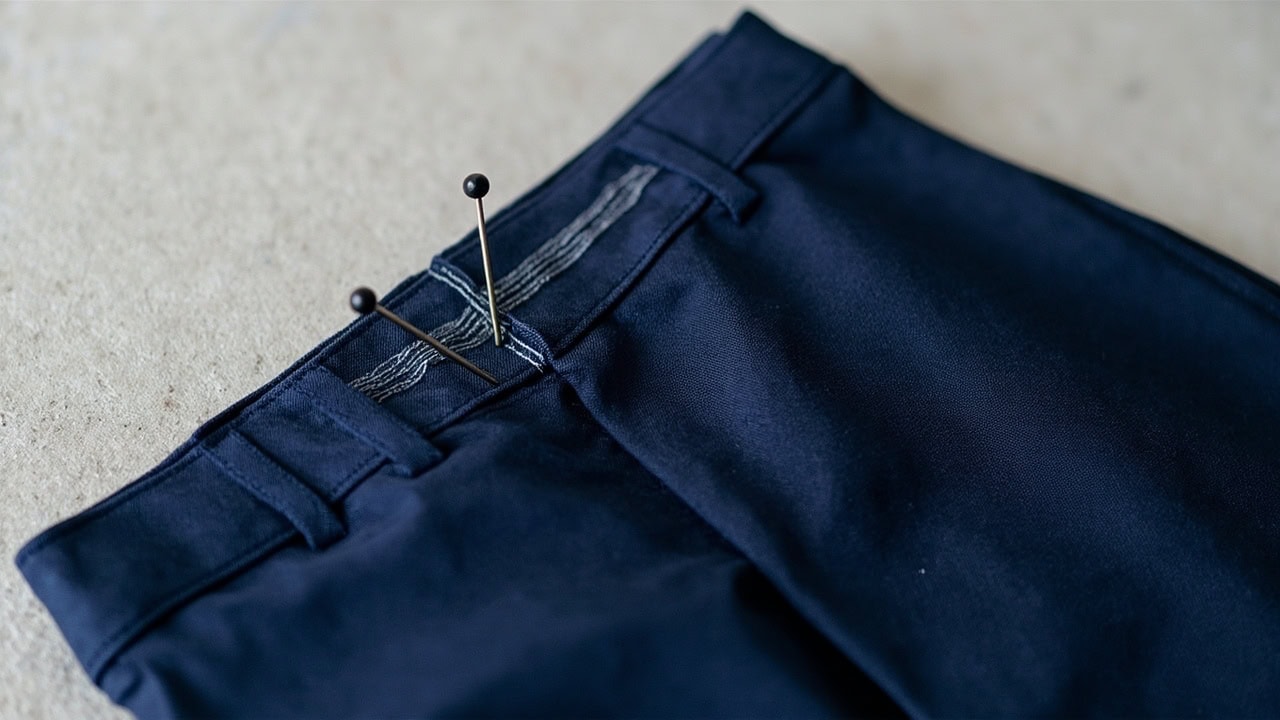
Turn your pants inside out and put them on. While facing a mirror, pinch the excess fabric at the center back waist and pull it to your desired fit. Pin the adjustment in place while wearing the pants. A typical alteration removes 1–3 inches total from the waist circumference (0.5–1.5 inches per side). Mark the pin location with a fabric marker or chalk, then remove the pants carefully.
Step 2: Create the Dart
With pants inside out, draw the dart line from the waistline downward, tapering to nothing at 2–3 inches below the waistband. The dart intake—the angle being removed—determines how much fabric is eliminated. Stitch along this line using a straight stitch, backstitching at both ends for durability. Press the completed dart toward the center back using a steam iron and tailor’s ham to maintain the curve.
Step 3: Adjust the Waistband (If Needed)
For adjustments exceeding 1 inch total, the waistband center back seam requires alteration to maintain proper alignment. Use a seam ripper to unstitch the waistband at center back, trim the excess fabric evenly on both waistband pieces, and resew the seam. Reattach the waistband, ensuring the seam lines align properly without gaps or bunching.
Step 4: Finish and Press
Press the sewn darts toward the center back using a pressing cloth and steam. Reattach the waistband if you removed it, then press the entire waistband area. Hang the pants overnight to allow the fabric to settle, then try them on and assess the fit before trimming any excess fabric beyond the original seam allowance.
Best for: Dress pants, chinos, formal trousers, and any garment where a clean, permanent alteration is required. This method provides the most professional result but demands basic sewing confidence and machine stitching ability.
Method 2: No-Sew Elastic Band Insertion (Best for Casual Pants)
Difficulty: Beginner | Time: 8–10 minutes | Tools: 1-inch wide elastic band, scissors, safety pin
The elastic insertion method offers a completely reversible waist adjustment with no sewing required. This approach works by threading a new elastic band through the existing waistband channel, effectively reducing the waist circumference without altering the original garment construction. The 1-inch width provides sufficient support while remaining concealed within the waistband.
Step 1: Determine Elastic Length
Cut your elastic to your current waist measurement minus 2–3 inches for appropriate stretch tension. For example, if your waist measures 34 inches, cut elastic to 31–32 inches. The elastic should provide a snug, comfortable fit without overstretching or creating bulges. You can test the fit by wrapping the cut elastic around your waist and stepping into your pants to simulate the final result.
Step 2: Thread Elastic Through the Waistband Channel
Locate the existing channel inside the waistband—most finished waistbands have an opening at the center back or side seam. Attach a safety pin to one end of the elastic and feed it through the channel, guiding it with your other hand from the outside. If your pants lack a finished channel, you can create one by stitching a seam parallel to the waistband edge approximately 1 inch from the seam, creating a channel along the inside waist seam.
Step 3: Secure the Elastic Ends
Overlap the elastic ends by 1 inch and stitch them together using a zigzag stitch or X-stitch pattern. Multiple rows of stitching (3–4 rows) provide maximum security and prevent the elastic from pulling out under tension. A secure stitch is critical here—failure at this point will cause the elastic to slip free during wear.
Step 4: Distribute Gathers Evenly
Before wearing, evenly distribute any gathered fabric along the waistband by working the excess fabric from the center toward the sides. The elastic should not create visible bunching or asymmetry. Wear the pants for several hours to confirm comfort, and remove only if the fit proves too tight.
Best for: Jeans, joggers, pajama pants, and stretch fabrics where a fully reversible adjustment is desired. This method preserves the original garment and allows you to revert to the original size anytime by simply removing the elastic.
Method 3: Waist Stay Addition (Best for Work Pants)
Difficulty: Beginner | Time: 15–20 minutes | Tools: 1-inch twill tape or grosgrain ribbon, needle and thread or fabric glue, scissors
A waist stay is a strip of firm fabric (traditionally twill tape or grosgrain ribbon) attached to the inside of the waistband. This technique distributes tension across the entire waist circumference rather than concentrating it at one point. Professional tailors have used waist stays since the early 20th century to provide a custom-tailored feel in tailored trousers and uniform garments.
Step 1: Cut Twill Tape to Measurement
Measure your waist at the point where the stay will sit (inside the waistband) and add 2 inches for overlap and finishing. Cut the twill tape cleanly using sharp scissors—the tape should have straight, fray-free ends. Grosgrain ribbon works equally well and offers slightly more body. Both materials are dimensionally stable and resist stretching, providing consistent support over time.
Step 2: Attach to Inside of Waistband
Position the twill tape or grosgrain along the inside seam of the waistband, attaching it only to the inner waistband layer—not through the outer fabric. Use a slipstitch or fabric glue to secure, catching only the inner waistband fabric. This attachment method ensures the stay is completely invisible from the outside while providing internal support and tension distribution.
Step 3: Add Hook-and-Eye or Button at Center Front
Attach a hook-and-eye closure at the center front of the waistband to complete the waist stay system. Hand-stitch the hook to the inside of the waistband on one side and the corresponding eye on the other, ensuring proper alignment when the garment closes. This closure prevents the waistband from gapping and maintains a smooth, tailored appearance during movement.
Step 4: Finish Tape Ends
Fold the raw ends of the twill tape under twice (approximately 1/4 inch each fold) and stitch or glue them securely to prevent fraying. A well-finished waist stay should lay completely flat against the inner waistband and be invisible during normal wear. The tape ends at center back should align with the existing seam to maintain a tidy interior appearance.
Best for: Uniform pants, work trousers, dress pants where you want reinforcement without altering the outer appearance. This method provides a tailored look with minimal visible change and adds professional-grade support to heavy-use garments.
Which Method Should You Choose?
| Method | Skill Level | Time | Permanence | Best For |
|---|---|---|---|---|
| Dart alteration | Intermediate | 30–45 min | Permanent | Dress pants, tailored trousers |
| Elastic insertion | Beginner | 8–10 min | Reversible | Jeans, casual pants, stretch fabric |
| Waist stay | Beginner | 15–20 min | Semi-permanent | Work pants, uniform trousers |
Common Mistakes and How to Fix Them
Taking in too much fabric is the most frequent error in waistband alterations. Start conservative—you can always remove additional fabric in a subsequent fitting session, but you cannot add fabric back. Never remove more than 1 inch per fitting and alteration session. Professional tailors recommend trying on the adjusted garment, living with it for a day, and only proceeding with further adjustments if needed after that assessment period.
Uneven adjustment results from marking or pinning without visual verification. Always mark and pin while wearing the pants inside out, positioned in front of a full-length mirror, or enlist a helper to verify symmetry from behind. Asymmetry of even 1/4 inch per side becomes visible as a twisted waistband when the garment is worn.
Visible stitching on the waistband ruins the professional appearance of dress pants. For tailored trousers, hand-stitch the dart from the inside using a blind hem stitch, which creates an invisible attachment from the exterior. This technique requires patience but produces results indistinguishable from the original factory construction. If you need to alter the leg length as well, learn how to hem pants after completing your waist alteration.
Elastic overstretching creates uncomfortable pressure and visible bulging above the waistband. If the inserted elastic feels tight or creates bulges at the hip, reduce the elastic length by 1–2 inches. The elastic should provide gentle support without compressing the waist or creating a “muffin top” effect.
How to Check Your Work
Wear the altered pants for 10–15 minutes to test comfort during movement. Walk, sit, stand, and bend naturally to evaluate how the waistband performs under dynamic conditions. A properly altered waistband should maintain its position without riding up, slipping down, or creating uncomfortable pressure points during these movements.
Sit down and stand up multiple times while checking the mirror—these are the positions where waistband fit problems become most apparent. The waistband should not gap at the center back when seated, nor should it dig into the waist or create unflattering bulges when standing. Any gapping indicates the alteration was insufficient; any digging indicates over-correction.
Check symmetry by viewing yourself from all angles in the mirror. The back waistband should drape evenly without twisting or pulling to one side. The front waistband should lay flat against the body without puckering or billowing. For permanent alterations, wash and wear the pants once before making additional alterations or hemming, as the washing process can cause additional fabric relaxation.
Once your waist alteration is complete, you may also want to explore other common garment alterations. Learn how to take in a shirt to extend your alteration skills beyond pants, creating a comprehensive set of fitting techniques for your wardrobe.
References
- Wikipedia. (2025). Dart (sewing). Wikimedia Foundation.
- Wikipedia. (2025). Waistband. Wikimedia Foundation.
- Wikipedia. (2025). Sewing. Wikimedia Foundation.


