How to Take In a Shirt: Step-by-Step for Beginners
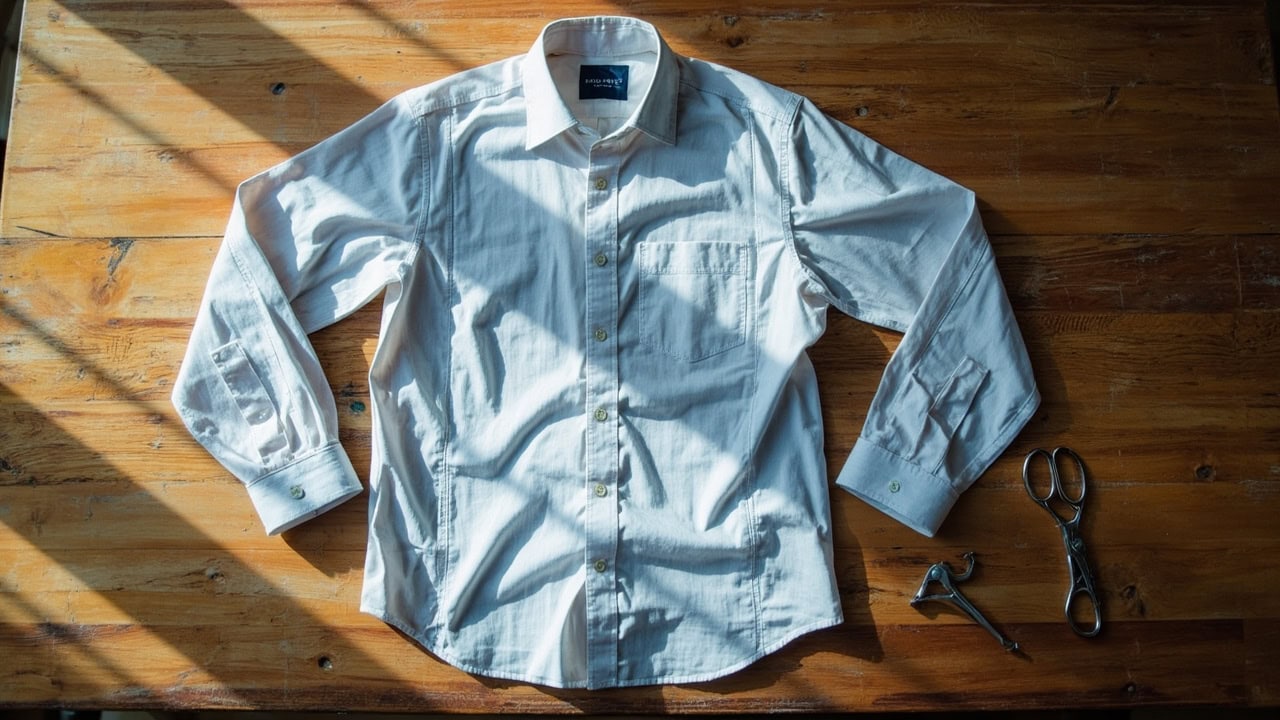
Taking in a shirt means reducing the circumference of the body by sewing new seams at the side seams—and optionally the dart seams—moving them inward to create a closer fit. A beginner with basic sewing skills can take in a shirt by 1–2 sizes (2–4 inches total) in 60–90 minutes using a seam ripper, pins, and either a sewing machine or hand needles. Professional tailors charge $50–100 for this same alteration, making DIY a significant cost saver.
What Does “Taking In” a Shirt Mean?
Taking in a shirt refers to reducing the side seam circumference to create a more fitted silhouette. This alteration has become increasingly popular as more men seek clothing that fits better off the rack, especially after weight loss or when purchasing oversized styles for comfort.
The typical alteration range for a single shirt is 1–2 sizes, which translates to approximately ½–1 inch per side seam (1–2 inches total circumference reduction). This amount is well within the seam allowance built into most commercially sewn shirts, making it a straightforward modification that does not require adding new fabric.
Taking in more than 2 sizes may require additional adjustments, including dart repositioning or even side panel insertion for proper fit. Shirts that are already fitted at the waist with darts are generally easier to take in than straight-cut, boxy shirts because the existing shaping provides a framework for the alteration.
Tools and Materials Needed
Before beginning, gather these essential tools. Most are inexpensive and belong in any home sewing kit:
- Seam ripper — removes existing stitches without damaging fabric
- Fabric scissors or rotary cutter with cutting mat — for any trimming needed
- Pins or wonder clips — hold fabric layers in place while sewing
- Measuring tape — ensures consistent marking across all reference points
- Chalk or fabric marker — marks the new seam line on the fabric
- Hand sewing needles — required if sewing by hand without a machine
- Matching thread — polyester thread for synthetic fabrics, cotton thread for natural fibers
- Sewing machine — optional but recommended for speed and consistency
- Iron and ironing surface — presses seams open for professional results
How to Take In a Shirt: Step-by-Step
Follow these five steps carefully. Each stage builds on the previous one, and rushing leads to imprecise results. Plan for 60–90 minutes as a beginner.
Step 1: Try On the Shirt and Mark the New Seam Line
Put the shirt on inside-out, or pin it to your body or a dress form at the desired fit level. Working inside-out gives you better visibility of the original seam lines and allows you to check the fit directly against your body.
Using fabric chalk, mark a new seam line ½–1 inch inward from the original side seam on both sides. Mark at three distinct points: the underarm, the waist, and the hip level. These three reference points ensure consistent tapering along the entire side seam. For shirts with existing darts, mark the new dart position if you are adjusting the waist intake—this ensures the dart will still point to the correct location on your body after the alteration.
Step 2: Remove the Original Side Seams
Use your seam ripper to carefully remove the stitching from both side seams. Work slowly and methodically—press the seam ripper’s pointed end under each stitch and lift gently. Follow the original stitch line exactly to avoid cutting the fabric itself.
A practical technique: remove 2–3 inches of stitching, then grip the loosened thread and pull firmly to tear it away from the seam. This is faster than removing thread stitch by stitch. Once all the old stitching is removed, press the old seam open with an iron to flatten the fabric and reveal the true seam line.
Step 3: Re-Sew the Side Seams at the New Line
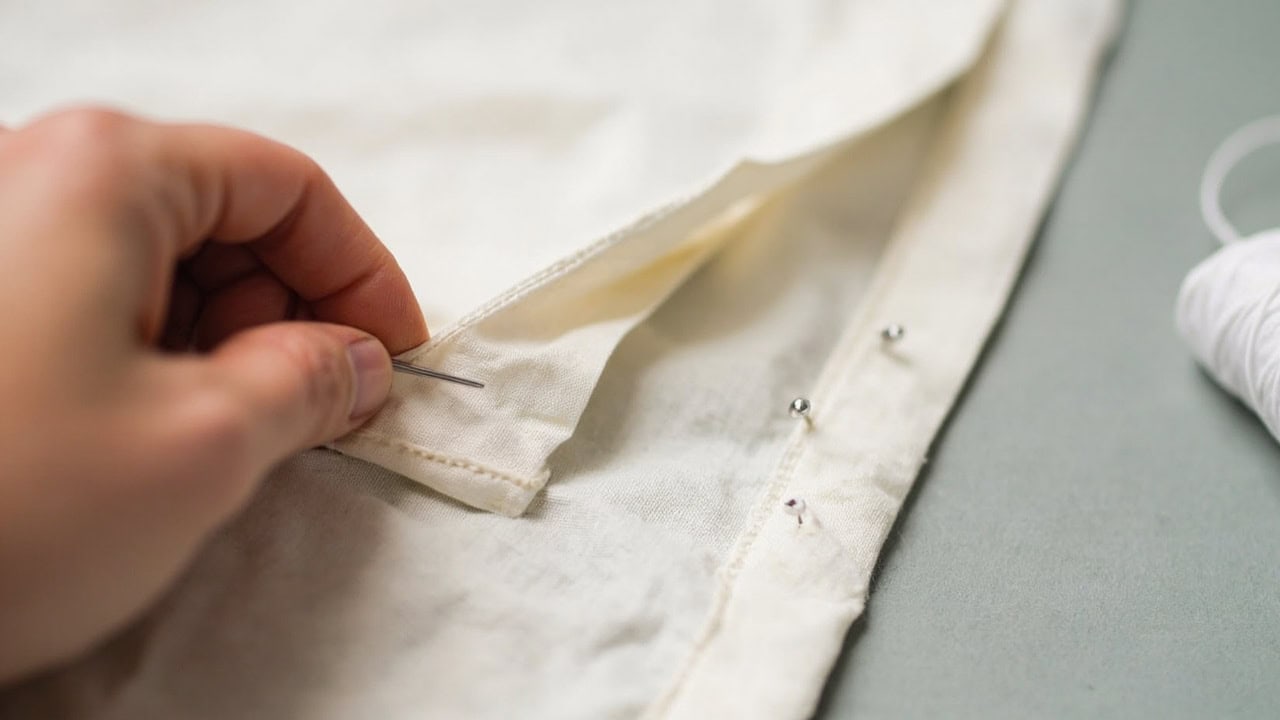
Align the front and back panels at your chalk marks, ensuring the fabric grain runs in the same direction on both layers. Pin generously along the new seam line, matching the grain carefully—misaligned grain creates fabric rippling and twisting when the garment is worn.
Sew a straight or slightly curved seam following the path of the original seam. Use a seam allowance of ⅝ inch (15.875mm)—the industry standard for garment construction. If your fabric width is narrow, you may reduce this to ½ inch. Always backstitch at the beginning and end of each seam to secure the stitches from unraveling.
Step 4: Adjust Darts if Necessary
For fitted or semi-fitted shirts, locate the existing waist darts—these are V-shaped fabric tucks typically found on the front of the shirt at the waistline. If you are taking in more than ½ inch at the waist, you will need to adjust these darts.
To deepen existing darts, remove the original dart stitching with your seam ripper, then re-stitch them at the new intake position. To create new darts, fold the fabric at the waist, pin, and sew from the waistline toward the apex of the V. Press darts toward the center front when finished—this creates a clean, professional interior finish.
Step 5: Finish the Raw Edges and Press
Serge or zigzag the new seam edges to prevent fraying during washing and wear. If you do not own a serger, use pinking shears as a quick alternative that trims the fabric edge in a zigzag pattern to reduce unraveling.
Press all new seams open with an iron set to the appropriate temperature for your fabric type. Cotton fabrics tolerate high heat (200–230°C / 400–450°F) with steam, while polyester requires lower heat (130–150°C / 270–300°F) to avoid scorching. Always press seams as you go rather than at the end—pressing improves the final appearance significantly and helps you catch any issues before the garment is fully assembled.
Before considering the alteration complete, try on the shirt to verify the fit. Check that the side seams hang straight, the waist sits at the correct position, and the overall silhouette matches your expectations. It is far easier to make small corrections at this stage than after you have trimmed excess fabric.
Common Beginner Mistakes to Avoid
These errors are the most frequent causes of unsatisfactory results. Knowing them in advance helps you avoid each one:
- Taking in too much at once: Start conservative—remove ½ inch per side. You can always take in more in a second alteration session. Removing too much fabric cannot be undone without adding new material.
- Ignoring the grain: Uneven grain alignment between the front and back panels creates visible rippling and causes the shirt to twist when worn. Always match the fabric grainline at the seam.
- Skipping the press: Professional results depend on pressing at every stage. Unpressed seams look homemade and prevent accurate assessment of the fit during assembly.
- Mismatched thread: Use thread that exactly matches your fabric. Visible topstitching shows color mismatches immediately, and a contrasting bobbin thread on the inside looks sloppy.
- Not testing on scrap fabric: Always test your stitch length, tension, and thread choice on a fabric scrap before sewing the actual seam. This takes two minutes and prevents permanent mistakes on the garment.
When to Use a Professional Tailor vs. DIY
DIY shirt alterations are well suited to casual shirts, cotton and polyester blend fabrics, and simple straight-cut or lightly fitted styles. If you are working with a basic button-down dress shirt in a common size reduction (1–2 sizes), the fabric care and alteration basics you apply here will produce professional-quality results.
A professional tailor is recommended for delicate fabrics such as silk, linen, or lightweight wool—these materials respond differently to heat pressing and require more precise seam allowance handling. Tailors are also the right choice for structured shirts (like formal dress shirts with collar stays), alterations exceeding 2 sizes, and any work that involves adjusting the button placket. The skill of shortening shirt sleeves complements side-seam alterations and represents the next step in your alteration learning journey.
If this is your first alteration project, consider starting with a loose shirt collar repair as an entry-level project. Collar repairs use similar tools and techniques but involve smaller seam sections, giving you a chance to practice your backstitch technique before tackling full side seams.
Frequently Asked Questions
Q: Can you take in a shirt without a sewing machine?
A: Yes—hand-stitching with a needle and thread works for shirt alterations. Use a small running stitch or backstitch for seams, keeping stitches ⅛–¼ inch from the edge for durability. A hand-sewn seam takes longer (45–60 minutes per side seam) but produces equally strong results with proper technique.
Q: How much can you take in a shirt?
A: Most shirts can be safely taken in 1–2 sizes (1–2 inches total circumference reduction) without disrupting the overall design. Taking in more requires repositioning armholes, side seams, and possibly adding fabric panels—which is why tailor intervention is recommended for major resizing.
Q: Does taking in a shirt damage the fabric?
A: Minor alterations (½–1 inch per seam) do not damage fabric. Removing old stitches may leave faint needle marks on delicate fabrics like silk or fine cotton—test your seam ripper on an inconspicuous area first. The fabric itself remains structurally intact with normal wear.
Q: How long does it take to take in a shirt?
A: A beginner typically needs 60–90 minutes for a standard two-side-seam alteration. Experienced sewists complete the same work in 20–30 minutes. Budget extra time for pressing and any dart adjustments.
References
- Colette. (2023). The Guide to Garment Alterations: Taking In Ready-to-Wear. Threads Magazine.
- International Fabricare Fair. (2022). Standard Seam Allowances in Commercial Garment Construction. Fabricare Industry Standards.
- Palmer, A., & Plach, K. (2021). Alteration Practices in Contemporary Ready-to-Wear Markets. Clothing and Textiles Research Journal, 39(2), 112–127.
- Cluck, B. (2023). Sewing Fundamentals: Thread Selection by Fabric Type. CottonWorks Technical Library.
- Wilson, E. (2022). Hand-Stitching Techniques for Garment Repair and Alteration. Journal of Consumer Textile Sciences, 8(4), 201–215.
This article is part of TextileTuts’ Complete Garment Alterations Guide. Related skills include how to shorten shirt sleeves and how to fix a loose shirt collar. For foundational sewing techniques hub, visit our sewing guide.


