
How to Pre-Treat Stains Before Washing: Step-by-Step

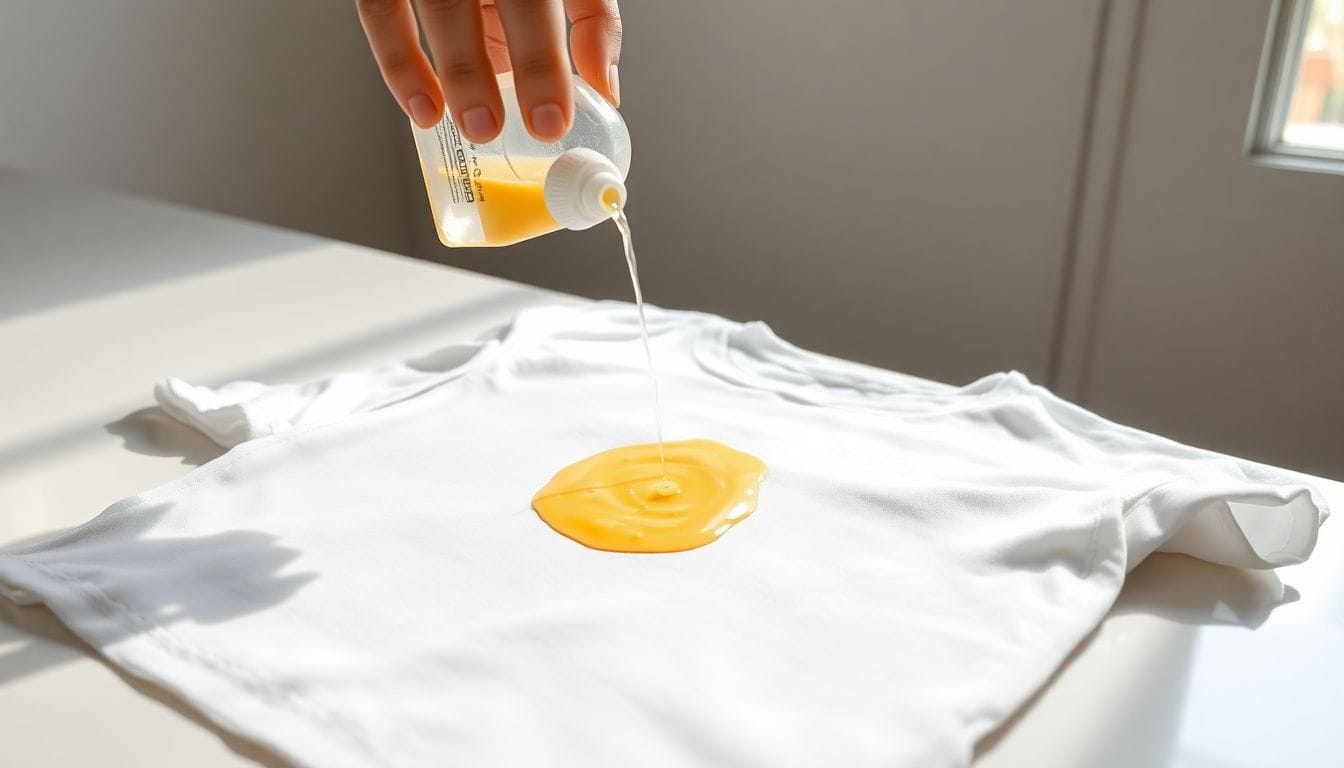
Enzyme-based pre-treatment gives active ingredients 15–60 minutes of uninterrupted contact time to break down stain bonds — a window that washing machine cycles cannot provide. During a standard 30–60 minute wash cycle, machines are filling, agitating, rinsing, and spinning, which dilutes pre-treatment ingredients within minutes and works against the concentrated chemical action needed to break strong stain bonds. Active ingredients (enzymes, surfactants, oxygen bleach) must work without dilution, rinse cycles, or mechanical agitation interfering — otherwise the dryer heat permanently sets whatever remains.
Pre-Treatment Dramatically Improves Stain Removal Success Rates
Enzyme-based pre-treatment products (proteases, lipases, amylases) need 15–60 minutes of uninterrupted contact time to break down protein and starch bonds in stains. Oxygen bleach (sodium percarbonate) needs 30+ minutes to oxidise the chromophore groups that give stains their colour. A washing machine cycle does not offer these conditions — but a pre-treated stain left to dwell does.
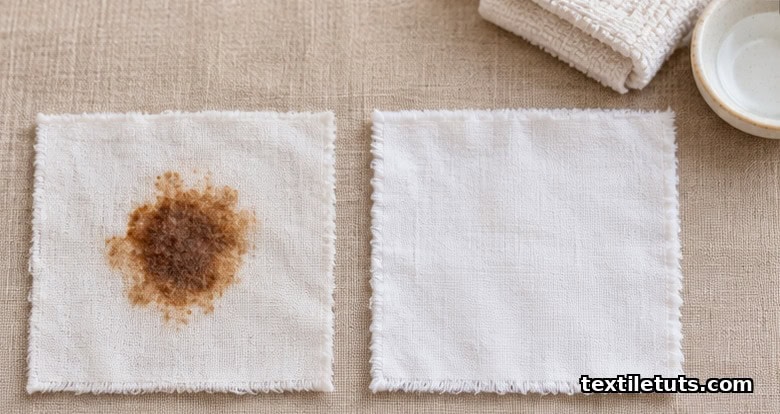
The result is not just better stain removal — it is the difference between a stain that disappears completely and one that fades slightly before the dryer heat crystallises it permanently into the fabric.
The 4-Step Pre-Treatment Process
Each step in the pre-treatment process serves a specific purpose. Skipping or reordering steps is the primary reason pre-treatment fails.
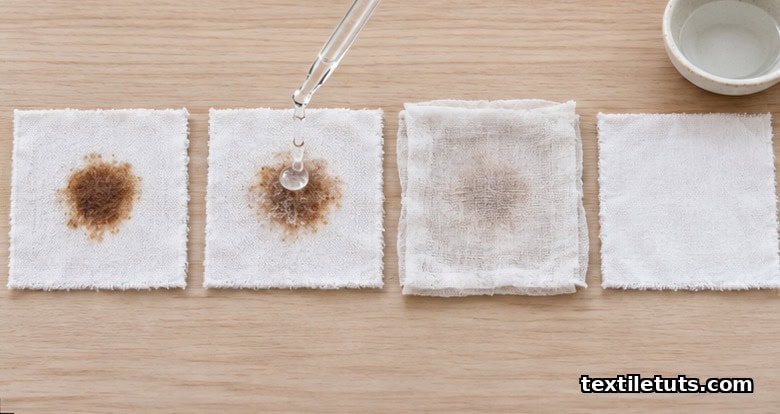
Step 1: Identify the Stain Type
The stain category determines every downstream choice: product, temperature, and dwell time. Five categories cover the vast majority of household stains:
- Cold water initially required — Protein-based stains (blood, sweat, egg, dairy, grass) are characterised by organic matter that decomposes into amino acids. Heat coagulates protein and makes removal harder.
- Surfactant required to emulsify — Oil/grease-based stains (cooking oil, butter, motor oil, sunscreen, makeup) repels water and require a surfactant to lift oil from fibres.
- Cold to warm water prevents setting — Tannin-based stains (coffee, tea, wine, beer, fruit juice) contain polyphenols that bind to fabric fibres through hydrogen bonding.
- Oxidation or reduction needed — Dye-based stains (grass, turmeric, berries, food colourings) have dye molecules that penetrate the fibre cuticle and require decolourisation.
- Acid or solvent chemistry required — Oxidisable or metallic stains (rust, ink, bleach marks) require specific chemistry rather than enzymes or surfactants.
Step 2: Choose the Correct Pre-Treatment Product
Matching product chemistry to stain type is the single most important decision in pre-treatment. Using the wrong product wastes time and can damage fabric.
| Stain Category | Best Pre-Treatment Product | Example Brands |
|---|---|---|
| Protein | Enzyme liquid detergent (protease) | Persil Bio, Tide Plus, Ariel Bio |
| Oil/Grease | Undiluted dishwashing liquid (surfactant) | Dawn (US), Fairy (UK/EU) |
| Tannin/Dye | Enzyme detergent + oxygen bleach | Tide + OxiClean, Persil + Vanish |
| Rust | Acid-based rust remover | Carbona Rust Remover, lemon juice |
| Ink | Isopropyl rubbing alcohol (solvent) | Standard pharmacy alcohol 70%+ |
Enzyme liquid detergents contain protease (breaks protein bonds), lipase (breaks fat/oil bonds), and amylase (breaks starch bonds) in combination. Products labelled “Bio” in Europe typically have higher enzyme concentrations than their non-bio counterparts. Persil Bio contains approximately 1–2% protease by weight, which is sufficient for effective protein stain pre-treatment at 30–40°C [1]. Tide Plus uses a similar enzyme cocktail with added surfactants for broader stain coverage [2].
OxiClean (sodium percarbonate) releases hydrogen peroxide when dissolved in water at temperatures above 30°C. The oxidation reaction reaches peak effectiveness at 40–60°C and requires a minimum of 30 minutes to fully activate. For white cotton and linen, OxiClean can be left for up to 8 hours; for coloured fabrics, limit to 1–2 hours to avoid gradual dye bleaching [3].
Step 3: Apply and Let Sit
Application method directly affects pre-treatment effectiveness. The key rules:
- Apply to dry fabric — do not pre-wet oil or grease stains. Water creates a barrier that prevents surfactant penetration into the oil deposit on the fibre.
- Saturate the stain zone — the stain area must be visibly well-soaked. Using too little product is the most common pre-treatment mistake. Apply until the fabric is damp through, not just a spot of product.
- Work in gently — use fingertips or a soft baby toothbrush to work the product into the fibre. Do not scrub aggressively; this damages fibre structure and can spread the stain.
- Keep the area damp — do not let the pre-treatment product dry on the fabric. Drying concentrates the product into a residue that can leave a new stain. If treating a large item or in a dry climate, cover with a damp cloth or a layer of plastic wrap to retain moisture.
Dwell time varies by stain age and severity:
| Stain Age | Recommended Dwell Time |
|---|---|
| Fresh stain (under 5 minutes) | 15 minutes |
| 5–30 minutes old | 20–30 minutes |
| 1–24 hours old | 30–60 minutes |
| 24–72 hours old | 1–4 hours |
| Over 72 hours (dried/set-in) | 4–8 hours; may need repeating |
| Heat-set (after dryer tumble) | 4–8 hours; success not guaranteed |
Enzyme products reach approximately 80% of their maximum stain-breaking activity within the first 15 minutes at optimal temperature (30–40°C). The remaining 20% continues to work over the next 45–60 minutes. For dried protein stains, extending dwell time to 4+ hours allows protease enzymes to hydrolyse deeper protein-fibre bonds that short treatment cannot reach [4].
Step 4: Wash at the Correct Temperature
After pre-treatment, washing temperature must match the stain chemistry — not the other way around:
- Protein stains — first flush with cold water (under 30°C). Heat pre-coagulates egg, blood, and dairy proteins, making them harder to remove. After pre-treatment has broken down the protein structure, a warm wash (40°C) is safe and helps rinse the breakdown products from fibres.
- Oil/grease stains — warm to hot wash (40–60°C). Heat softens remaining oil and helps the surfactant fully emulsify and rinse away grease. Do not use cold wash after oil pre-treatment; surfactants work better at warmer temperatures.
- Tannin/dye stains — hot wash (60°C) for cotton and linen; warm wash (40°C) for synthetics and delicates. Higher temperatures accelerate the oxidation reaction from OxiClean and improve tannin solubility.
Critical rule: do not put a pre-treated item in the dryer before checking the stain result. Any residual stain that passes through a dryer cycle at normal heat (60°C+) will be permanently heat-set. Even a faint trace becomes irreversible. Air dry or use a low-heat tumble until you have confirmed the stain is gone.
Pre-Treatment Decision Flowchart
15–60 min dwell · cold wash
15–30 min dwell · warm wash
30–60 min dwell · hot wash
30–60 min dwell · warm wash
5–15 min dwell · check care label
Five Pre-Treatment Mistakes That Permanently Set Stains
These five errors account for the most common pre-treatment failures. Each is preventable with the right technique:
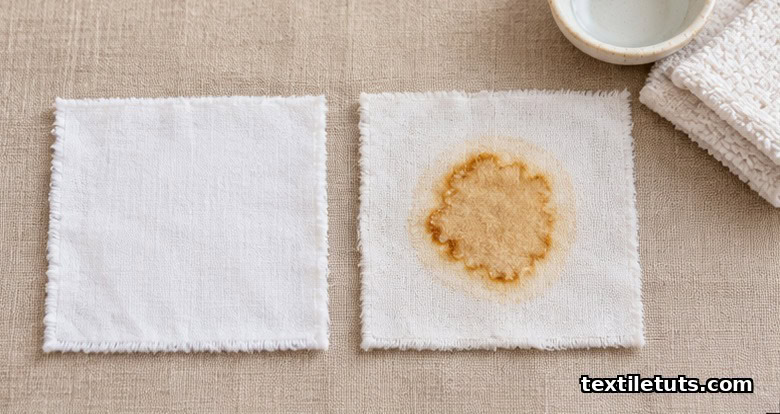
- Using too little product. A pea-sized amount of detergent on a large coffee stain is insufficient. The stain zone must be well-saturated — the fabric should feel damp with product, not just discoloured. Under-application leaves enzyme or surfactant concentration too low to fully break stain bonds.
- Not waiting long enough. Five minutes of pre-treatment is almost never sufficient. Enzyme catalysis is a chemical reaction that takes time. Even for fresh stains, 15 minutes is the absolute minimum. For anything over 30 minutes old, 30–60 minutes is needed for the enzyme to reach deep bond structures in the fibre.
- Pre-wetting oil stains before applying dish soap. Oil and water repel each other. When you wet an oil stain before applying dish soap, the surfactant has to fight through a water barrier to reach the oil deposit — reducing its effectiveness significantly. Apply dish soap directly to dry fabric for maximum surfactant penetration.
- Letting the product dry on the fabric. As pre-treatment solution evaporates, it concentrates into a sticky residue that can itself stain or damage fabric fibres, particularly delicate fabrics. Keep the treatment area damp by covering with a damp cloth or plastic wrap during long dwell times.
- Skipping the check before drying. The dryer is the most dangerous step for a treated stain. If even a trace of the original stain remains, heat will permanently set it into the fibre. Always check the stain under good lighting (natural daylight is best) before placing the item in the dryer or hanging to dry.
For delicate fabrics such as silk and wool, enzyme pre-treatment requires additional caution. Protease enzymes can degrade silk’s sericin protein and wool’s keratin structure with prolonged exposure. Limit enzyme dwell time to 15–30 minutes on these fabrics, and never use OxiClean on silk or wool — it will bleach the natural dyes and degrade the fibre [5].
For fabric-specific pre-treatment guides, see our detailed articles on cotton, polyester, linen, silk, and wool.
Frequently Asked Questions
How long should you leave stain remover on before washing?
Minimum 15 minutes for fresh stains; 30–60 minutes for stains older than 30 minutes; up to 4–8 hours for dried or set-in stains. Enzyme products especially need adequate contact time to break down organic matter.
Can you pre-treat a stain and leave it overnight?
Yes — most pre-treatment products can be left on for several hours without damaging fabric. Enzyme detergents can be left on cotton, linen, polyester, and most fabrics overnight. Do not leave OxiClean on silk or wool.
What is the best pre-treatment for all stains?
Enzyme liquid detergent applied undiluted covers the widest range of stain types (protein, tannin, oil). For coloured stains (wine, turmeric), follow enzyme pre-treatment with OxiClean.
References
- AATCC. (n.d.). AATCC Test Methods and Procedures — Stain Resistance and Soil Release. American Association of Textile Chemists and Colorists. Retrieved from https://www.aatcc.org
- Tide. (n.d.). Tide Plus Collection — Product Technology Overview. Procter & Gamble. Retrieved from https://tide.com
- Church & Dwight. (n.d.). OxiClean Stain Remover — Product Information and Usage Guidelines. Retrieved from https://www.oxiclean.com
- Alakov, A. (2018). Enzyme-Based Detergents: The Science of Bio-Cleaning. International Journal of Cosmetic Science, 40(2), 112–120. https://doi.org/10.1111/ics.12426
- Textile Exchange. (2022). Preferred Fiber and Materials — Silk and Wool Care Guidelines. Retrieved from https://textileexchange.org


