How to Dye Slow Color Changing Yarn – Ombre or Gradient Yarn Dyeing
Who doesn’t obsess over ombre? And who doesn’t obsess over ombre patterns?
I mean the transition from light to dark feels eye-catching and instantly gives off the 80s grunge vibes!
Now, I am pretty sure that at some point in your life you wanted to dye your hair in ombre shade or maybe you already have?
Anyways, the fun part is even if you are dyeing yarn at home and wondering how to dye slow color changing yarn, then rejoice!
Today, we will be discussing how to hand dye yarn into a gradient or ombre pattern with affordable materials! Also, if you haven’t yet stumble upon my previous article regarding hand dyeing yarn guide for beginners, then go check it out now!
So, let me take you on a short trip to color transitioning yarn dyeing at home!
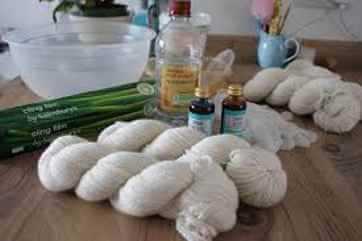
Things You Will Need
First thing first you will need yarn for sure and no wonder you require wool or something that’s somewhat 70% of wool or protein-based yarn.
This is crucial because when you are trying to pull off the ombre pattern cotton or other yarn material won’t be able to retain the shade transition or the hue will see opaque and hazy.
And more thing you need to comprehend before starting your dyeing errands is that wool or protein-based fiber needs an acid bath to absorb the color for a prolonged period.
Then you will need a giant ball or dishpan to soak your yarn into an acid solution and water. And obviously, you will need a stovetop or your ordinary heating tool where you are gonna put the dishpan and allow the water to boil.
Lastly, grab some good’ol plain food dye or food color or icing color to get the look!
So these are the things you will need to dye yarn with long color changes. However, there are some bits and bobs which can be included as in gloves, a spoon for mixing the color, a thong for flipping the sides of the yarn roll, etc.
Quick and Easy Method to Hand Dye Slow Color Changing Yarn
Here you will see how to dye yarn that changes color with those outlined materials. Also remember that the quantity of dye color, water, and acid (I am using vinegar) depends on the range of yarns you are willing to dye or the saturation you anticipate having at the end.
So let’s start dyeing color changing yarn!
STEP 1 – Prep for Soaking
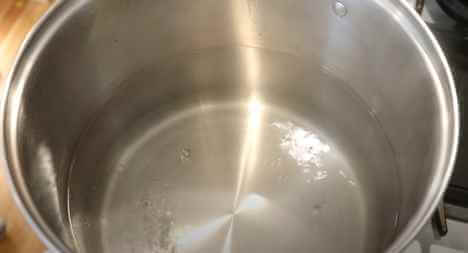
First lit up your gas stove and put the dishpan or bowl on it. make sure to take a bowl that is spacious enough to submerge the yarn wholly and provide enough room to toss up the yarn ball when needs be.
STEP 2 – Mix Dye Colors
Now here comes the most important part which is to add dye colors. In this regard you have to be very careful of the color consumption.
Because if you add too much dye then your yarn will be saturated excessively and this won’t deliver the deep to light shade instead it will be all dark.
The balance in hue and saturation is necessary while doing gradient dye. Here you have to take a spoon and add the colors spoon by spoon instead of adding all at once.
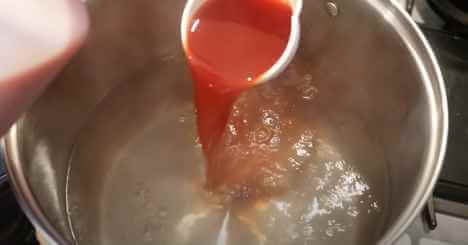
When I dye my yarn I always add 1 teaspoon, blend it with the boiling water and wait for the color to emerge so that I can decipher the saturation range and if it feels less then I add more.
See, here you have to use your instincts and your wit to obtain the color you aspire to have.
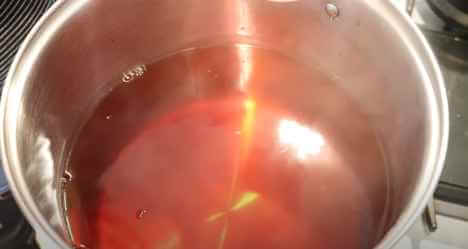
So after mixing the dye color let it mix with the water and vinegar solution for a few seconds.
STEP 3 – Dyeing the Yarn
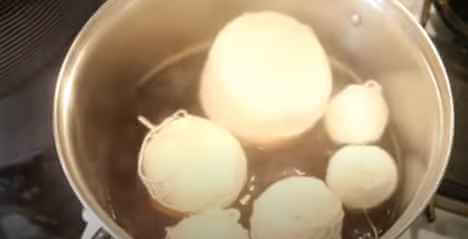
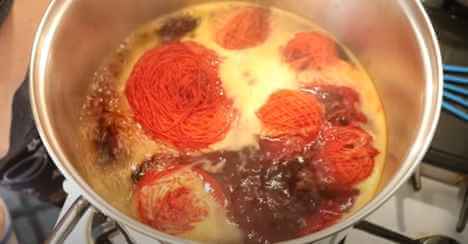
When the color is fully blended with the water and vinegar its time to place the yarn roll into the dishpan.
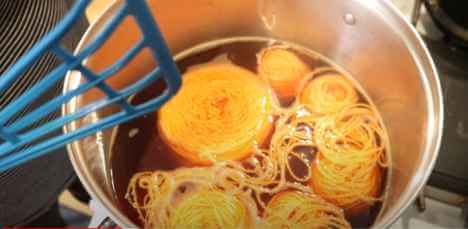
After that let it sit and absorb the color and pull around the pile of yarn using thong back and forth. Now, make sure all the parts are soaked into the water wholly and also give enough time to absorb the dye color.
After approximately 20-30 minutes pull it up using your thong and inspect the inner parts of the yarn to ensure that all sections are uniformely colored.
If there’s still lots of whites or the color seems foggy then drown it back to the dishpan and focus on the uneven parts.
Also if you think that the colors aren’t absorbing well then perhaps you should add more vinegar, blend it with the existing dyed water and put your yarn again.
Lastly, after another 20 or 30 minutes separate it from the bowl and prepare for the next step!
STEP 4 – Squeeze Out All the Excess Water
It’s straining time! Here you have to strain all the water out from the yarn while twisting it or squeezing it creating enough pressure.
Repeat this process until the ball of yarn is entirely free of water. Also, make sure that you rinse them properly with cold water so that the excess water comes out.
STEP 5 – Inspect the Color Saturation
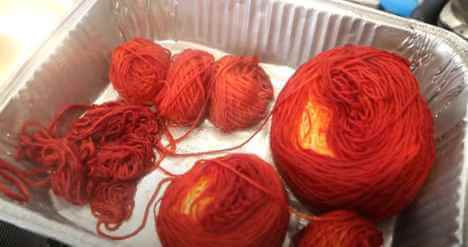
When the yarn is dried and all the excess splashing color is gone its time to dig deep into the yarn to check the layers and the color transitions. The more deeper you reach the lighter the color appears. It means when you will reach the core the color will be the lightest which ensures the hue transition from low to high volume.
STEP 6 – Windup the Yarn
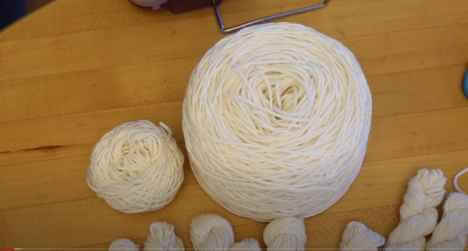
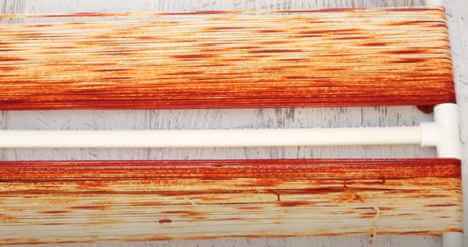
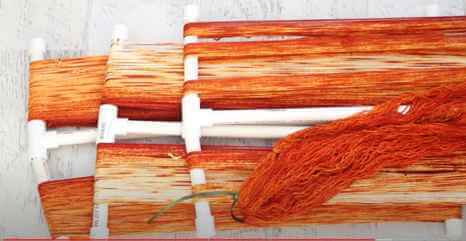
After checking it its time to wind up the yarn into another stack of yarn where the lots of rolling up, wind, and unwind are needed to finally get a whole new pile of ombre patterned yarn.
Here, the lightest color will be on top and the deeper color will stay in the end!
Okay ! so the first color is done.
Now prepare for the second color. If you have taken a teal or orange color before then consider taking a nice blue shade. Repeat the same process.
In the second color, you can add two different shades one solid color as in a mild orange and a dark orange so that the yarn absorbs two different colors at once and becomes more gradient.
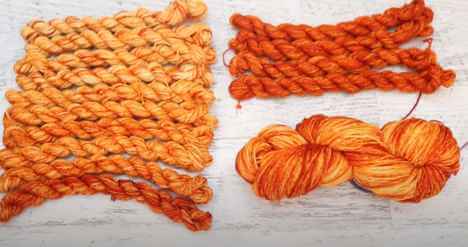
The Yarn Mixing
Lastly, you need a work surface where you are gonna lay over all the yarn. Make sure that the yarns aren’t rolled up anymore instead of independent.
Now use your hand and put the stack of yarns head to head and allow it to dry. In the end, you will have a blend of blue and orange gradient patterns which you will need to windup for making it one single ball of yarn.
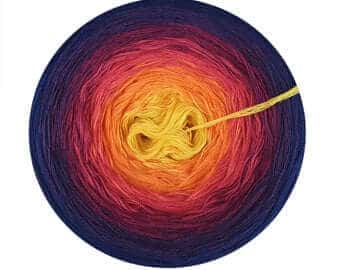
End Quote
FYI, this process is very time-consuming when it comes to the windup and rolling step. But it’s not a biggy if you can turn your boring yarn into a catchy ombre shade. Isn’t it?
You can’t achieve ombre even if you use the best fabric paint for clothes.
Hence, give it a try and remember not to use any strong acid.
In fact, don’t try adding any acid at all instead of vinegar as the thought of indulging acid into residential use scares me ☹. By the way, if the end-result is not what you expected, you can use any fabric dye remover to give it another go.
Hah! So I hope this guide on how to dye slow changing yarn was helpful.
Good luck!

