How to Take In a Dress Without a Sewing Machine
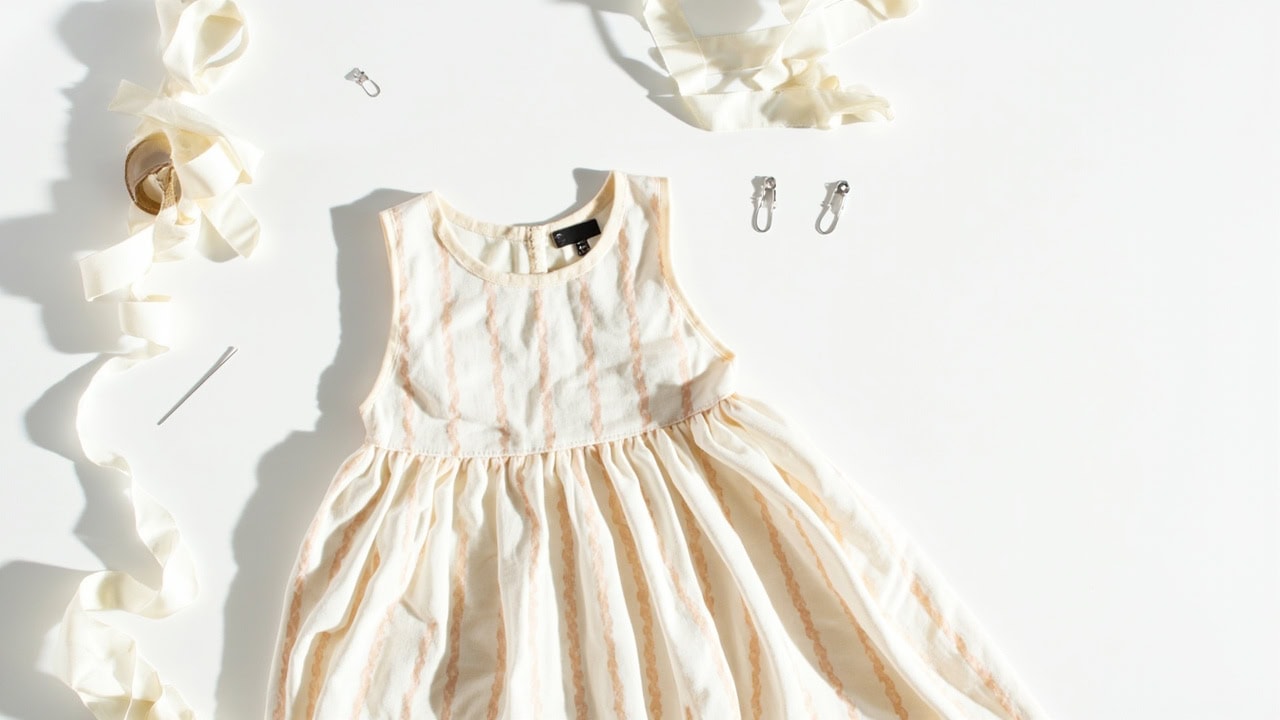
Taking in a dress means reducing the circumference at the side seams or waist to create a closer fit. This alteration technique uses fabric tape (heat-activated or adhesive), basic hand-stitching with a needle and thread, or elastic shirring with a simple running stitch. These no-sew methods resizes a dress by 1–2 sizes (1–2 inches total) in 30–90 minutes for under $5 in materials — no sewing machine, no professional tailor required.
What Does “Taking In” a Dress Mean?
Taking in a dress means reducing the waist or side seam circumference to create a more tailored, figure-following silhouette. This alteration technique addresses a common wardrobe challenge: a dress that fits perfectly everywhere except at the waist or hips, or a thrifted dress that needs resizing to match your measurements. The process works by moving the seam line inward, which reduces the overall circumference while maintaining the original hem length and overall garment proportions.
Common reasons for taking in a dress include recent weight loss, purchasing an oversized dress intentionally (a common strategy for thrifting where only oversized options are available), or acquiring a vintage dress that predates modern sizing standards. Whatever the reason, the alteration allows you to achieve a custom-fitted look without investing in expensive tailoring services or purchasing an entirely new garment.
Most woven dresses safely accept 1–2 inches of total circumference reduction (½–1 inch per side seam) using no-sew methods. Dresses with lined interiors or delicate fabrics such as silk and chiffon present greater challenges for DIY alterations and are often better suited to professional handling. No-sew methods work best on stable woven fabrics including cotton, linen, and polyester blends, as well as some stable knits that have enough body to hold a new seam line without stretching out of shape.
When No-Sew Methods Work Best
Not every dress silhouette responds equally well to no-sew alteration methods. Understanding which dress types are most cooperative helps you set realistic expectations and choose the right technique for your specific garment. The key factors are the original construction, the amount of contouring required, and whether the dress design already includes adjustment mechanisms.
- A-line and shift dresses: The straight silhouette requires minimal contouring at the waist and hips, making seam adjustments straightforward — the easiest dress types to alter without a machine.
- Wrap dresses: These dresses already include an adjustable waist closure via the tie mechanism, so taking in is a matter of repositioning the overlap point — ideal candidates for no-sew alteration.
- Empire waist dresses: The seam sits below the bust, which limits the alteration value and can disrupt the proportional design of the garment — not ideal for no-sew alterations.
- Sheath or fitted dresses: Clean curves require more precise stitching than straight seams, and achieving a smooth silhouette is difficult without machine stitching — possible but challenging.
- Heavy beaded or embellished dresses: Sequins, embroidery, and other embellishments restrict fabric movement and make it impossible to create a clean new seam line without professional equipment — avoid any DIY alteration.
Fabric Tape Method: Permanent Results for Woven Dresses
Fabric tape (also known as stitch witchery or fusible web tape) creates a permanent bond between fabric layers using heat activation. This method produces results that closely mimic machine stitching, with the advantage of being faster and requiring no special skill beyond using an iron. The bond is wash-stable and survives regular wearing and laundering, making it the most durable no-sew option available.
Step 1: Try On the Dress and Identify the Intake Points
Put the dress on inside-out, or alternatively, pin it to your body or a dress form to hold it in the position you want when worn. Inside-out wearing allows you to see the seam lines clearly and work directly on the areas that need adjustment. Identify where you need the circumference reduction — this is usually along the side seams, the waist, or both. Mark approximately ½–1 inch inward from the original seam line at both waist and hip level, using tailor’s chalk, a water-soluble marker, or small safety pins to denote the new seam position. Working at mirror height lets you check the fit as you mark, ensuring symmetric results on both sides.
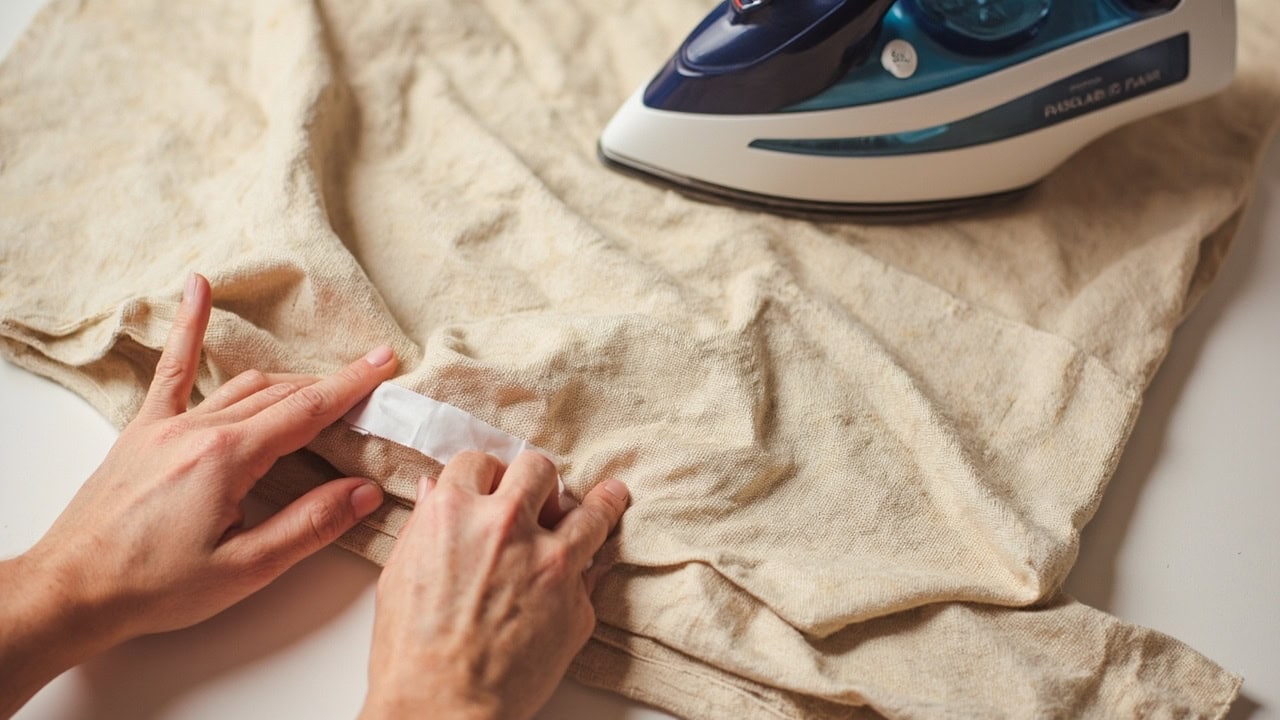
Step 2: Apply Heat-Activated Fabric Tape to the Seam Allowance
Use heat-activated hem tape (stitch witchery or fusible web tape), which is widely available at craft stores and online for $3–8 per roll. Fold the seam allowance inward to the new marked position and hold it in place. Place a strip of the fusible tape between the folded fabric layers — the tape should sit within the seam allowance, not on the outer fabric where it might show through. Press with a dry iron set to 300°F (150°C) for 10–15 seconds per section. Work in 3–4 inch sections, allowing each section to cool for several seconds before moving to the next. Do not use steam — moisture can interfere with the adhesive activation. The dry heat penetrates through the fabric and activates the fusible coating on the tape, bonding the layers together.
Step 3: Finish and Press
Allow the dress to cool completely for at least 15 minutes before moving or wearing it. This cooling time ensures the bond sets fully before the fabric is stressed. Once cooled, press the new seam flat with an iron if needed to flatten any puckering. The fusible bond reaches full strength after 24 hours of wear, so avoid heavy use or washing in the first day. After the initial break-in period, the bond is permanent and wash-stable, surviving dozens of laundering cycles without degradation.
Hand-Stitching Method: Removable and Adjustable Fit
Hand-stitching provides the most versatile no-sew option because stitches can be removed at any time to reverse the alteration, making it ideal for temporary fits, rental garments, or situations where you want to preserve the original seam for future modifications. The technique produces strong, professional-looking results when executed carefully, and it works on both lined and unlined dresses. Master this method alongside other essential hand-stitching techniques in our Pillar 7 content hub.
Step 1: Thread a Needle and Knot the End
Select a sharp hand-sewing needle, also called sharps, in size 5–7 for most dress fabrics. A smaller needle (higher number) creates a less visible stitch; a larger needle (lower number) is easier to handle but leaves bigger holes. Cut a length of thread 18–24 inches long — shorter lengths reduce tangling, while longer lengths reduce the number of thread changes needed. Double the thread by threading the needle and pulling both needle and thread through a knot at the end, so you sew with two threads. This creates a stronger stitch that is less likely to break. Match thread color to your dress for invisible stitches: polyester thread for synthetic fabrics, cotton thread for natural fibers. If in doubt between two shades, choose the darker color, as lighter threads tend to be more visible against most fabric shades.
Step 2: Create a Running Stitch Along the New Seam Line
Fold the fabric inward to your desired new seam position and hold it in place with your non-dominant hand. Using your dominant hand, insert the needle into the fabric ⅛ inch from the fold edge, creating small running stitches that are ¼–⅜ inch long. Keep the stitches uniform in length — consistent stitch length distributes stress evenly along the seam, preventing weak points.
For a more secure seam that is also less visible from the outside, use a slipstitch (also called a hidden stitch or invisible hem stitch). Insert the needle into the fold of one fabric layer only. Then catch a tiny bit of the opposite fabric layer on the next stitch. Alternate sides to create an almost invisible join that holds the layers firmly together.
Step 3: Secure the Stitches and Finish
Once you reach the end of your seam, run the needle back through the last 3–4 stitches in the opposite direction to lock them — this is called backstitching and prevents the stitches from unraveling. Bring the needle to the surface and create a small knot by wrapping the thread around the needle tip twice and pulling it through to form a slip knot. Clip excess thread as close to the fabric surface as possible without cutting the knot itself. Press the new seam with an iron set to the appropriate temperature for your fabric — typically low to medium heat for synthetic fabrics, medium to high for natural fibers — to flatten the seam allowance and set the stitches.
Elastic Shirring Method: Casual, Comfortable Gathered Fit
Elastic shirring uses multiple parallel rows of hand-stitched elastic thread to create a gathered, fitted effect in fabric. Unlike methods that create a smooth new seam line, shirring creates a softly gathered waistband that hugs the body with gentle pressure. This method works especially well for casual dresses where comfort and flexibility are priorities. The elastic threads create a ruched effect that is both functional (providing fit adjustment) and decorative, adding visual interest to the waist area.
Step 1: Create Multiple Rows of Hand-Stitched Elastic
Shirring consists of multiple parallel rows of elastic thread hand-stitched into the fabric, with the elastic thread wound in the bobbin of a hand-held bobbin or used directly as a hand-wound spool. Mark 3–4 horizontal lines ½ inch apart where you want the waist intake to begin, using tailor’s chalk or a water-soluble marker. The lines should run perpendicular to the direction you want the fabric to gather — horizontally for side-to-side gathering.
Use ¼ inch wide elastic thread (not regular sewing thread) for the shirring. Sew a running stitch along each marked line, stretching the elastic slightly as you sew. The key is consistent tension: stretch the elastic the same amount for each row. As you sew, the elastic thread contracts and the fabric gathers naturally, creating the shirred effect. Work slowly to maintain even gathering — uneven tension produces lopsided results.
Step 2: Distribute the Gathers Evenly
After sewing each row, gently push the fabric gathers toward the center of the shirred section to distribute them evenly. Avoid bunching, where excess fabric clusters in one area, or gaps, where un-gathered fabric creates uneven spots. Use your fingers to massage the gathers into an even distribution before moving to the next row.
One key advantage of elastic shirring is its adjustability: remove stitches to loosen the fit or add additional rows to tighten it. For a more permanent effect, leave the elastic stitches in place indefinitely. For a temporary effect, remove the stitches entirely with a seam ripper, restoring the original fabric width.
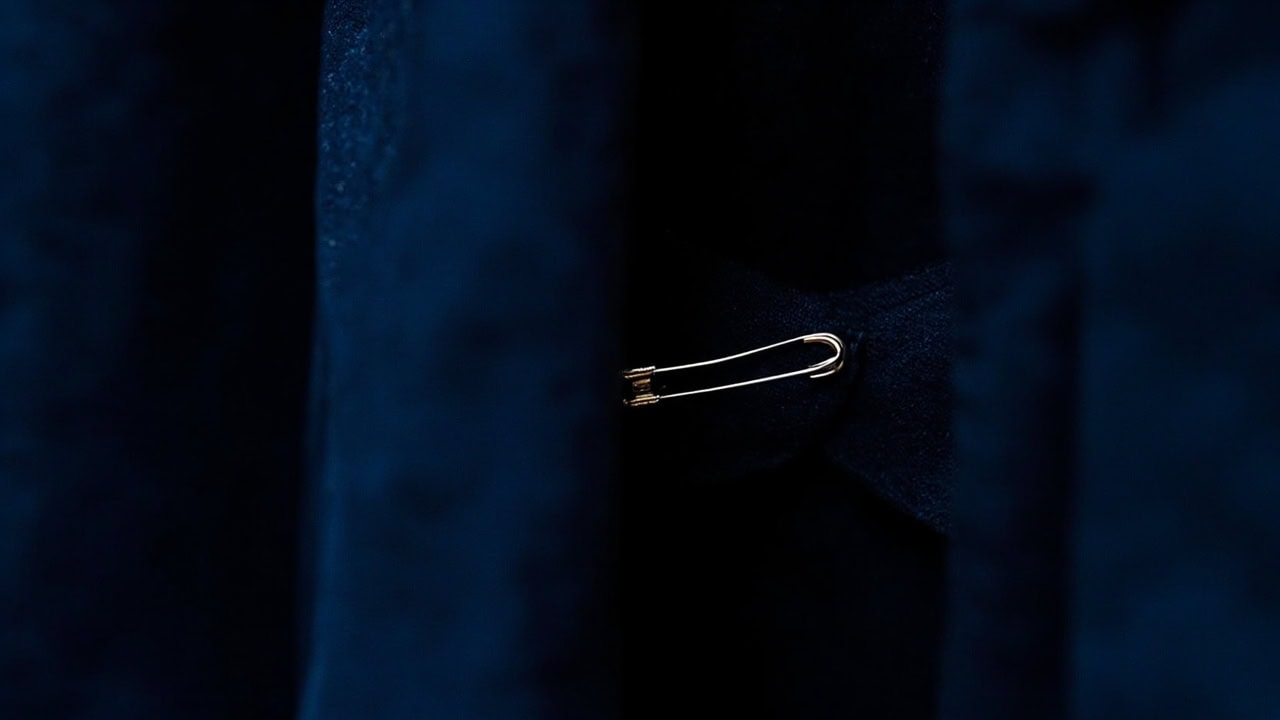
Safety Pin Method: Emergency Temporary Fit Adjustment
Safety pins represent the fastest emergency solution for taking in a dress with zero preparation time. This method requires no supplies beyond flat safety pins that you likely already own, and it can be completed in 5–10 minutes. The tradeoff is durability — safety pins can come undone during movement, making this method suitable only for short-term or emergency use rather than as a permanent or even semi-permanent solution.
Step 1: Pin Along the Inside Seam Line
Close the dress at the side seam where you need to take it in, overlapping the fabric edges to achieve your desired fit. Use 2–3 flat safety pins — not colored or decorative safety pins, which are bulkier and more visible — along the seam at waist level. Insert each safety pin horizontally through both fabric layers, keeping the pin body flush against the fabric to minimize visibility through the outside of the dress. The pin should pass through the seam allowance only, not through the outer fabric where it might be visible or create an impression on the outside of the garment.
Step 2: Secure and Check in Mirror
Try on the dress and check the fit from multiple angles in a mirror before leaving. Adjust pin position as needed to ensure even intake on both sides — asymmetry is common if pins are placed at different depths. Pay particular attention to the back of the dress, where bulk from overlapping fabric may create a visible ridge.
Warning: Safety pins can come undone during movement, especially if the dress is subjected to the dynamic stresses of walking, sitting, or dancing. Use safety pins for emergencies only — a last-minute event, a dress rehearsal, or a situation where no other option is available. For any extended wear, invest the 45–60 minutes required for fabric tape or hand-stitching to create a secure, worry-free fit.
Comparison: No-Sew Methods vs. Professional Machine Sewing
Understanding how no-sew methods compare to professional machine stitching helps you set appropriate expectations for durability, time investment, and final results. Each method occupies a different position on the spectrum from temporary emergency fix to near-permanent alteration.
| Method | Durability | Time | Cost | Best For |
|---|---|---|---|---|
| Fabric tape | Permanent (wash-stable) | 45–60 min | $3–5 | Woven fabrics, quick fixes |
| Hand-stitching | Semi-permanent (removable) | 60–90 min | $1–2 | Adjustable fit, lined dresses |
| Elastic shirring | Long-term (months) | 60–90 min | $5–8 | Casual dresses, elastic waistbands |
| Safety pins | Temporary (hours) | 5–10 min | $1 | Emergency fit, try-before-you-buy |
Machine sewing, performed by a professional tailor, produces the most durable and precise results, particularly for complex alterations involving curved seams, heavy fabrics, or more than two sizes of adjustment. A tailor with a sewing machine can also address issues that no-sew methods cannot: repositioning darts, altering armholes, adjusting shoulder width, and working with delicate or slippery fabrics.
For occasional wear or simple straight-seam adjustments, no-sew methods deliver acceptable results at a fraction of the $50–150 that a tailor typically charges for taking in a dress. For a comprehensive guide to all garment alteration techniques, visit the complete garment alterations guide in our Garment Alterations hub.
Frequently Asked Questions
Fabric Tape and Hand-Stitching Create Permanent Bonds Without Machine Equipment
Yes — fabric tape (heat-activated) creates a permanent bond that survives washing and wearing. Hand-stitching with a slipstitch is also permanent but requires removing stitches to reverse. Both methods produce professional-looking results without any machine equipment.
Most Woven Dresses Accept 1–2 Sizes of Reduction Using No-Sew Methods
Most woven dresses can be safely taken in 1–2 sizes (1–2 inches total circumference reduction) using fabric tape or hand-stitching. Taking in more than 2 sizes risks distorting the armhole and neckline proportions — at that point, a tailor with a machine is recommended.
Fabric Tape Works Best on Woven Fabrics With Body
Fabric tape works best on woven fabrics with some body (cotton, linen, polyester, rayon blends). It does NOT work well on slippery silks, chiffon, stretch knits, or fabrics with heavy texture (corduroy, velvet). Test on a hidden corner first — some synthetics melt under hot iron.
Waist-Only Intake Uses Hidden Darts at the Center Back Seam
For waist-only intake: hand-stitch a series of small darts at the center back seam (inside the dress). Mark ½–1 inch inward at waist level, then sew a hidden slipstitch from the inside. This creates a custom fitted waist without touching the side seams or hem.
References and Further Reading
- Threads Magazine. (2024). Alterations Without a Sewing Machine: Fabric Tape and Hand-Stitching Techniques. Acast.
- Cotton Incorporated. (2024). Fabric Properties and Care: Woven vs. Knit Fabric Behavior. CottonWorks.
- ASTM International. (2023). ASTM D3136-23: Standard Specification for Care Labels for Textile Floor Covering and Other Textiles. ASTM International.
- International Textile and Garment Association. (2024). Garment Alteration Standards and Best Practices. ITG.
If you’re applying these techniques to other garments, learn how to take in a shirt without a sewing machine — the hand-stitching and fabric tape methods transfer directly between garment types. For alternative ways to adjust dress length, explore our guide to how to shorten a dress without cutting.


