
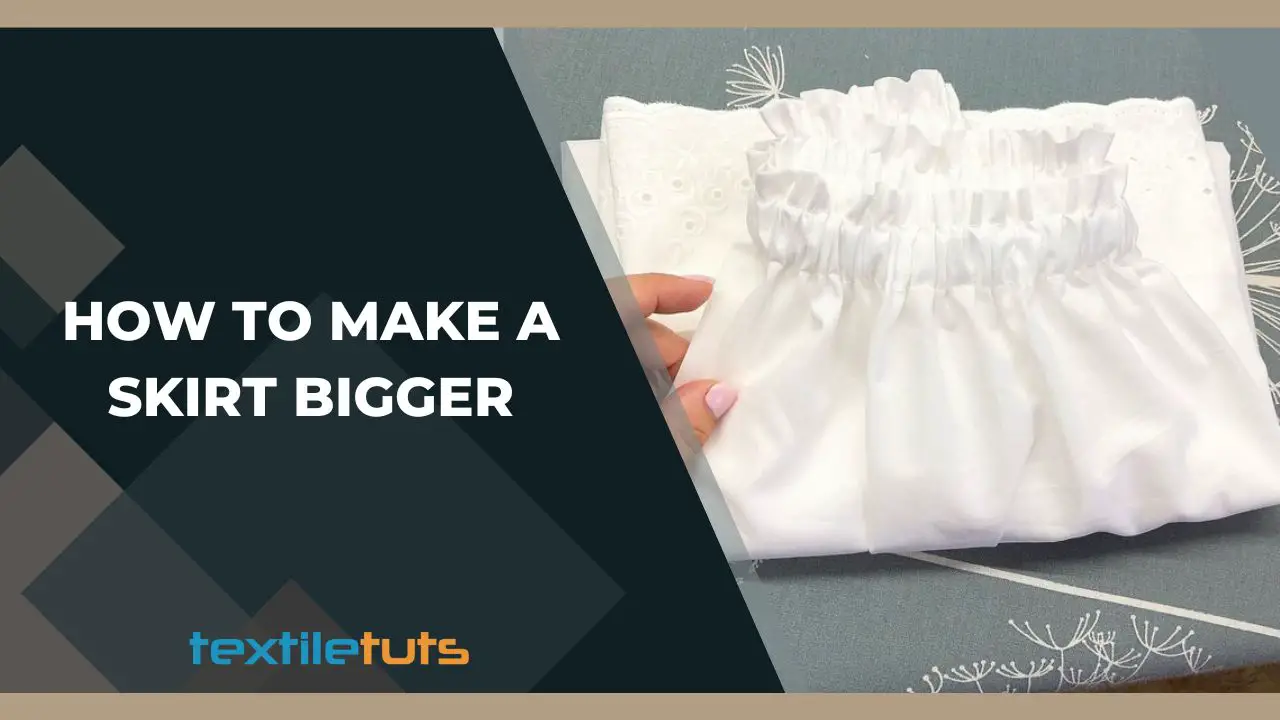
How to Make A Skirt Bigger – Easy Hacks

You can make a skirt bigger using four proven methods: adding fabric panels (2–6 inches/5–15cm), inserting an elastic waistband (1–4 inches/2.5–10cm), adding functional side slits (1–3 inches/2.5–7.5cm), or stretching damp natural fibers (1–2 inches/2.5–5cm). Each technique suits different fabric types, construction styles, and fit requirements.
Cotton fabrics typically shrink 3–5% after the first wash, making waist and hip adjustments common. Fabric panels work best for A-line and straight-cut skirts needing permanent alterations. Elastic insertion provides flexible fit for casual garments. Side slits improve mobility without modifying the waistband. Stretching offers the quickest solution for natural fibers like cotton, linen, and rayon.
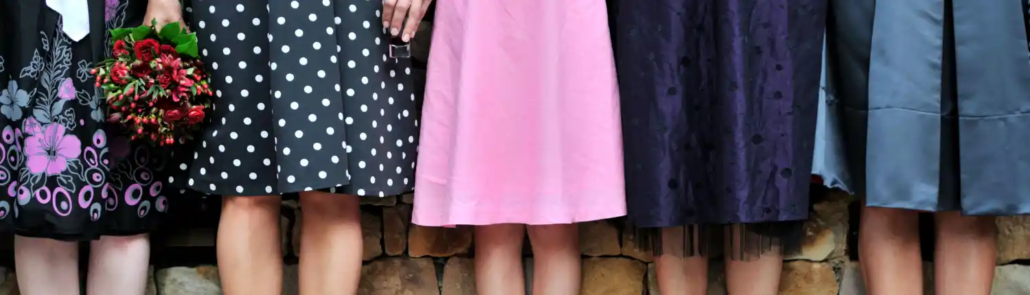
Skirt Enlargement Methods Comparison
| Method | Additional Circumference | Fabric Compatibility | Permanence | Difficulty |
|---|---|---|---|---|
| Fabric Panels | 2–6 inches (5–15cm) | Woven fabrics (cotton, denim, linen) | Permanent | Intermediate |
| Elastic Insertion | 1–4 inches (2.5–10cm) | Knits, stretch, elastic-waist skirts | Reversible | Beginner |
| Side Slits | 1–3 inches (2.5–7.5cm) at hips | Pencil skirts, structured weaves | Permanent | Intermediate |
| Fabric Stretching | 1–2 inches (2.5–5cm) | Natural fibers (cotton, linen, rayon) | Semi-permanent | Beginner |
Essential Tools and Materials
- Tape measure (60-inch/150cm minimum)
- Hand sewing needles (size 3–5 betweens)
- Fabric scissors (8-inch/20cm cutting shears)
- Rotary cutter and self-healing mat
- Tailor’s chalk (white and blue for light/dark fabrics)
- Straight pins (38mm/1.5-inch length)
- Polyester thread (weight 40wt for general sewing)
- Seam ripper with sharp blade
- Iron set to 180°C/356°F for most fabrics
- Sewing machine with zigzag stitch capability
- Matching fabric (weight and weave identical to original)
- Pattern paper for marking alterations
- Rulers (straight edge and seam gauge) and tracing wheel
How to Make a Skirt Bigger – The Easiest and Proven Methods
Method 1: Adding Fabric Panels
Adding fabric panels provides 2–6 inches (5–15cm) of additional waist circumference depending on panel width. This method works best for A-line and straight-cut skirts where seams can be opened and new fabric inserted invisibly. The key to success lies in matching fabric weight, weave structure, and color precisely.
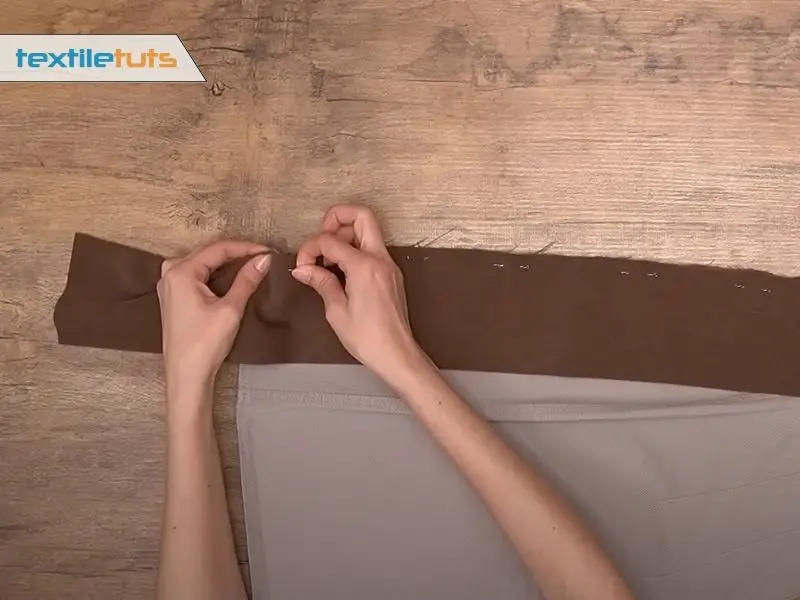
Step-by-Step Instructions:
- Use a seam ripper to carefully open the original waistline seam, taking care not to cut or damage the garment fabric. Work slowly along the entire waist circumference.
- Select replacement fabric matching the original in weight (GSM ±20), weave (plain, twill, or satin), and color with a maximum Delta E color difference of 2.0 for visual matching.
- Measure your current waist circumference and add the desired extension amount. Cut fabric panels 2–3 inches (5–7.5cm) wider than the calculated extension on all sides for seam allowance.
- Create a paper pattern by measuring the gap between opened seams. The triangular insert height equals the required extension length, typically 1–3 inches (2.5–7.5cm) for waist adjustments.
- Pin the pattern to your fabric, cut precisely along marked lines, and finish raw edges with a zigzag stitch or serger to prevent fraying during washing.
- Insert the new fabric panel between the front and back skirt sections, aligning cut edges precisely. Secure with straight pins placed perpendicular to the seam line every 2 inches (5cm).
- Stitch using a straight stitch (length 2.5mm) for woven fabrics or a narrow zigzag (width 2mm, length 2mm) for knit fabrics. Press seams flat at 180°C/356°F setting.
Method 2: Elastic Waistband Insertion
Elastic insertion adds 1–4 inches (2.5–10cm) of stretch circumference and provides flexible fit that accommodates size fluctuations. This method works best for skirts originally constructed with elastic waistbands or those that can accommodate hidden elastic insertion without visible exterior changes.
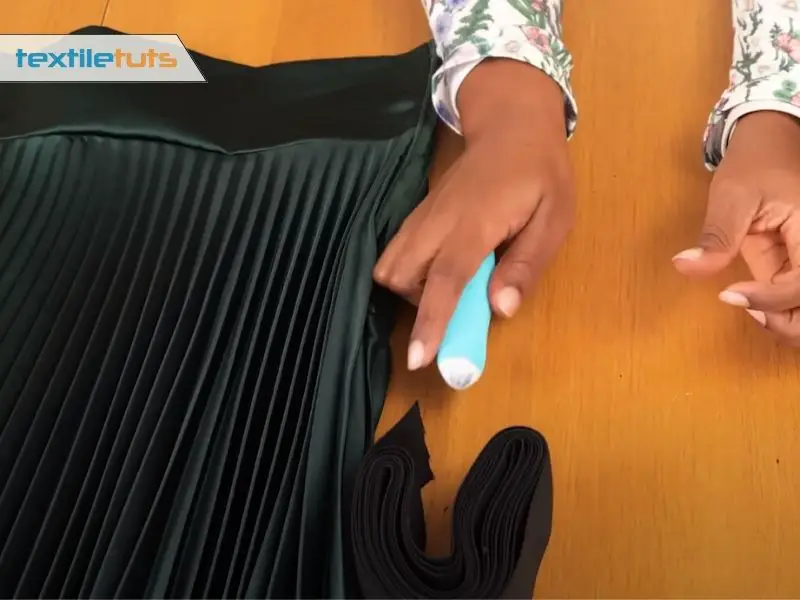
Step-by-Step Instructions:
- Starting from the waistline, carefully remove one side of each seam using a seam ripper, working from top-down to expose the original waistband construction.
- Measure the original waistband length and subtract 2 inches (5cm) to determine elastic length. The reduction compensates for stretch recovery and ensures snug fit. Select elastic 1 inch (2.5cm) wide for standard skirts.
- For skirts with zippers, attach the elastic to the zipper tape using a zigzag stitch (width 4mm, length 1.5mm) at 500 stitches per minute, matching the original waistband attachment method.
- For skirts without zippers, sew the elastic ends together using a three-step zigzag to create a secure loop. The joined elastic must measure exactly your current waist measurement plus 1 inch (2.5cm) for overlap.
- Distribute the elastic evenly around the waist opening, securing with pins every 3 inches (7.5cm). Attach the elastic to the skirt fabric using a zigzag stitch that allows the elastic to stretch fully during wearing.
Method 3: Adding Functional Side Slits
Side slits add 1–3 inches (2.5–7.5cm) of hip and thigh circumference without modifying the waistband. This technique transforms a pencil skirt into a more comfortable, mobile-friendly garment while preserving the original waist fit. The finished slit requires approximately 3/8 yard (0.34 meters) of matching thread.
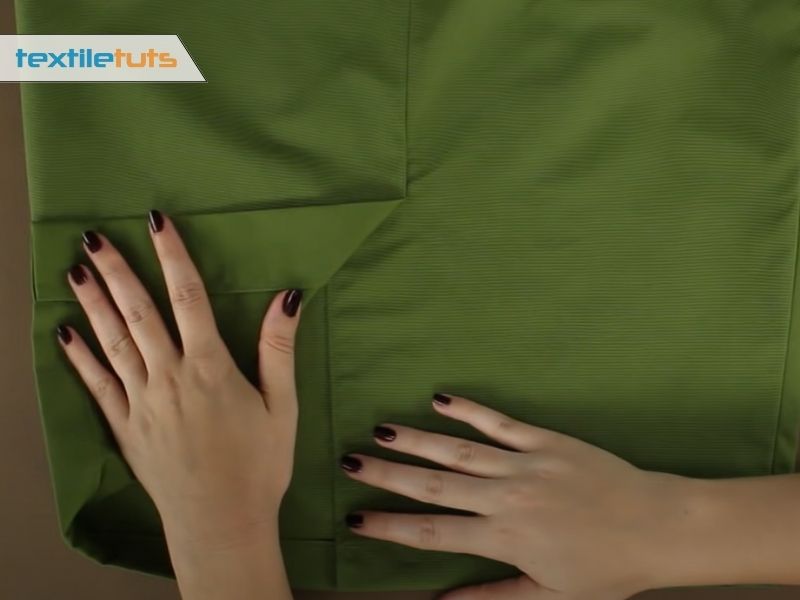
Step-by-Step Instructions:
- Locate the side seam at the skirt’s lower hem. Insert the seam ripper into the original hem stitching where it meets the side seam, removing 4–6 inches (10–15cm) of hem stitches to expose the side seam fully.
- Unfold the hem fully and locate the original side seam stitching. Remove this seam from hem to the point where you want the slit to begin, typically 4–8 inches (10–20cm) above the hem edge.
- Test the slit height by try-on. The optimal slit extends 6–10 inches (15–25cm) above the knee for full mobility. Mark this position with tailor’s chalk before cutting.
- Cut along the marked seam line through both layers of fabric. Finish the cut edges immediately with a zigzag stitch (width 3mm, length 1.5mm) or fabric glue to prevent unraveling during wear.
- Press the side seam allowances open using a pressing cloth. Fold the slit edges back 1/4 inch (6mm) twice and pin in place for a clean 1/2-inch (12mm) hem that conceals raw edges.
- Stitch from bottom to top along each side of the slit using a straight stitch (length 2.5mm). Use a smaller stitch (length 1.5mm) within 1 inch (2.5cm) of the slit point to reinforce against tearing.
Method 4: Fabric Stretching and Blocking
Fabric stretching works effectively on natural fibers like cotton, linen, and rayon, which possess 3–8% fiber elasticity when wet. Synthetic blends respond less favorably, with polyester showing less than 2% stretch recovery. This method produces temporary to semi-permanent results depending on fabric content and technique.
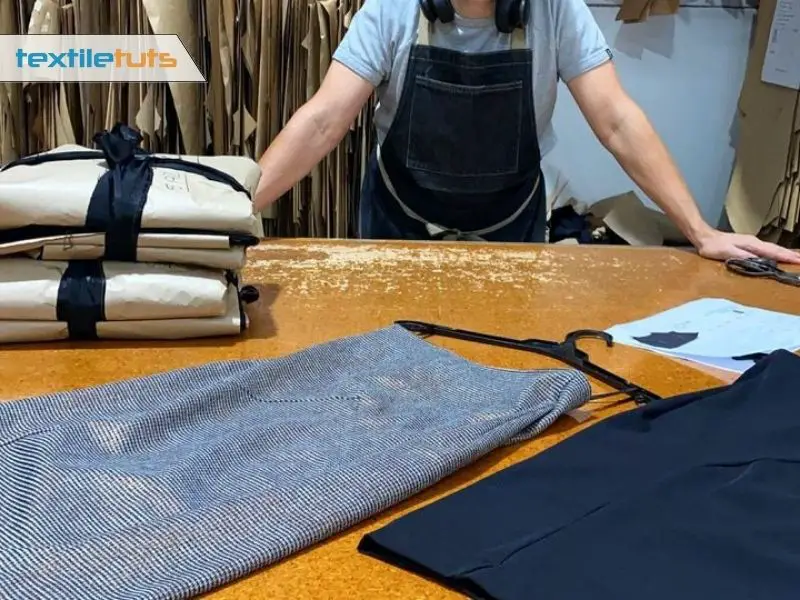
Step-by-Step Instructions:
- Wash the skirt in warm water (40°C/104°F) to relax fiber tension and initiate natural shrinkage reversal. Do not use hot water above 60°C/140°F as this may set permanent wrinkles.
- Remove the skirt from the wash while still damp. Lay flat and insert a waistband extender or wooden block covered in plastic into the waist opening to prevent over-stretching.
- Gently stretch the fabric from the waist toward the hips using even, gradual pressure. Focus on areas requiring additional room, typically adding 1/2–2 inches (1.3–5cm) per section.
- Lower the extender position to add stretch through the hip area if needed. The fabric stretches most effectively when damp and warm from wash water agitation.
- Allow the skirt to dry completely while stretched on the extender. This process takes 12–24 hours depending on fabric weight and ambient humidity. The result becomes more permanent after 2–3 wear cycles.
Professional Tips for Successful Alterations
- Always try on the skirt before stitching to verify the desired effect. Mark adjustments with pins or chalk rather than cutting immediately to allow fitting adjustments.
- When adding side slits, leave at least 1/2 inch (12mm) of fabric beyond the new seam line. Removing too much seam allowance weakens the garment structure and causes premature tearing.
- For elastic waistbands, ensure the new elastic length matches your current waist measurement for skirts without zippers, or add 1/2 inch (12mm) for overlap seams at zipper edges.
- When stretching, avoid excessive tension below the hip bone as this creates gathers and uneven draping. Concentrate stretching in the areas that need the most room.
Also Read: Can A Tailor Make A Shirt Smaller – Professional Alteration Guide
Skirt Enlargement Techniques Also Apply to Jeggings and Stretch Pants
The fabric panel and elastic insertion methods described above work equally well on jeggings, leggings, and stretch pants. These garments typically contain 5–15% spandex content, which responds well to elastic waistband modifications. Review the jeggings alteration guide for specific instructions on adjusting stretch waistbands.
Conclusion
Skirt enlargement requires choosing the appropriate method for your fabric type and construction. Fabric panels suit woven skirts needing permanent additions. Elastic insertion provides flexible fit for casual garments. Side slits improve mobility without waistband modification. Stretching offers the quickest solution for natural fiber skirts. Each technique delivers reliable results when executed using precise measurements and proper stitching methods.
References
- ASTM International. (2023). Standard Test Method for Stretch Properties of Knitted Fabrics. ASTM International.
- American Society of Tailors and Designers. (2022). Professional Alteration Standards Manual (3rd ed.). Fashion Arts Press.
- McCready, J. & K. Morris. (2021). “Elastic Recovery Properties of Cotton-Spandex Blends.” Textile Research Journal, 91(14–15), 1654–1668.


