
How to Avoid Holes When Changing Colors in Knitting?

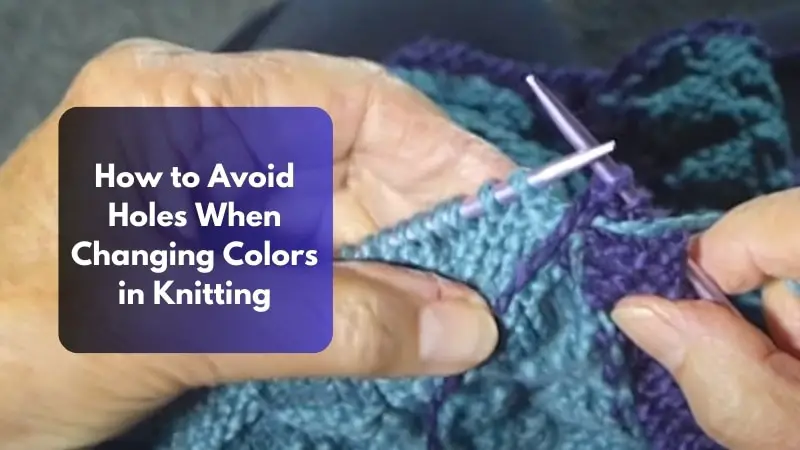
You can avoid holes when changing colors in knitting by using one of four core techniques: interlocking the yarns at the transition point, catching the float as you switch colors, carrying the inactive yarn up the side of the work, or using the twist-and-weave intarsia method. All four approaches work by physically securing the old and new yarns together so they cannot create gaps between stitches. Choosing the right method depends on your project type — stripes, intarsia, or multicolored patterns all have optimal techniques.
Holes between stitches typically appear when yarn tails are not secured properly or when tension at the color join is too loose. The solution is to interlock the old and new yarns at every transition point.
Below are four effective methods of preventing holes and jogs in your color knitting:
The Four Methods for Hole-Free Color Changes
| Method | Best For | Key Advantage |
|---|---|---|
| Interlocking Yarns | All color changes | Simple, no special tools needed |
| Catch the Float | Longer color runs, multiple colors | Secure across many stitches |
| Carry Up the Side | Stripes, simple patterns | Eliminates weaving in ends |
| Twist-and-Weave Intarsia | Inlaid color patterns, picture knitting | Cleanest finish for complex designs |
Tail length: Leave 6 inches (15 cm) of yarn tail for weaving in
Float stitches: Secure floats every 5 stitches when catching the float
Weaving direction: Work diagonally through stitches for invisible finish
Method One — Interlocking the Two Yarns
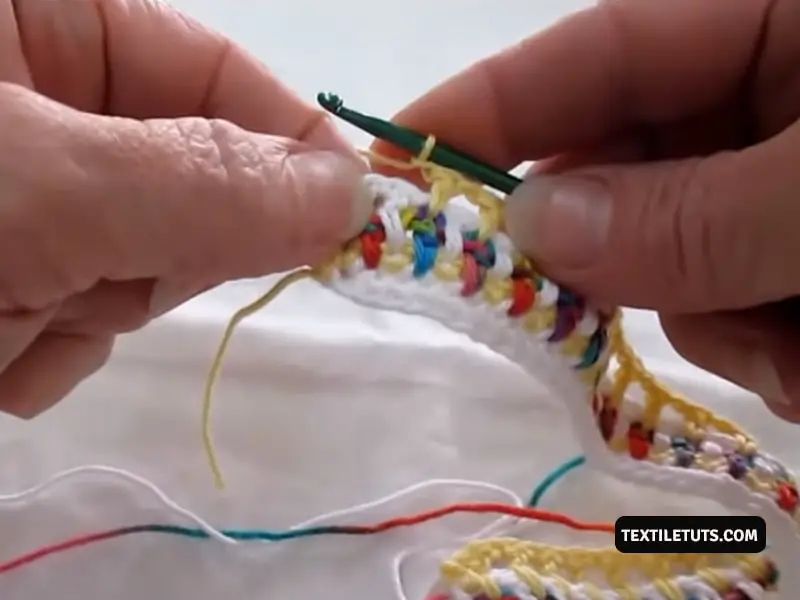
New knitters often make the mistake of starting a row with the new yarn while the old yarn hangs loose behind the work. This approach always creates holes and increases the stitch count unintentionally.
To prevent this, you must twist and interlock the old and new yarns together for the first few stitches. Here is the step-by-step process:
Leave a 6-inch (15 cm) tail of the old yarn when you finish working with it. The tail will be woven into the fabric later using a tapestry needle.
As you start the new row with a new color, take the new yarn and create a basic overhand knot to twist and attach it around the old yarn. This locks both colors together at the transition point.
Continue working with the new yarn using your regular stitch pattern. The overhand knot holds the colors together until you secure the tails permanently.
Undo the knot first, then weave the old yarn tail into the fabric using a sharp tapestry needle. Weave diagonally through the back of the stitches for a secure, invisible finish.
Method Two — Catch the Float and Weave
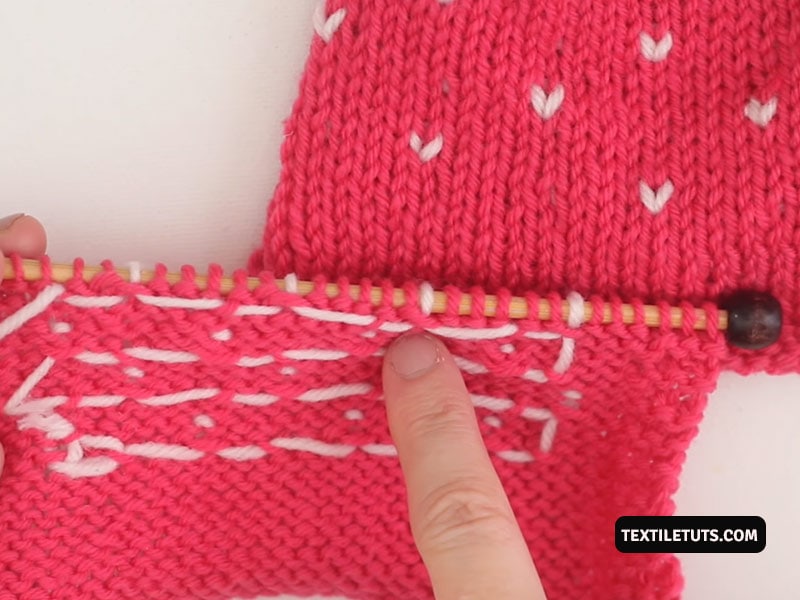
If weaving the ends does not work for you, this method is a reliable alternative. It is particularly effective when working with multiple colors across longer stretches. When you weave the float as you go, the inactive color will be visible on the wrong side of the fabric — this is normal and expected for this technique.
Follow these steps to catch the float and weave as you change colors:
When you are approximately 5 stitches away from finishing with the old yarn, take the new yarn and trap it between your needles and the old yarn. Pull the old yarn through the stitch while simultaneously pulling the new yarn through, securing it between the working yarn and the stitch.
Once the new yarn is trapped, knit a stitch to wrap the new color around the old color clockwise once. Repeat this wrapping process for approximately 5 stitches to build a secure float.
Pick up your new yarn and continue stitching as normal. If the old yarn has a dangling tail, weave it into the fabric as you continue stitching with the new yarn.
Method Three — Carry the Yarn Up the Side
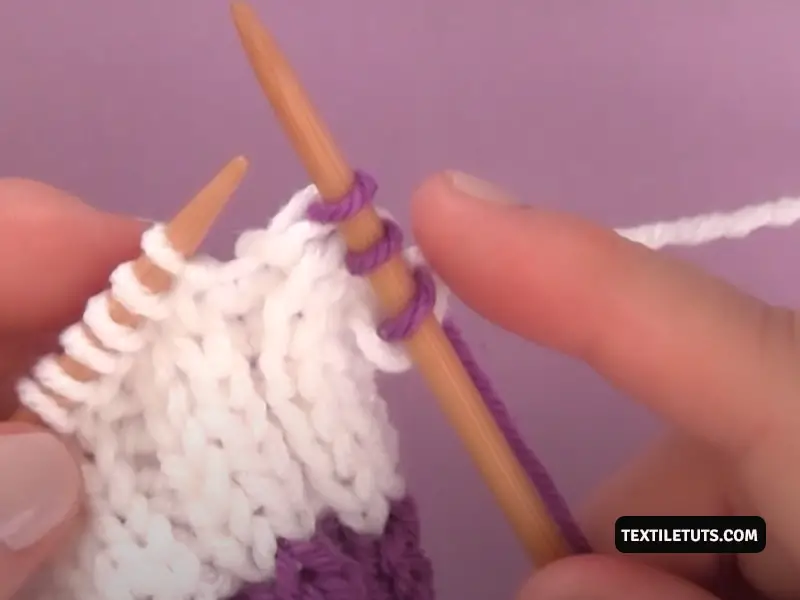
When you are working with stripes or simple color patterns, you can carry the inactive yarn up the side of your work instead of cutting it and weaving in the ends. This eliminates visible joints and prevents holes at the edges of your color sections.
Here is how to carry the yarn up the side for a clean stripe pattern:
Drop the old color and begin knitting with the new color, leaving a tail of approximately 6 inches (15 cm). Carry the old color up the side of your work and knit a few stitches with the new color to secure it.
When you are ready to switch back to the original color, pick up the old yarn and resume knitting with it. Carry the new yarn along the side in case you want to change colors again later.
Method Four — Twist and Weave the Intarsia Pattern
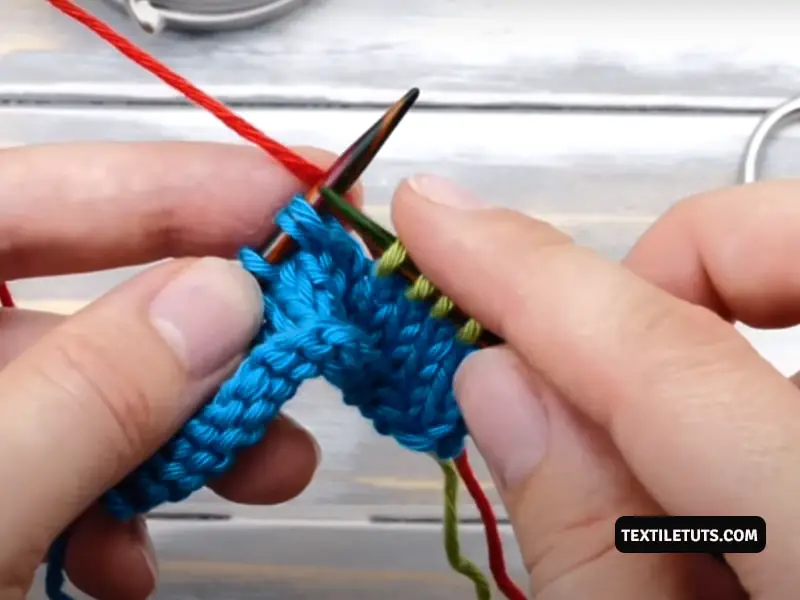
Intarsia is the ideal technique for creating picture-perfect multicolored fabric where fields of different colors appear inlaid like a jigsaw puzzle. In intarsia, only one active color exists per stitch and yarn is never carried across the back of the work. To produce a woven intarsia piece without holes, you must both twist the two yarns and weave in the old yarn tail.
Here is how to execute the twist-and-weave intarsia method:
Hold the new yarn parallel to the working yarn, leaving a tail of at least 6 inches (15 cm). One stitch before you are ready to change color, insert your right needle into the next stitch as if to knit.
Place the new yarn over the right needle, between the working yarn and the right needle. Wrap the working yarn around the right needle as you normally would to knit the stitch.
Pull the working yarn through the stitch while also pulling the new yarn through, trapping it between the working yarn and the stitch. Once the new yarn is trapped and secured, twist the working yarn and the new yarn twice around each other to lock the join.
For the next stitch, use the new yarn. Secure the join by gently tugging on both tails. Proceed following your regular pattern. Finally, instead of cutting the tails, weave them into the fabric using a tapestry needle, working diagonally through the stitches for an invisible finish.
Common Mistakes to Avoid
- Not twisting the yarns at the join — Simply leaving old and new yarn side by side creates an immediate gap between stitches
- Maintaining loose tension at color changes — The stitches at the transition point must be snug to prevent the yarn from pulling away and forming a hole
- Leaving long floats unsecured — Floats longer than 5–7 stitches can catch on fingers and distort the fabric; secure them more frequently when working with multiple colors
- Making incomplete intarsia joins — In intarsia, failing to twist AND weave both tails results in holes that cannot be fixed later in the process
Color Knitting Techniques That Apply to Weaving as Well
Yes — the techniques for changing colors in knitting are directly applicable to weaving. Both crafts involve managing multiple yarn colors to create patterns and designs. The interlocking method, catch-the-float technique, and yarn-carrying approach all translate directly to weaving projects. A beginner’s guide to weaving covers many of the same principles at the loom that knitters use with needles.
Final Words
Now you know how to avoid holes when changing colors in knitting. The key mistakes to avoid are: not twisting the yarns at the join, maintaining loose tension at color changes, leaving long floats unsecured, and making incomplete intarsia joins.
Avoid these four mistakes and select the method that best matches your project and knitting style. Each technique — interlocking yarns, catching the float, carrying the yarn up the side, or twist-and-weave intarsia — has specific advantages. Practice each one to find the right fit for your work.
References
- Vehmas, T. (2024). Intarsia (knitting). Wikipedia. https://en.wikipedia.org/wiki/Intarsia_(knitting)


