How to Sew Spandex with A Serger?
So, you have got yourself the best serger for multi-layer fabrics, and now you want to learn how to sew spandex with a serger? Well, allow us to state that you came to the right place.
One of our editors said his jeans started to roll down at the waist. And as a solution, we found that sewing spandex at the waist would be perfect.
We were lost in the very beginning. But through vigorous research, we have mastered the process.
Our primary goal here is to make sure you do not struggle like us. And show you exactly how you can properly sew spandex using a serger.
Steps to Follow to Sew Spandex
You have already read our how to sew knits with a serger guide. There we have tried our level best to keep things simple. And we are going to follow the same thing here. That being said, let us get to describing the steps you need to follow to sew spandex.
Step 1: Cutting
Like our guide on how to sew spandex shorts, the first step is to start cutting the spandex. First, let the spandex rest for 10–15 minutes after taking it off the package. This makes the material relax and let go of any creases that have formed during packaging. Also, make sure that it lays flat for a while.
Then, get a pair of sharp scissors or a quilting cutting machine. Ensure that the scissors are sharp enough, like the best scissors for cutting rag quilts, or else they will burr the edges, making it hard to match the pattern with clothing items. Use a rotary cutter with a fresh blade on a self-healing cutting mat for precision cuts on spandex. Test if the pins leave any marks on the fabric. If pins leave marks, opt for pattern weights or clips instead.
After that, start the cutting. Cut one piece at a time. That will ensure that the amount of wastage stays to a bare minimum. It will also make sure that you can cut each of the pieces of the spandex perfectly. Lastly, check the direction of the stretch. Spandex typically stretches 15–30% depending on the blend. If the stretch is not in the direction required by the pattern, rotate the pieces.
Step 2: Check the Stretch Level
Before starting the stitching process, ensure that the seams have the same stretching amount. If the stretch qualities of the seams do not match with the fabric, the end results will not be eye-catching. Also, the stitches will break more easily if the stretch amount does not match.
In addition to that, an unmatched stretch level makes the clothing uncomfortable to wear. If you find that the stretch level is too far off, we recommend getting a new lot of spandex. Here, keep the stretch level of the fabric in mind and choose one accordingly. For optimal performance, select spandex with 4-way stretch (15–30% in both directions) for most garment applications.
On the other hand, you can go the opposite route and change the fabric entirely. However, this results in too much wastage of fabric. It is easier to match spandex with fabric than to match fabric with spandex. So, we recommend getting new spandex and starting from step 1.
Also, the process is similar if you are using a fabric that contains spandex in it. If you are wondering, does 95% polyester 5% spandex stretch, the answer is yes.
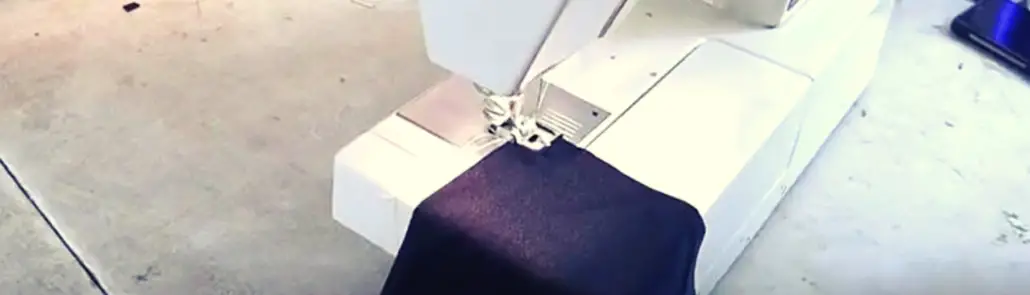
Step 3: Stitching
A proper serger, like the heavy duty serger for denim, sews the edges without needing any additional stitches, making this process easier. Most sergers, including affordable sergers, have built-in elasticity for sewing spandex.
Use a ballpoint or stretch needle (size 75/11 or 90/14) when serging spandex. Ballpoint needles push fibers aside rather than piercing them, preventing skipped stitches and snags in elastic fibers. Set the stitch length to 2.5–3 mm for balanced seams on medium-weight spandex. Use differential feed at 0.7–1.0 to prevent wavy or puckered seams — a ratio of 0.7 controls stretching while 1.0 allows natural feed-through.
While you are sewing the seams, gently stretch the fabric. This motion ensures that the fabric achieves maximum stretchiness. With maximum stretchiness, the clothing is comfortable to wear and highly elastic at the same time.
On that note, you are going to use the serger to sew all the parts except the legs and neck. If you sew those using the serger, the sewing will not be proper. Without proper sewing, the spandex will not sit in those places properly, which will make those spots weak. Set your serger to a 3-thread or 4-thread overlock with lower tensions (3–4 on most machines) to accommodate the fabric’s elasticity without pulling or gathering.
Step 4: Use the Regular Sewing Machine
After working on the rest of the parts, you need to sew the legs and the neck area. For this, you require a regular sewing machine. The best sewing machine for stretch fabrics will be our recommendation. That machine ensures that sewing is done properly. However, take your time while using the regular machine because it will not work as fast as a serger.
Also, stretch the fabric as you did in the previous step. This enables the areas to get the most out of the spandex. Use a stretch stitch (such as a triple zigzag) or a narrow zigzag stitch (width 2–3, length 1.5–2) with the differential feed engaged. When pressing spandex seams, use a pressing cloth and keep the iron below 140°C (284°F) to prevent scorching or melting the elastic fibers.
Using a Serger to Sew Spandex for an Ellen Griswold Blouse
You can use a serger to sew spandex for an Ellen Griswold blouse. The Ellen Griswold blouse pattern requires stretchable fabric like spandex, and a serger creates clean, professional-looking seams on this type of material. Set the machine to a 4-thread overlock with differential feed at 0.8 for optimal results on the lightweight spandex typically used in this pattern.
Final Words
We hope that it is pretty clear that learning how to sew spandex with a serger is not as hard as you once thought it was. You can apply the same process when learning how to make a skirt bigger. Also, hopefully, the steps we included in this article were easy to follow, and you were able to end up with a perfectly sewn spandex after following them.
References
- The following sources were consulted in the preparation of this guide:
- ASTM International. (2025). ASTM D3107 — Standard Test Methods for Stretch Properties of Fabrics. ASTM International.
- ISO. (2023). ISO 3758:2012 — Textiles — Care Labelling Code Using Symbols. International Organization for Standardization.
- The CottonWorks. (2024). Understanding Spandex in Fabric Blends. Cotton Incorporated.
- Sailrite. (2023). How to Sew Stretch Fabric — Equipment and Techniques. Sailrite.
- Threads Magazine. (2022). Serger Stitch Settings for Knits and Stretch Fabrics. Taunton Press.


