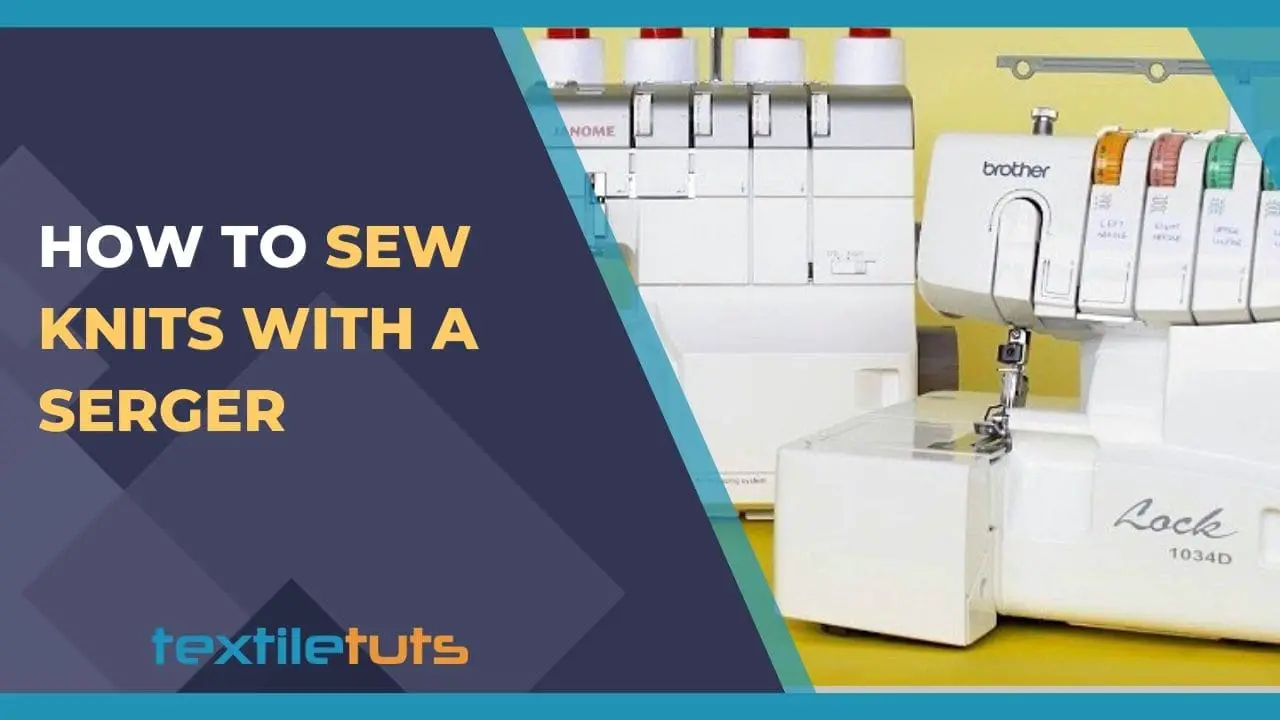
How to Sew Knits with a Serger?
You can sew knits with a serger using three distinct construction methods: serger-only construction (4-thread stitch throughout), hybrid construction (sewing machine assemble + serger finish), or reinforced construction (serger join + sewing machine reinforce). Each method suits different skill levels and project requirements — from fast T-shirt assembly to durable activewear.
A serger resolves the core challenge of sewing elastic textiles by combining differential feed (which prevents waviness), an auto-trimming blade (which cuts excess seam allowance), and stretch-capable stitches (which survive fabric elongation up to 100%). Standard sewing machines lack these specialized mechanisms, frequently stretching or tearing knit fabric as the feed dogs advance.
This guide covers the three serger construction methods for knits, the key settings to start with, and when to use wadding on knit seams.
The Benefits of Serging Knits Over Sewing with a Standard Machine
A serger outperforms a conventional sewing machine in five distinct areas when working with knit fabrics. These advantages make it a strong recommendation from experienced garment makers for anyone serious about sewing stretchy textiles.
Differential Feed Mechanism Eliminates Waviness
The differential feed system uses two separate sets of feeding dogs that move at different speeds under the presser foot. The front and rear dogs operate independently, allowing you to set a differential ratio typically between 0.7 and 1.0 for knit fabrics. This prevents the wavy, puckered edges that standard sewing machines produce on stretch textiles.
By customizing the differential feed ratio, you can either eliminate waves entirely or intentionally create decorative ruffling effects. Standard sewing machines lack this capability entirely.
High Speed Dramatically Improves Production Efficiency
Most serger models sew at speeds between 1,500 and 2,500 stitches per minute, significantly faster than conventional sewing machines. This speed allows you to complete an entire knit garment — such as a pair of leggings — in a single work session.
The efficiency gain is particularly valuable when producing multiple garments or working on production-scale projects where time per item directly affects profitability.
Knit Fabric Remains Intact Without Being Pulled or Chewed
Standard sewing machines frequently pull, stretch, or entirely consume delicate knit fabric as the feed dogs grip and advance the material. This damage ruins otherwise serviceable fabric pieces and creates irreparable tears along the seam line.
Sergers advance fabric smoothly without applying destructive pulling force. The differential feed mechanism specifically prevents the fabric from being over-extended or torn during the seaming process.
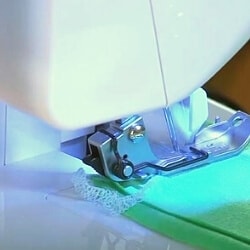
Built-In Knife Auto-Trims Seam Allowance
Every serger includes an integrated cutting blade that trims excess seam allowance flush with the seam as you sew. This eliminates the need for scissors or rotary cutters to clean up edges afterward. The blade trims at a height of approximately 3–5 mm from the needle, depending on your differential feed and stitch width settings.
The result is a consistently clean seam edge with no manual trimming required. This feature alone saves significant time on every seam and produces a more professional finish than standard sewing machine seams.
Stretchy Stitches Prevent Seam Failure Under Fabric Stress
Serger stitches contain built-in stretch that standard lockstitch machines cannot replicate. Using a stretch thread or wooly nylon thread in the lower loop drivers creates stitches that elongate with the fabric rather than breaking when the garment is stressed.
Woven fabric seams break at approximately 60–90% elongation, but serger stitches with stretch thread tolerate elongation up to 75–100% before failing. This makes serger construction essential for fitted knit garments that undergo repeated stretching cycles during wear.
The Three Methods for Sewing Knits with a Serger
Sewing knits with a serger requires understanding three distinct construction methods. Each approach suits different skill levels and project requirements. Choose the method that aligns with your equipment, experience, and garment demands.
| Method | Construction | Finishing | Best For |
|---|---|---|---|
| 1. Full Serger | 4-thread serger stitch | Cover-stitch or stretch stitch hem | T-shirts, tank tops, simple dresses |
| 2. Hybrid | Sewing machine (straight/zigzag) | Serger overlock edge | Curved seams, beginners, precision work |
| 3. Reinforced | Serger stitch + sewing machine reinforcement | Double-stitched stress seams | Activewear, swimwear, fitted bodices |
Method 1: Full Garment Construction with a Serger
This method uses the serger for every step of garment assembly, including joining all seams from start to finish. A 4-thread serger stitch provides the optimal balance of strength, stretch, and speed for this approach.
After serging all construction seams, finish the hem and any topstitching with a cover-stitch machine or a standard sewing machine set to a stretch stitch. This method is the fastest option and works best on straightforward knit garments such as T-shirts, tank tops, and simple dresses.
A 3-thread serger stitch can also construct knits, but it produces a narrower seam that requires reinforcement on high-stress areas such as shoulder seams and side seams.
Method 2: Construct with a Sewing Machine, Finish with a Serger
This hybrid approach uses a sewing machine — such as a straight-stitch or zigzag model — to assemble all garment pieces, then runs the completed seams through the serger for professional edge finishing. A ballpoint needle (size 75/11 or 90/11) prevents skipped stitches on knit fabrics.
The sewing machine provides superior control when navigating curves, corners, and seam allowances, while the serger produces a clean, overlocked edge that prevents fraying. This is the most recommended method for beginners because it combines the precision of a familiar machine with the finishing power of a serger.
Budget serger models under $300 — including several overlock machines priced between $150 and $299 — handle knit edge finishing effectively for home sewing projects.
Method 3: Construct with a Serger, Reinforce with a Sewing Machine
This technique reverses the standard workflow by using the serger as the primary construction tool, then reinforcing high-stress seams with a sewing machine stitch. This approach is less common but excels on garments that undergo significant stress, such as activewear, swimwear, and fitted bodices.
The serger joins seams rapidly, and the subsequent sewing machine reinforcement adds durability exactly where the garment needs it most. Combine this with a stretch thread serger stitch for maximum seam longevity.
Using Wadding with Knits on a Serger
Yes, you can use wadding (also called batting) when sewing knits with a serger. Lightweight wadding with a loft of 3–6 mm provides extra stability and support for knit fabric seams without adding excessive bulk to the garment.
This technique is particularly useful when serging seams in quilted knit jackets or sweatshirt-fabric garments where the batting adds warmth and structure. Choose a polyester batting for washability and shape retention, or cotton batting for a natural drape. Pin or baste the layers together before serging to prevent shifting during the seaming process.
Summary: Key Serger Settings for Knit Fabrics
These settings serve as a starting point for most knit fabrics on a standard home serger. Always test on fabric scraps before beginning your project.
- Differential feed ratio: 0.7–1.0 (set lower for lightweight knits, higher for heavy knits)
- Stitch length: 2.5–4.0 mm (shorter for finer knits, longer for stable knits)
- Needle type: Ballpoint size 75/11 or 90/11 (size depends on fabric weight)
- Thread: 100% polyester serger thread or wooly nylon stretch thread in lower loops
- Blade height: Set flush with or 1–2 mm above the fabric surface for most knits
Quick-Reference: Serger Settings by Fabric Weight
| Fabric Weight | Differential Feed | Stitch Length | Needle Size |
|---|---|---|---|
| Lightweight (lace, mesh) | 0.7 | 2.5–3.0 mm | 75/11 |
| Medium (T-shirt, jersey) | 0.7–0.9 | 3.0–3.5 mm | 75/11 or 90/11 |
| Heavy (sweatshirt, scuba) | 1.0 | 3.5–4.0 mm | 90/11 |
Conclusion
Sewing knits with a serger is a straightforward process once you understand the machine’s purpose-built mechanisms. The differential feed, auto-trimming blade, stretch-capable stitches, and high speed combine to eliminate the most common problems sewers encounter with stretch fabrics.
Regardless of your experience level with sergers, the learning curve is short. The three construction methods give you flexibility whether you prioritize speed, precision, or durability in your knit garments.
REFERENCES:
- Wikipedia. (2025). Knit Fabrics — Stretch Percentages, Structures, and Properties. Wikimedia Foundation.
- TextileTuts. (2021). How to Sew Knits with a Serger — Benefits, Settings, and Methods. TextileTuts.
- Sailrite. (2024). How to Serge Knits — Differential Feed, Stitch Types, and Thread Selection. Sailrite.
- Coneacci. (2024). Serger Stitch Settings for Knit Fabrics — Tension, Length, and Differential Feed. Coneacci.
- Pattern Center. (2023). Using a Serger for Knit Fabrics — Settings and Techniques. Pattern Center.


