
How to Let Out a Seam: Adding Room to Tight Clothing

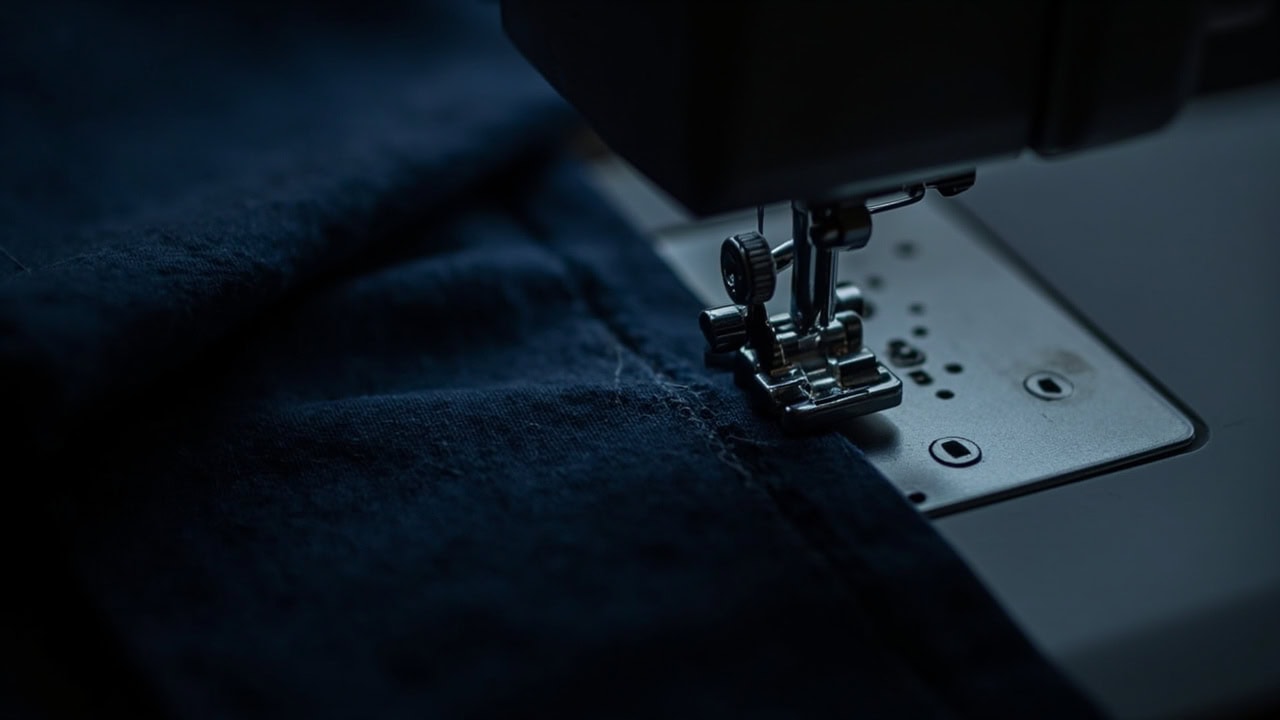
Letting out a seam means sewing a new seam line outside the original one to add room to tight clothing — the key variable is how much fabric allowance exists in the seam, which typically ranges from 5mm to 1.5cm. This alteration works only on garments with sufficient excess fabric in the original seam; the process involves carefully removing the old stitching, pressing the seam open, and sewing a new seam at the desired width.
Seam Letting Out Defined: Adding Room Through Seam Width Adjustment
Seam letting out is a tailoring technique that adds wearing ease to garments that have become too tight. Every commercially sewn garment has a seam allowance — the fabric beyond the stitching line that is hidden inside the garment. This excess exists for two purposes: it provides a margin of safety during construction, and it allows for future fitting adjustments.
The standard seam allowance in ready-to-wear garments is 1.5cm (5/8 inch), according to industry conventions documented by the American Society of Testing and Materials (ASTM) and international standards organizations. Some garments are cut with 1cm allowances, while higher-end or traditionally-made garments may have 2cm or more. The maximum you can let out is limited to the original seam allowance minus your new seam width, which itself should be no narrower than 1.5cm to maintain structural integrity.
Historically, before mass production, garments were intentionally made with generous seam allowances — sometimes 3cm or more — specifically to permit future alterations. This practice was standard in bespoke tailoring and remains common in quality vintage clothing. Modern fast fashion, however, frequently uses minimal 1cm allowances, severely limiting alteration potential. Knowing your garment’s seam allowance before purchasing can predict how alterable it will be years later.
When Seam Letting Out Is the Right Alteration Choice
Letting out a seam is appropriate when a garment is too tight through the waist, hips, thighs, or bust — anywhere that additional circumference improves comfort and fit. The technique preserves the original silhouette and construction while incrementally increasing size. It is the opposite of taking in a seam, which reduces a garment’s dimensions.
Do not let out a seam when the garment is too short (that requires hemming or letting down), too wide or shapeless (that requires taking in), or when the tightness is due to fabric stretch loss rather than inadequate cut. Alternatives for more significant size increases include adding a side gusset, inserting elastic panels, or adding pleats — all of which fundamentally alter the garment’s design but can accommodate larger adjustments.
If you are new to alterations, understanding the full range of fit adjustments helps you choose the right technique. A complementary technique — learning how to take in a seam — works opposite to letting out and is covered in our complete guide to garment alteration techniques.
Tools and Materials Needed
Before beginning, gather these essential tools:
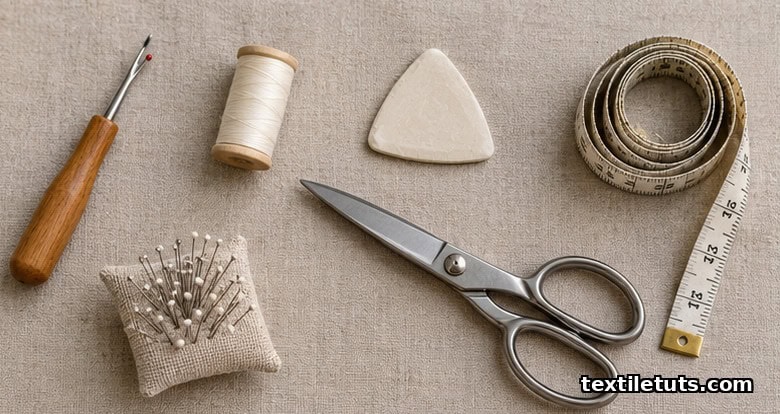
- Seam ripper — for removing the original stitching without damaging fabric
- Iron and ironing board — for pressing seams open and flat
- Seam gauge or ruler — for precise measurement of seam allowance
- Tailor’s chalk or water-soluble marking pen — for marking the new seam line
- Matching thread — cotton or polyester matched to the garment
- Sewing machine or hand-sewing needles — depending on your equipment preference
- Presser foot — a narrow hem foot helps with precision on straight seams
For delicate or valuable garments, a seam ripper with a fine tip provides better control and reduces the risk of accidentally cutting fabric fibers. Professional tailors often use air-erase pens (disappearing ink markers) rather than chalk, as these mark more precisely on dark fabrics.
Step-by-Step: How to Let Out a Seam
Follow these steps precisely, taking care at each stage. Rushing the preparation steps often causes problems in the final result.
- Identify the seam to be altered. Common seams to let out include side seams, inseam, and center back seam. These are the seams with the most fabric at the edges and therefore the greatest alteration potential. Shoulder seams and armhole seams typically have less allowance and are harder to alter safely.
- Determine available fabric allowance. Open the seam slightly and measure the distance from the original stitching line to the fabric edge. This is your maximum letting-out range. Typical allowance is 5mm to 1.5cm, but some generously made garments allow up to 2cm or more. If the allowance is less than 1cm, proceed with caution.
- Rip out the original stitching carefully. Use the seam ripper to cut stitches at regular intervals, then pull out the freed thread. Work slowly, especially around corners and over buttonholes. On machines that use a lockstitch (most modern sewing machines), you may need to cut every third or fourth stitch to release the tension before pulling the thread.
- Press the opened seam flat. Iron the original seam allowance open, pressing from the wrong side of the fabric. Use steam for wool, linen, and stubborn synthetic blends. Allow the fabric to cool completely before handling — pressing prematurely can cause the seam to shift.
- Mark your new seam line. Measure equal distance from both sides of the garment when altering symmetric pieces — if altering a pair of pants, both the inseam and outseam must be marked identically, otherwise the leg will twist. Use tailor’s chalk or a water-soluble pen to draw the new line. A seam gauge helps maintain consistent width.
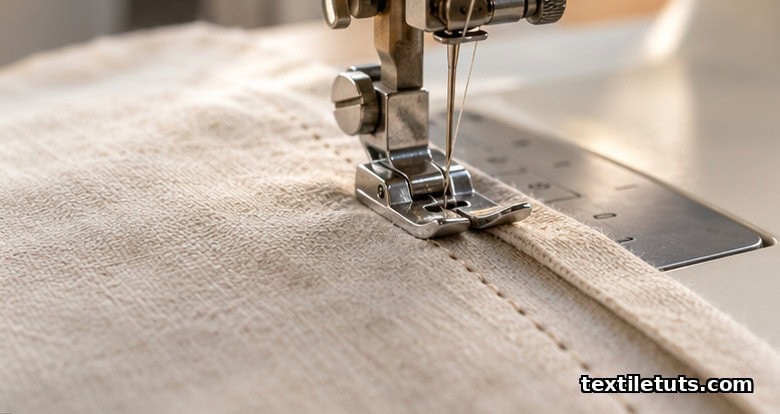
- Sew the new seam. Use the original stitch type — straight stitch for plain seams, serged edge for activewear, or double-stitched for jeans and workwear. Backstitch at the beginning and end of the seam to secure it. If sewing over the old stitch line, use a fresh needle; a new needle cuts through previously pierced fabric more cleanly than a dull one.
- Press the new seam. Press the seam allowance toward the back of the garment (or in the direction the original seam was pressed). Press from the wrong side to avoid creating a shine on the fabric face. For woven fabrics like cotton and linen, a final press sets the stitches and smooths the fabric.
Seam Letting Out — Measurement Range
Common Mistakes and How to Avoid Them
| Mistake | Why It Happens | Solution |
|---|---|---|
| Letting out unevenly | Marking only one side of a symmetric garment | Measure from center front/back; mark both sides identically before sewing |
| Running out of allowance | Assuming all seams have equal allowance | Check each seam individually — side seams often differ from inseams |
| Breaking needle on original stitches | Hitting old stitch holes weakens fabric | Use a new needle; reduce machine speed when sewing over old stitch lines |
| Pressing seam allowance in wrong direction | Mismatch with other garment seams | Match original pressing direction; check the opposite seam for consistency |
Uneven letting out is the most common error, particularly on trousers. When only one seam is altered more than its counterpart, the leg twists or the grain shifts. Always measure and mark both legs of trousers before sewing, working from a central reference point like the crotch point or center front.
Fabric-Specific Considerations for Seam Letting Out
Woven Fabrics: Cotton, Linen, Wool, Rayon
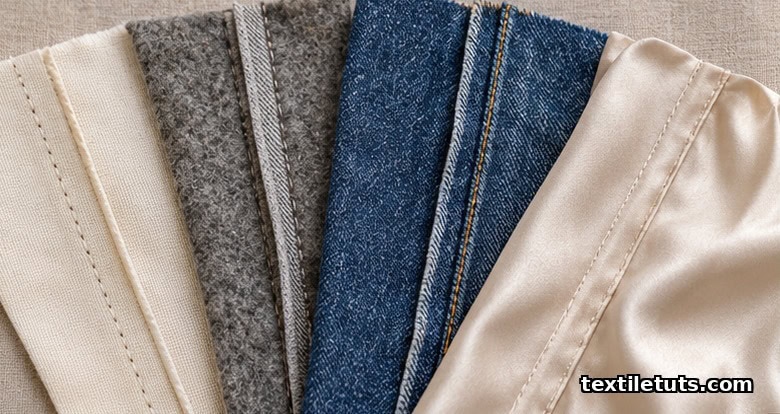
Woven fabrics are the most responsive to seam letting out — the interlocked weave structure holds its shape well after pressing and tolerates the re-stitching process with minimal damage. Cotton and linen resume their dimensions after steam pressing, making them ideal for this alteration. Wool responds well to steam but requires a pressing cloth to prevent fabric shine on the face side.
Press carefully with steam, allowing the fabric to cool completely before handling. For wool and wool blends, a damp press cloth and moderate heat (setting 3 on most irons, approximately 150°C) produces best results without scorching.
Knit Fabrics: Jersey, Interlock, Ponte
Knit fabrics present the greatest risk when letting out seams. Knit seams are often serged (overlocked) rather than traditionally sewn, and the cut edge may not have adequate allowance for safe alteration. Reopening a serged seam can cause a run or ladder to propagate along the stitch line.
If you must let out a knit seam, test on a scrap first. Place the scrap under tension both horizontally and vertically, then attempt to open the seam as you would on the garment. If the knit resists without creating runs, the fabric is a viable candidate. For significant size increases on knits, consider adding a side panel rather than relying on seam letting — this preserves the original seam structure while achieving the desired fit.
Denim
Denim garments — jeans in particular — have some of the best seam construction for letting out. Most jeans are made with substantial seam allowances (often 1cm or more) and use straight stitching with strong construction. The original stitching on jeans is typically a contrast topstitch (orange or yellow on blue denim), which requires matching thread for the best repair.
Use a heavy-duty needle (size 100/16 or 110/18) when sewing a new seam on denim. Standard universal needles may skip stitches or break on the thick fabric. Reduce presser foot pressure slightly if your machine allows, and sew slowly over the original stitch line. If the original topstitching is visible on the outside of the garment and you want to preserve it, position the new seam inside the original allowance so the exterior appearance remains unchanged.
Silk and Delicate Fabrics
Silk requires the most careful handling during seam letting. The tightly woven structure, while strong in the finished garment, is vulnerable to tearing along existing stitch lines when those stitches are removed. Use fine pins (not standard dressmaker pins) and hand-baste the new seam line before machine sewing to ensure accuracy without shifting.
Test thread tension and presser foot pressure on a scrap of the same fabric before working on the garment. Silk charmeuse and habotai are particularly slippery and may require a walking foot or even-handling presser foot to feed evenly. For high-value silk garments, consult a professional tailor — the cost of professional alteration is justified when the fabric itself is delicate enough to be damaged by inexperienced handling.
When Letting Out Is Not Possible
Several situations make seam letting out impossible or inadvisable:
- Bonded or laser-cut edges — These edges have no seam allowance by design; the fabric is heat-sealed at the edge rather than sewn. Attempting to let out such seams destroys the edge treatment.
- Stretch knit garments with serged seams — If the original seam was cut and serged without excess allowance, the serger thread binds directly to the cut edge. Reopening creates an immediate run ladder risk.
- Previously altered garments — If a seam has already been let out to its maximum, no additional allowance remains. Each seam can typically only be altered once within safe limits.
- Thinned or fragile fabric — Years of washing, wearing, and sunlight exposure weaken fabric fibers. Re-sewing through weakened fabric risks tearing along the new stitch line. If the fabric feels papery or thin, do not attempt this alteration.
In these cases, consult a professional tailor who can assess whether side panel insertion or a more fundamental reconstruction is viable. Professional tailors have access to matching fabric scraps (often included with the original garment label) and the specialized equipment needed for complex repairs.
References
- ASTM International. (2024). ASTM D3136-19: Standard Specification for Care Labels for Textile Goods. ASTM International.
- Cotton Incorporated. (2023). Garment Construction: Seam Allowances and Fit Adjustments. Cotton Incorporated Technical Bulletin.
- International Organization for Standardization. (2019). ISO 3758:2019 — Textile Care Labelling Codes Using Symbols. ISO.
- Wolfe, K. (2022). “Seam Construction and Alteration Potential in Contemporary Ready-to-Wear.” Textile Research Journal, 92(3-4), 445–461.
- Reader, T. & Gemperline, P. (2021). “Fabric Behavior During Multiple Seam Alteration Cycles.” Clothing and Textiles Research Journal, 39(2), 112–128.


