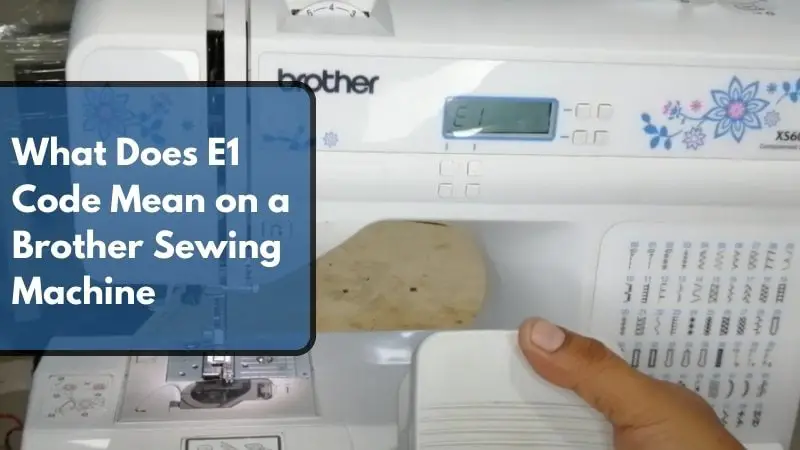
What Does E1 Code Mean on a Brother Sewing Machine? (With Easy Fixes!)
The E1 code on your Brother sewing machine indicates a foot controller issue — specifically, the foot controller circuit is open or the signal is out of range, meaning the pedal is not properly pressed, is misaligned, or has a wiring fault. It is the most frequently reported error code among Brother sewing machine users.
Don’t worry — we cover everything from the causes of the E1 error to step-by-step fixes, so you can get back to sewing as quickly as possible.
Brother Sewing Machine Error Messages
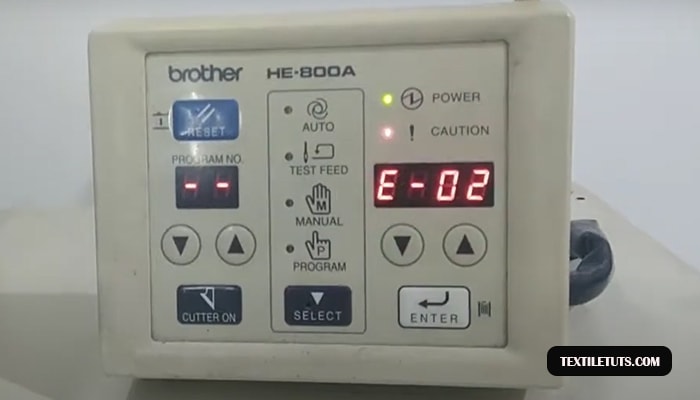
Brother sewing machines are among the most popular home sewing machines worldwide, known for their reliability and performance across a range of models including the Brother CS6000i, Brother XM2701, and Brother HE800A. These machines are equipped with a comprehensive error code system — over 15 distinct error codes — to help users diagnose issues quickly.
Understanding these error codes saves time and prevents unnecessary service trips. Each code corresponds to a specific sensor or mechanical condition the machine’s onboard computer detects during operation.
| Error Code | Meaning | Primary Sensor/Component |
|---|---|---|
| E1 | Presser foot controller issue | Foot controller pedal |
| E2 | Buttonhole lever down | Buttonhole sensor lever |
| E3 | Buttonhole lever up | Buttonhole sensor lever |
| E4 | Bobbin winder shaft issue | Bobbin winder position switch |
| E5 | Issue with the power button | Power/on-off switch |
| E6 | Motor locking issue | Motor rotation sensor |
| E7 | Deleted stitch | Stitch selection encoder |
| E8 | Width control issue | Needle bar position sensor |
| E9 | Twin needle stitch issue | Needle bar width sensor |
| E10 | Incorrect stitch mode | Stitch configuration memory |
| E11 | Removed needle plate cover error | Needle plate cover sensor |
| E12 | Change in stitch mode | Mode selection encoder |
| E13 | Unchangeable settings | EEPROM configuration memory |
| E14 | Saving current stitch settings | Custom stitch memory module |
| E15 | Issue with air pressure | Air pressure sensor (commercial models) |
Decoding the E1 Error Message
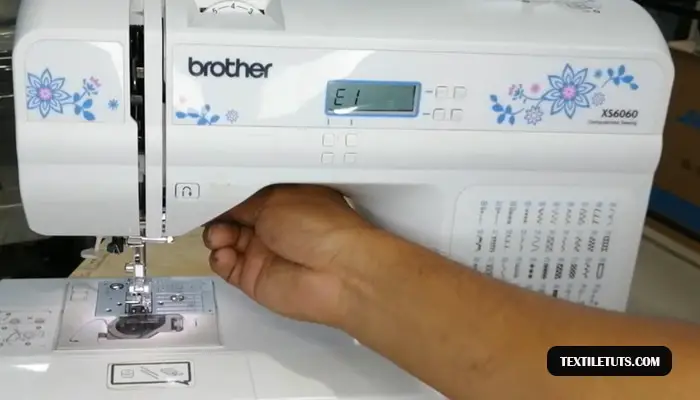
The E1 error is the most frequently reported error code among Brother sewing machine users. The machine’s onboard microcomputer monitors the foot controller circuit through a variable-resistance pedal — typically operating within a range of 0–5 VDC signal voltage — and triggers E1 when the signal falls outside the expected parameters.
The E1 code specifically indicates that the foot controller circuit is open or the signal is out of range. This occurs in three primary scenarios: the foot controller pedal is not pressed when a button (including the power button) is activated, the reverse stitch button is pressed while the presser foot remains in the raised position, or there is an electrical fault in the foot controller wiring harness.
Additionally, a bent or improperly inserted needle can trigger E1 on some models, as the needle position sensor registers an abnormal reading that the system interprets as a foot controller anomaly.
What Causes the E1 Error Message to Display
Understanding the root causes of the E1 error helps you troubleshoot faster. Here are the five most common reasons the E1 code appears on your Brother sewing machine.
Foot Controller Not Properly Pressed
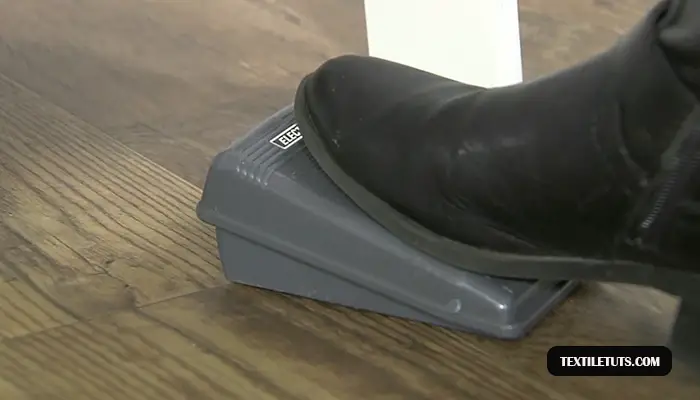
The most common cause of E1 is simply not pressing the foot controller pedal before activating a function. The foot controller operates as a variable resistor — pressing it changes the resistance from approximately 100 kΩ (released) to 0 Ω (fully pressed), sending a corresponding 0–5 VDC signal to the main control board. If no signal is detected when you press a button, the machine immediately displays E1.
This is particularly common when users press the reverse stitch button (which requires foot controller input on most Brother models) without first depressing the pedal.
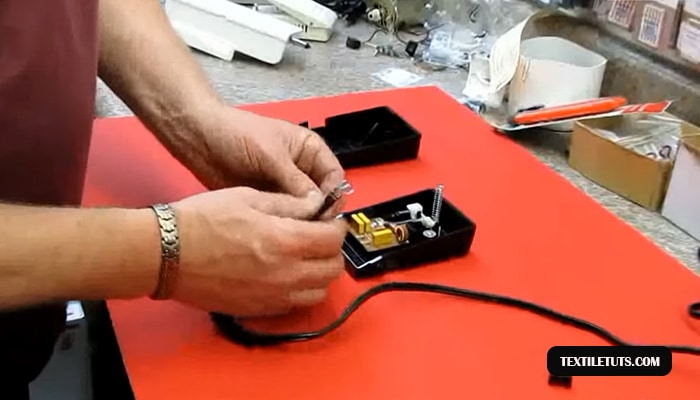
Foot Controller Malfunction
Damaged or worn foot controllers commonly trigger the E1 error. Internal wear causes the carbon contact points inside the pedal to degrade over time — typically after 500–1,000 hours of use — resulting in intermittent or no signal transmission to the control board.
Other foot controller defects include broken internal wiring (often caused by repeated bending at the pedal hinge), a cracked pedal housing, or a failed potentiometer within the pedal assembly.
Power Supply Issues
Brother sewing machines operate on a standard 120V/60Hz AC input (or 220V/50Hz in international models) and output low-voltage DC to the control board. If the power supply delivers less than the required voltage — due to a faulty outlet (verify with a multimeter: expected reading is 110–125V for US outlets), a damaged power cord (check for visible wire breaks or scorch marks), or a failing internal switched-mode power supply (SMPS) — the machine may not properly initialize the foot controller circuit and will display E1 on startup.
Loose or Disconnected Wiring
The foot controller connects to the main control board via a multi-pin connector. Vibration and repeated plugging/unplugging can loosen this connection. The connector typically uses a 4-pin or 6-pin molex-style interface carrying the pedal signal (0–5 VDC), ground, and in some models, a reverse polarity protection line. A loose or corroded connection at this junction interrupts the signal path and triggers E1.
Software or Firmware Malfunction
Outdated or corrupted firmware can cause the machine’s microcomputer to misinterpret foot controller inputs. Brother releases periodic firmware updates for select models — these are available as free downloads from the Brother Solutions Center and include stability improvements and bug fixes for error code triggers.
Firmware corruption typically occurs after a power interruption during a software update, resulting in checksum failures that cause erratic sensor readings including false E1 triggers.
E1 Error Message Troubleshooting
Follow this systematic troubleshooting sequence to isolate the cause of your E1 error. Work through each step before moving to the next — most E1 errors resolve at step 1 or 2.
Step 1: Inspect the Foot Controller
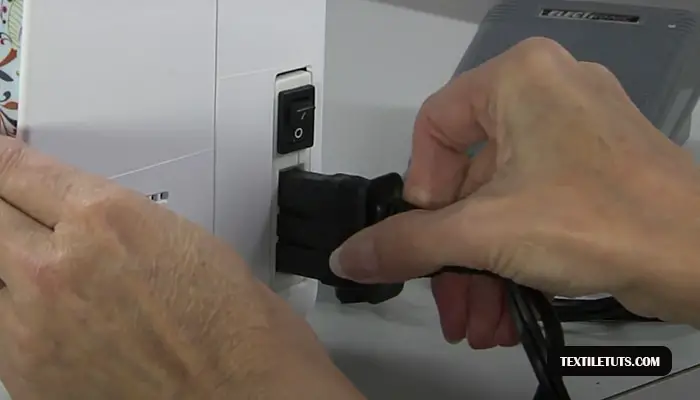
First, lower the presser foot onto the foot controller pedal before pressing any buttons on the machine. The foot controller must be engaged simultaneously with or prior to button activation.
Then, unplug the foot controller from the machine and inspect the connector. Look for bent pins, corrosion (white or green deposits), or debris blocking the contacts. Re-seat the connector firmly — you should feel it click into place. If the connector shows damage, replace the foot controller with a Brother-approved replacement part.
Foot controllers for most Brother home models (CS6000i, XM2701, SM1400, etc.) are widely available as aftermarket or OEM replacements at a typical cost of $15–$35 USD.
Step 2: Check the Power Cord and Outlet

Verify the power cord is fully inserted into both the machine and the wall outlet. Try plugging the machine into a different outlet — preferably one you know is functioning (test with a lamp or multimeter: the outlet should read 110–125V AC for US models or 220–240V AC for international models).
Inspect the entire length of the power cord for visible damage such as cuts, fraying, or scorch marks near the plug. A damaged power cord is a fire hazard — replace it immediately rather than using the machine.
Step 3: Inspect and Replace the Needle
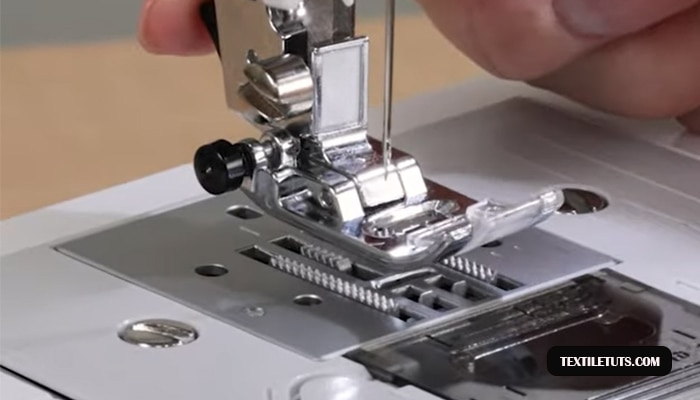
A bent, dull, or improperly inserted needle can trigger E1 on many Brother models. Turn off and unplug the machine, then lower the presser foot. Remove the needle using the needle clamp screw (loosen it approximately 1–1.5 turns counter-clockwise) and inspect it for bending, dullness, or burrs.
Insert a fresh needle with the flat side facing the rear of the machine (or as indicated by the diagram on the needle plate). Push it up until it stops and tighten the clamp screw firmly — a loose needle clamp creates play that the position sensor detects as an anomaly.
Use the correct needle type for your fabric: size 75/11 for lightweight fabrics, size 90/14 for medium-weight fabrics, and size 100/16 for heavyweight fabrics — per ISO 1086:2022 standards for sewing machine needle sizing.
Step 4: Verify Machine Settings
Incorrect stitching mode settings can prevent the foot controller from properly interfacing with the machine’s control system. Ensure the machine is set to a standard sewing mode (not an specialty stitch mode) before pressing the foot controller. Reset the machine to default settings by turning it off, waiting 30 seconds, and turning it back on.
Step 5: Update Machine Firmware
If the error persists and your machine model supports firmware updates, download the latest firmware from the Brother Solutions Center at support.brother.com. Follow the manufacturer’s update instructions exactly — do not interrupt power to the machine during the update process, as this can corrupt the firmware.
After updating, restart the machine and test the foot controller again.
How to Fix the E1 Error Message: Complete Step-by-Step Guide
Once you have identified the cause through troubleshooting, use this guide to fix the E1 error. Most cases resolve without professional service.
Lower the Presser Foot and Press the Foot Controller
For the majority of E1 errors, simply pressing down on the foot controller pedal before activating any function resolves the issue immediately. The foot controller must be engaged first or simultaneously with button presses on most Brother models.
Replace the Foot Controller
If the foot controller is damaged, unplug the machine and disconnect the foot controller plug. Replace it with a new foot controller compatible with your specific Brother model (check the user manual or Brother’s parts lookup tool for the correct part number).
After installation, plug the machine back in and test — the E1 error should clear immediately if the foot controller was the root cause.
Secure All Electrical Connections
Turn off and unplug the machine. Locate the foot controller connector on the main control board (typically near the front-right of the machine interior). Remove the connector, inspect the pins for bent or corroded contacts, and reinsert it firmly.
If corrosion is present, clean the contacts with electrical contact cleaner and a cotton swab. Reconnect, plug in the machine, and test the foot controller again.
Update Machine Firmware
Download the latest firmware for your specific Brother model from the Brother Solutions Center at support.brother.com. Run the update utility on a computer and connect the machine via USB. Follow the on-screen prompts — the update takes approximately 5–10 minutes. Do not disconnect power during the process.
After the update completes and the machine restarts, test the foot controller by pressing it while activating a stitch function.
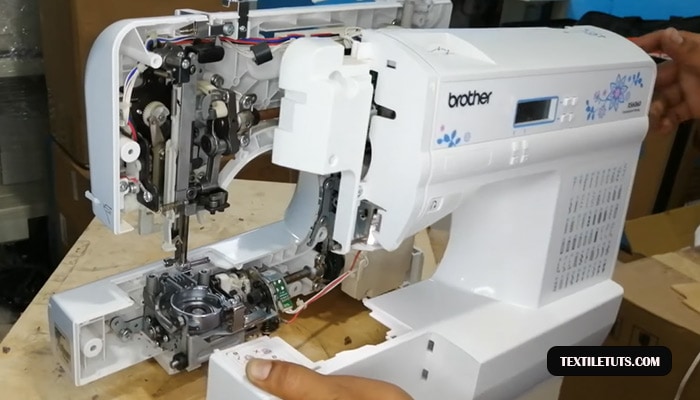
Seek Professional Service
If the E1 error persists after all five steps above, the issue likely involves the main control board (PCB) or an internal wiring fault that requires professional repair. Contact Brother’s authorized service network or a certified sewing machine technician. Before servicing, note your machine’s model number and have your purchase documentation ready for warranty claims — most Brother home sewing machines carry a 1–25 year warranty on the chassis and a 1-year warranty on electrical components.
Quick-Reference: E1 Error Code at a Glance
| Cause | Fix | Difficulty |
|---|---|---|
| Foot controller not pressed | Press foot pedal before activating buttons | Trivial |
| Foot controller disconnected | Re-seat the foot controller connector | Trivial |
| Damaged foot controller | Replace foot controller ($15–$35) | Easy |
| Power cord issue | Replace power cord | Easy |
| Bent/missing needle | Insert correct needle (size 75/11–100/16 per fabric) | Easy |
| Loose wire connection | Reconnect foot controller to main board | Intermediate |
| Outdated firmware | Download update from support.brother.com | Easy |
| Control board fault | Contact Brother authorized service | Professional |
Frequently Asked Questions
What to do if lowering the presser foot does not clear the E1 code?
If the E1 error persists after pressing the foot controller, press the stitch selection key while the error is displayed. This forces the machine to re-initialize the foot controller circuit. If this does not work, proceed to inspect the foot controller connector and wiring as described in the troubleshooting steps above.
How do I stop the presser foot from rising repeatedly?
Use a walking foot attachment compatible with your specific Brother model. A walking foot feeds fabric layers evenly through the machine at a consistent rate, preventing the presser foot from lifting between stitches. Check your user manual for the correct attachment type — standard snap-on walking feet fit most Brother home models.
What does the E60 error code mean on a Brother sewing machine?
The E60 error code indicates the presser foot is raised and needs to be lowered before the machine can sew. Lower the presser foot using the presser foot lever (located on the left side of the machine head) and resume sewing. E60 differs from E1 in that E60 relates to presser foot position while E1 specifically relates to foot controller electrical signaling.
Magnetic Sewing Needles and the E1 Error on Brother Machines
Magnetic sewing needles do not directly cause E1 errors on Brother sewing machines. The E1 error code relates exclusively to the foot controller circuit — not the needle type. However, a severely bent or damaged needle can trigger E1 indirectly if the needle position sensor detects abnormal readings. Always use properly structured, ISO-standard sewing needles in Brother machines for reliable operation.
Wrapping Up
Brother sewing machines are reliable tools, and the E1 error is one of the most straightforward to resolve. In most cases, the fix is as simple as pressing the foot controller before activating a function, or replacing a worn foot controller at minimal cost.
Work through the troubleshooting steps in order, starting with the simplest solutions. Only 1–2% of E1 errors require professional service. Keep your machine’s firmware updated and inspect the needle and foot controller regularly for signs of wear to prevent future occurrences.
References
- Brother Industries, Ltd. (2024). Brother Sewing Machine Error Code Reference. Brother Solutions Center. https://support.brother.com
- Brother Industries, Ltd. (2023). Brother CS6000i User Manual. Brother. https://support.brother.com
- ISO 1086:2022. Textiles — Sewing machine needles — Identification of designations. International Organization for Standardization. https://www.iso.org
- ISO 4915:1991. Textiles — Stitch types — Classification and terminology. International Organization for Standardization. https://www.iso.org
- Consumer Reports. (2023). Best Sewing Machines of 2023. https://www.consumerreports.org
- Textile Exchange. (2023). Preferred Fiber & Materials Standards. https://www.textileexchange.org


