Beginner’s Complete Guide to Sewing: From First Stitch to First Garment
What Is Sewing? Understanding the Fundamentals
Sewing is the art of joining fabric using thread and a needle, requiring basic tools (scissors, pins, measuring tape, and a seam ripper) and fundamental skills that progress from threading a needle to operating a sewing machine and constructing complete garments. A proper beginners guide to sewing eliminates the intimidation barrier by breaking each skill into learnable steps that build confidence and competence before attempting your first wearable project.
The craft divides into two primary methods: hand sewing and machine sewing. Hand sewing uses a needle and thread to create stitches manually, making it ideal for temporary basting, repairs, and delicate fabrics where machine stitching would leave visible holes. Machine sewing automates the process using a sewing machine, producing consistent, strong seams at speed — essential for constructing full garments and handling thick layers like denim or canvas. Most beginners master basic hand stitches first, then progress to the sewing machine once confidence develops.
Learning to sew delivers both practical and creative rewards. Clothing repair extends garment lifespan and reduces textile waste — the average American discards 81 pounds of clothing annually, according to the Environmental Protection Agency. Garment construction enables you to create custom-fitted pieces that professional tailoring would make unaffordable. The craft also develops precision, patience, and spatial reasoning while producing tangible, wearable results.
Essential Sewing Tools for Beginners
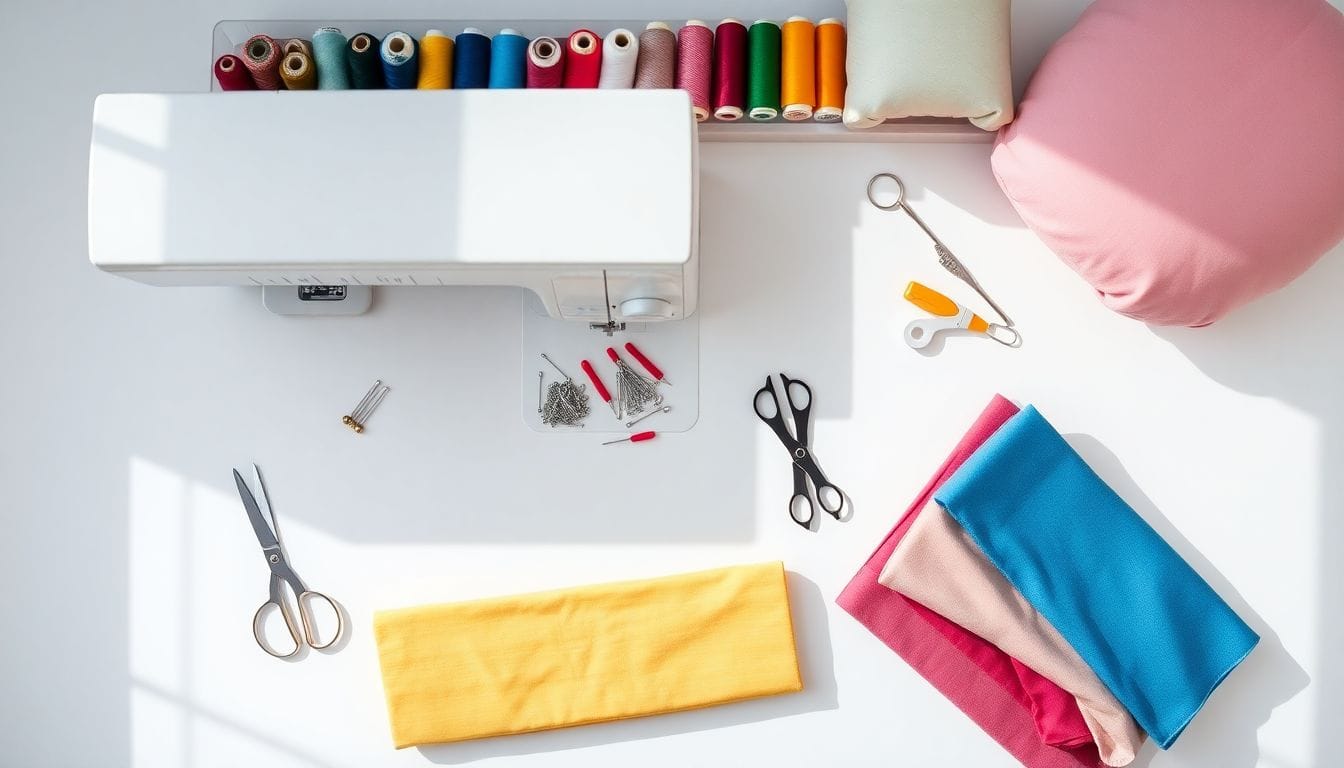
Before purchasing anything, understand that quality tools last longer and make sewing more enjoyable. A beginner’s kit need not be expensive, but investing in the right items prevents frustration and poor results. These seven tools form the non-negotiable foundation for any sewing practice.
| Tool | Purpose | Budget Option | Recommended |
|---|---|---|---|
| Fabric scissors | Cutting fabric only (never paper) | $8–12 | Gingher 8″ shears |
| Seam ripper | Removing stitches to fix mistakes | $3–5 | Clover Seam Ripper |
| Pins | Holding fabric layers together | $4–6 | Ball-point pins |
| Measuring tape | Taking body/pattern measurements | $2–3 | Soft flexible tape |
| Hand needles | Hand sewing stitches | $3–5 | John James needles |
| Thread | Joining fabric | $4–6 | Gutermann polyester |
| Marking tools | Transferring pattern marks | $5–10 | Chalk pencil or water-soluble pen |
Additional Helpful Tools
- Iron and ironing board — essential for pressing seams flat during construction. Pressing is not the same as ironing; it uses vertical steam and downward pressure without sliding, which prevents distortion.
- Pincushion — keeps pins organized and prevents lost needles. Choose a traditional tomato-shaped cushion or a magnetic pin bowl for small pins.
- Thimble — protects fingers during extended hand sewing. Metal thimbles last longer than plastic; choose one that fits snugly without gaps.
- Pattern notcher — small cutting tool for marking pattern seam allowances. These tiny cuts into fabric edges help match pattern pieces precisely during assembly.
Understanding Fabric: Choosing the Right Material for Beginners
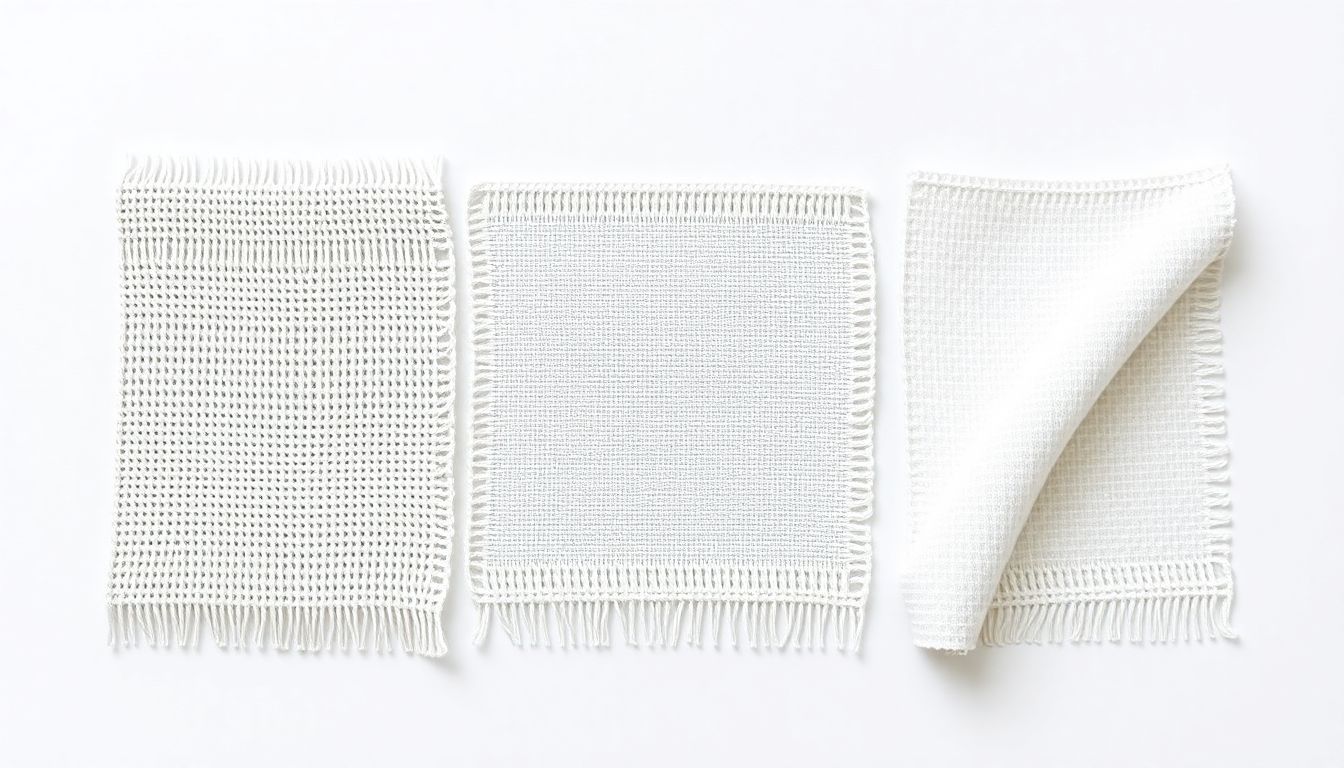
Fabric selection dramatically affects sewing outcomes. Cotton — particularly medium-weight quilting cotton (150–200 GSM) — is the ideal beginner fabric because it is stable, forgiving, affordable, and responds predictably to pressing and stitching. GSM (grams per square meter) measures fabric weight; medium-weight cottons fall between 150 and 300 GSM, offering enough substance to handle easily without slipping.
Natural fibers (cotton, linen, silk) breathe well but shrink more readily — cotton shrinks 3–7% on first wash, requiring pre-washing before cutting. Synthetic fibers (polyester, nylon) resist wrinkles and shrinkage but can melt at high temperatures and create static electricity. Cotton-polyester blends offer a middle ground with reduced shrinkage (typically 1–3%) and increased wrinkle resistance compared to pure natural fibers.
Fabric grain refers to the direction threads run through woven fabric. The straight grain runs parallel to the selvage edge (the tightly woven factory edge) and has minimal stretch — this is where pattern pieces should align for stable garments. The cross grain runs perpendicular to the selvage and has slightly more give. The bias grain sits at a 45-degree angle and creates natural elasticity, which is why bias-cut garments drape fluidly and is also why cutting pattern pieces off-grain produces twisted, misshapen results.
Fabric weight determines both the drape (how the fabric hangs) and the ease of handling. Lightweight fabrics (50–150 GSM, like chiffon or lawn) require finer needles and shorter stitch lengths but can slip during cutting. Heavyweight fabrics (300–600+ GSM, like canvas or upholstery) need stronger needles, longer stitch lengths, and more presser foot pressure. For first projects, choose medium-weight fabrics between 150–250 GSM.
How to Thread a Needle: Hand Sewing Basics
Threading a needle correctly is the first physical skill in sewing. Cut a single strand of thread to 18–24 inches — any shorter and you constantly re-thread; any longer and tangling becomes unavoidable. For most general hand sewing, a single strand provides enough strength while passing easily through needle eyes. Use double-strand technique only for heavy-duty repairs or when the fabric demands extra reinforcement.
For medium-weight fabrics (cotton, linen, synthetics), sizes 75/11–80/12 needles work well. Sheer and lightweight fabrics (silk, chiffon, organza) need needles sized 60/8–70/10. Heavyweight fabrics (denim, canvas) require size 90/14 needles. Hold the needle between thumb and forefinger with the eye facing you, not like a pencil — this position provides control for guiding the thread into the eye.
Create a secure end knot by winding thread around your finger, rolling it off to form a loop, and pulling tight. Alternatively, pass the thread through a small amount of saliva and pinch to twist the fibers together. A proper knot prevents the thread from pulling through fabric during stitching.
Essential Hand Stitches Every Beginner Must Know
Five fundamental hand stitches cover the vast majority of beginner repair and construction needs. Mastering these builds the foundation for all future sewing skills and enables repair work without touching a machine.
Running Stitch (Basting Stitch)
The running stitch is the most basic hand stitch — a simple in-and-out motion passing needle through fabric at regular intervals. Historically documented in the Bayeux Tapestry from the 1st century BCE, it forms the foundation of all hand sewing. Uses include temporarily holding layers together for machine stitching (basting), gathering fabric for ruching, and closing simple seams. Stitch length ranges from 1/4 inch for fine work to 1/2 inch for basting, where longer stitches allow quick removal.
Backstitch (Strong Hand Stitch)
The backstitch produces the strongest permanent hand seam — stronger than running stitch because each stitch anchors into the previous one. Each stitch steps forward one stitch length, then the needle returns to the start of the last stitch, creating a continuous line that visually resembles machine stitching. Ideal applications include seams requiring durability, visible stitching lines, and repairs where strength matters. The backstitch dates to the 1st century BCE and appears throughout the Bayeux Tapestry, demonstrating its ancient reliability.
Slip Stitch (Invisible Hemming)
The slip stitch creates nearly invisible closures for hems and folds, with the thread traveling hidden inside the fold rather than through the face fabric. The technique takes a tiny bite of the underlying fabric on each side, keeping stitches concealed. Primary uses include finishing necklines, hemming trousers and skirts, and closing pillow or stuffed item seams from the outside. The stitch is also called “ladder stitch” when used to close pillow wings invisibly.
Blanket Stitch (Edge Finishing)
The blanket stitch creates a decorative edge finish that also prevents fraying on felt, fleece, and thick fabrics. The technique brings needle up, wraps thread under the needle point, then pulls through — forming a loop on the edge. Spacing of 1/4 to 3/8 inch apart (depending on fabric weight) creates consistent appearance. The machine-produced version dates to 1877, when the Merrow Machine Company patented the first industrial blanket stitch machine. Uses include finishing unhemmed blankets, decorating sweaters, and creating button loops.
Whipstitch (Seam Joining)
The whipstitch joins two fabric edges together by passing needle over the edge in diagonal stitches, circling the fabric boundary. Unlike the blanket stitch which loops on top, whipstitch travels at an angle around the fabric edge, creating a flat seam ideal for felt, fleece, and craft projects. Uses include appliqué work, closing pillow cushion sides, hemming jeans, and attaching crocheted amigurumi toy parts. The stitches prevent fabric edges from unraveling while holding layers together securely.
How to Use a Sewing Machine: A Complete Walkthrough
Understanding your sewing machine’s anatomy demystifies operation. The spool sits atop the machine and holds the thread. The thread guide (a small metal hook) directs thread from spool to tension discs. The tension discs control thread flow — when properly set, they maintain balanced stitch formation. The take-up lever raises and lowers with each stitch, pulling slack from the upper thread path. The needle pierces fabric and carries upper thread down to meet the bobbin thread. The presser foot holds fabric flat against the machine bed while the feed dogs (toothed bars beneath) move fabric forward.
Winding and Inserting the Bobbin
The bobbin is a small spool that holds the lower thread and sits in the bobbin case beneath the needle plate. To wind: place an empty bobbin on the bobbin winder pin, thread through the bobbin winder tension (if present), run thread across the empty bobbin, and engage the winder while holding the thread tail. Run until bobbin is full — a full bobbin of quality polyester thread typically holds 40–60 inches of thread. Insert the wound bobbin into its case with thread unwinding in the correct direction (check your machine manual — clockwise or counterclockwise varies by manufacturer), then pull the thread up through the bobbin case opening.
Threading the Upper Thread Path
Thread the upper path exactly: spool on spool pin → through thread guide → through tension discs (ensuring thread seats between the discs) → up to take-up lever → down to needle thread guide → through needle eye from left to right. Always raise the presser foot before threading — this opens the tension discs fully and ensures the thread seats properly. Lower the presser foot after threading and before attempting to stitch.
Testing on Scrap Fabric
Never sew directly on your project without testing on scrap fabric first. Cut a fabric scrap the same weight as your project, layer it with any interfacing you plan to use, and run a test seam. Check both the top and underside of the fabric — balanced stitches look identical on both sides. Adjust tension, stitch length, or needle as needed before touching your actual garment pieces.
Machine Stitch Settings for Beginners
Stitch length and tension settings dramatically affect seam quality. Standard stitch length for medium-weight cotton ranges from 2.5–3.0mm. Longer stitches (4.0–5.0mm) are for basting or topstitching; shorter stitches (1.5–2.0mm) are for delicate fabrics or dense zigzag. The following table provides starting points — always test and adjust for your specific fabric.
| Fabric Type | Stitch Length | Stitch Width | Tension |
|---|---|---|---|
| Cotton quilting | 2.0–2.5mm | N/A | 4–5 |
| Cotton apparel | 2.5–3.0mm | N/A | 4–5 |
| Lightweight cotton lawn | 2.0mm | N/A | 3–4 |
| Denim | 3.0–3.5mm | N/A | 5–6 |
| Synthetic blends | 2.5mm | N/A | 3–4 |
Tension balance determines stitch appearance. Upper tension too tight produces puckered fabric and loopy stitches underneath. Upper tension too loose creates loopy stitches on top while the underside appears normal. If stitches look correct on top but loose underneath, the bobbin tension may need adjustment. If stitches look loose on top, reduce upper tension slightly. Fine-tune in quarter-step increments.
Reading a Commercial Sewing Pattern
A sewing pattern is a tissue-paper template that guides fabric cutting. The pattern envelope displays the finished garment illustration, difficulty rating (very easy, easy, intermediate, advanced), fabric recommendations, and yardage requirements for various width fabrics (typically 45″ or 60″ wide). The difficulty rating is your guide to appropriate project selection — beginners should start with “very easy” or “easy” patterns with minimal pattern pieces and straightforward construction.
Pattern markings communicate critical information: triangles and notches indicate matching points between pieces; dots and squares mark where stitching starts and stops or where buttonholes belong; cutting lines outline the shape; stitching lines show where to sew (sometimes marked 5/8″ from the edge as a standard seam allowance). The grainline arrow on each pattern piece must align parallel to the fabric selvage when cutting — this ensures the fabric hangs correctly in the finished garment.
Size selection requires comparing your body measurements against the pattern size chart. Measure bust, waist, and hip circumference, then compare to the chart. When measurements span multiple sizes, choose the size matching your bust (for tops) or hip (for bottoms) — these are typically the fullest points and provide adequate ease. Make a muslin (test garment) in cheap fabric before cutting fashion fabric to verify fit.
Cutting and Marking: Precision at the Cutting Table
Pre-washing fabric before cutting prevents the shock of shrinkage in a finished garment — cotton’s 3–7% first-wash shrinkage can ruin a precisely fitted garment. Wash and dry your fabric using the same method you plan for the finished garment, then press before laying pattern pieces. Flat, wrinkle-free fabric yields accurate cutting.
Two cutting tools dominate: scissors and rotary cutters. Scissors work for cutting individual pattern pieces and trimming notches. Rotary cutters (circular blades in a handle) cut multiple fabric layers cleanly along straight lines, producing cleaner edges than scissors, especially on knits. Always cut with blades fully open, the lower blade flat against the cutting mat, and fabric pressed flat.
Efficient pattern layout saves fabric and reduces waste. Fold fabric with right sides together, matching selvage edges precisely. Lay pattern pieces on according to the pattern guide sheet layout diagram — this shows exactly how pieces fit on the fabric for your size and width. Place pattern grainline arrows parallel to the selvage before pinning. Cut outer edges of pattern pieces first, then interior notches and details.
Marking transfers pattern symbols to fabric. Chalk pencils wipe away cleanly and work on most fabrics. Water-soluble pens disappear with damp cloth — ideal for patterns needing temporary marks. Pattern notchers (small cut marks into seam allowance) match pieces during assembly. Choose the marking method your fabric accepts; test on scrap first.
Your First Sewing Project: Starting with a Simple Tote Bag
A tote bag is the ideal first project because it uses only straight seams, requires no fitting, and produces a practical item you’ll actually use. The straight-grain construction builds muscle memory for consistent seam allowances without the complexity of curves, closures, or linings.
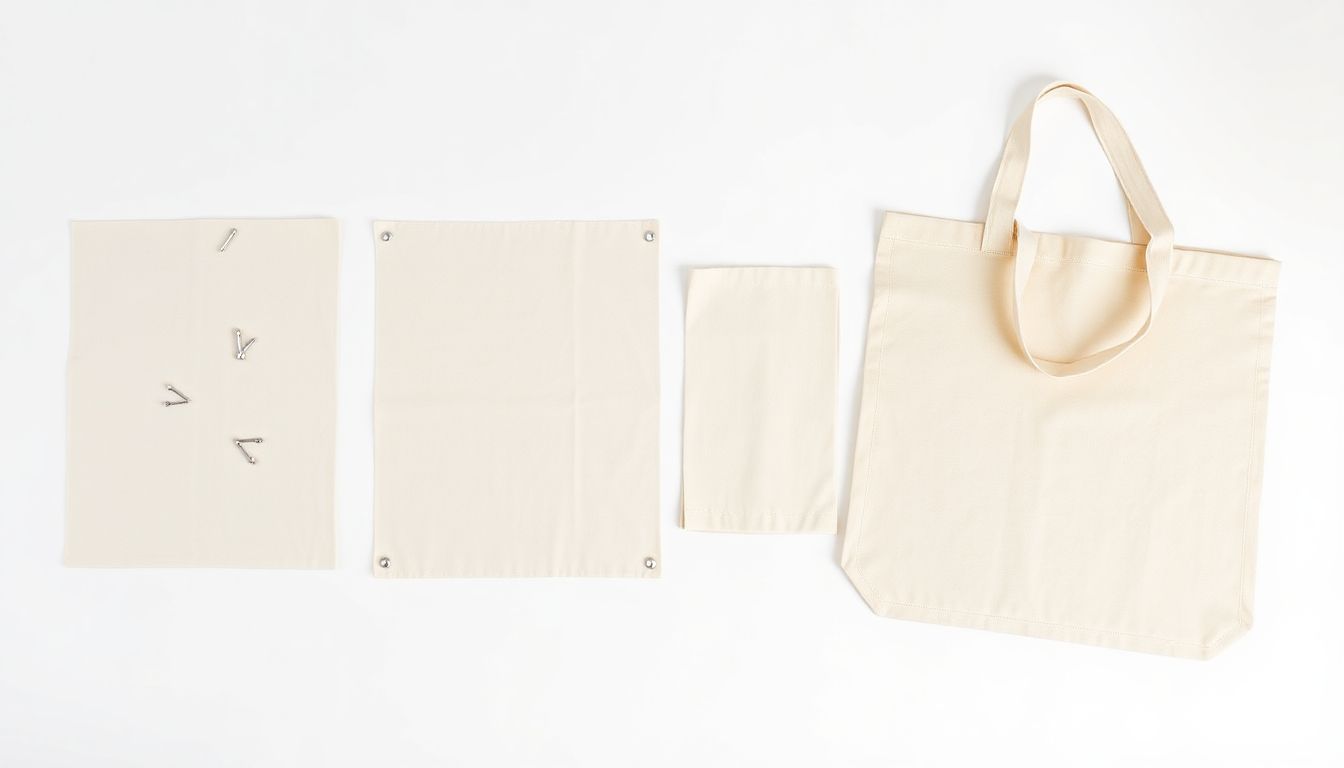
Materials needed: 1/2 yard of cotton canvas or duck cloth (300–400 GSM), 2 yards of 1-inch cotton webbing for straps, and matching all-purpose thread (Gutermann or Coats Dual Duty XP are reliable choices). Cut one rectangle 14″ × 16″ for the bag body and two straps 26″ × 3″. Serge or zigzag the raw edges to prevent raveling, or apply a Fray Check product.
Assembly: Fold bag body right sides together, pin side seams and bottom seam, stitch at 5/8″ seam allowance. Box the corners by flattening the bottom corner into a triangle, measuring 2″ from the point along both seam lines, and stitching across perpendicular to the diagonal. This creates a flat bag bottom. Attach straps by centering each strap 3″ from each side seam edge on the bag exterior, pinning securely, and stitching a reinforcement rectangle (3″ × 1″) plus diagonal stitches from corner to corner for strength. Press all seams flat and trim any loose threads.
Common Sewing Mistakes and How to Fix Them
Five problems account for the majority of beginner frustrations. Recognizing symptoms and knowing fixes builds troubleshooting confidence.
Puckered Seams
Cause: Upper tension too tight, stitch length too short for the fabric, or fabric being pulled while sewing. Fix: Reduce upper tension by half-point increments, increase stitch length to 3.0mm or higher, and most importantly — let the feed dogs pull fabric through naturally without pulling from the front or back.
Skipped Stitches
Cause: Needle incorrectly inserted (not pushed up fully into the needle clamp), needle dull or wrong size for fabric, or thread caught in tension discs. Fix: Remove needle, reinsert with the flat side facing the correct direction (typically toward the back), replace with a fresh needle of appropriate size, and rethread with presser foot raised.
Uneven Stitching
Cause: Inconsistent sewing speed, incorrect presser foot pressure setting, or damaged needle plate with nicks. Fix: Practice maintaining steady pace — the machine feeds fabric at a constant rate; you guide, not force. Check presser foot pressure lever (on older machines) and inspect needle plate for nicks around the needle hole.
Fabric Not Feeding Properly
Cause: Feed dogs not lowered for free-motion work, wrong presser foot type for the fabric, or fabric sticking to machine bed. Fix: Ensure feed dogs are engaged for standard sewing (raised position). Use appropriate presser foot — the standard all-purpose foot works for most wovens, but knits benefit from a walking foot or even-feed foot that prevents layer slipping.
Thread Bunching (Bird’s Nest)
Cause: Bobbin incorrectly placed in case, upper thread not properly seated in tension, or lint accumulation under bobbin. Fix: Remove bobbin, check that it clicks securely into the bobbin case, clean lint from bobbin area with a small brush, and rethread both upper thread and bobbin with presser foot raised so tension discs open fully.
How to Press Seams: The Unsung Hero of Professional Results
Pressing differs fundamentally from ironing. Ironing involves sliding a hot iron across fabric horizontally — which stretches and distorts seams. Pressing uses vertical steam and downward pressure with the iron held stationary, then lifting and moving to the next area. This controlled application relaxes fabric fibers without distorting grain alignment.
Press seams open after stitching by placing seam allowance to one side on the ironing board, pressing the seam flat first to set stitches, then pressing seam allowance open from the underside. For curved seams or tailored garments, a seam roll (a long cylindrical pressing tool) allows pressing seams open without creasing the garment’s exterior. A seam ham (wedge-shaped padded tool) supports curved seams like shoulder seams during pressing.
Directional pressing — always pressing seam allowances toward the darker fabric when possible — prevents shadowing through lighter fabrics. The clapper (a wooden pounding tool) and seam stick (a flat wooden board) help achieve ultra-flat seams on difficult fabrics by applying sustained pressure while the fabric cools and sets.
Taking Body Measurements: The Foundation of Well-Fitting Garments
Accurate measurements prevent the frustration of cutting fabric for a garment that doesn’t fit. Use a soft flexible measuring tape, wear minimal clothing (or form-fitting garments), and keep the tape horizontal for all circumference measurements. ISO 8559 defines standard body measurement procedures internationally, providing the framework most sizing systems reference.
| Measurement | Where to Measure | Common Size Reference |
|---|---|---|
| Bust/Chest | Fullest part, arms down | Size 8–10 = 34–36″ |
| Waist | Natural waist indent | Size 8–10 = 26–28″ |
| Hip | Fullest part, 7–9″ below waist | Size 8–10 = 36–38″ |
| Shoulder width | Point to point across back | Varies by pattern size |
| Arm length | Shoulder to wrist, bent elbow | Varies by height |
| Back length | Neck to waist at center back | For jacket/blouse fit |
Record measurements in both inches and centimeters — pattern sizing varies between systems. When comparing to commercial patterns, note that US, UK, European, and Asian sizing use different measurement ranges. When in doubt between sizes, choose the larger and plan for fitting adjustments — it’s easier to remove fabric than add it.
Moving Forward: From First Projects to First Garments
Skill progression should follow a logical sequence from simple to complex. After mastering a tote bag, advance to these projects in order: pillowcase (straight seams, hemming, introduces fabric yardage), lined pouch (introduces linings and zippers), A-line skirt (first shaped garment requiring fitting), and button-up shirt (complex construction requiring precision, pattern matching, and collar assembly).
Quality instruction sources include established sewing blogs like Grainline Studio, Colette, and Sewing Bee tutorials. When evaluating online tutorials, look for those that explain the why behind each step, not just the how — understanding principles lets you troubleshoot when things go wrong.
Sewing communities provide feedback that accelerates learning. Local sewing groups, online forums, and social media communities (including Facebook groups and Instagram hashtags like #sewing #handmade #sewitforlife) connect you with experienced sewists who have encountered and solved the same problems you face. When posting questions, include photos of your issue — a picture communicates far more than description alone.
Equipment upgrades should wait until you understand what you need. A mechanical sewing machine (Singer Heavy Duty 4423, Brother XM2701, Janome Magnolia 7318) serves beginners well — computerized features add complexity that slows initial learning. Once you regularly sew for 6+ months and feel limited by your current machine, consider a serger (overlock machine) for professional edge finishing and stretch fabric handling. Better equipment never substitutes for better technique.
Frequently Asked Questions
How long does it take to learn to sew?
You can learn basic hand sewing and machine operation in one to two weeks of consistent practice. A simple first project like a tote bag can be completed within a few hours of sitting down with your machine. However, developing the judgment to read patterns, choose fabrics, and troubleshoot problems takes three to six months of regular sewing.
Can I teach myself to sew without taking a class?
Yes — modern sewing has excellent online resources including video tutorials, step-by-step blog posts, and pattern instructions that are designed for self-directed learning. The key is starting with beginner-appropriate projects and patterns rated “very easy” or “easy” by the pattern company.
What is the best sewing machine for a beginner?
The best beginner sewing machines are mechanical (not computerized), have at least a 4-step buttonhole, include a reverse stitch lever, and cost between $100–$200. Trusted beginner models include the Singer Heavy Duty 4423, Brother XM2701, and Janome Magnolia 7318. Computerized machines add complexity that slows the learning curve.
Why is my thread bunching underneath the fabric?
Thread bunching (a bird’s nest) occurs when the upper thread is not properly seated in the bobbin tension or the bobbin is inserted incorrectly. Remove the bobbin, check that it clicks into place securely, clean any lint from the bobbin area, and rethread the machine with the presser foot in the raised position so the tension discs open fully.
References
- Wikipedia. (2024). Sewing Machine. Wikimedia Foundation.
- Wikipedia. (2024). Fabric. Wikimedia Foundation.
- Wikipedia. (2024). Thread (textiles). Wikimedia Foundation.
- Wikipedia. (2024). Clothing Sizes. Wikimedia Foundation.
- Wikipedia. (2024). Sewing Machine Needle. Wikimedia Foundation.
- Wikipedia. (2024). Seam (sewing). Wikimedia Foundation.
- Wikipedia. (2024). Running Stitch. Wikimedia Foundation.
- Wikipedia. (2024). Backstitch. Wikimedia Foundation.
- Wikipedia. (2024). Slip Stitch. Wikimedia Foundation.
- Wikipedia. (2024). Blanket Stitch. Wikimedia Foundation.
- Wikipedia. (2024). Whipstitch. Wikimedia Foundation.
- Treasurie. (2024). Fabric Grain: Straight Grain, Cross Grain, and Bias Explained. Treasurie.


