
How to Sew a Zipper: Invisible, Lapped, and Centered

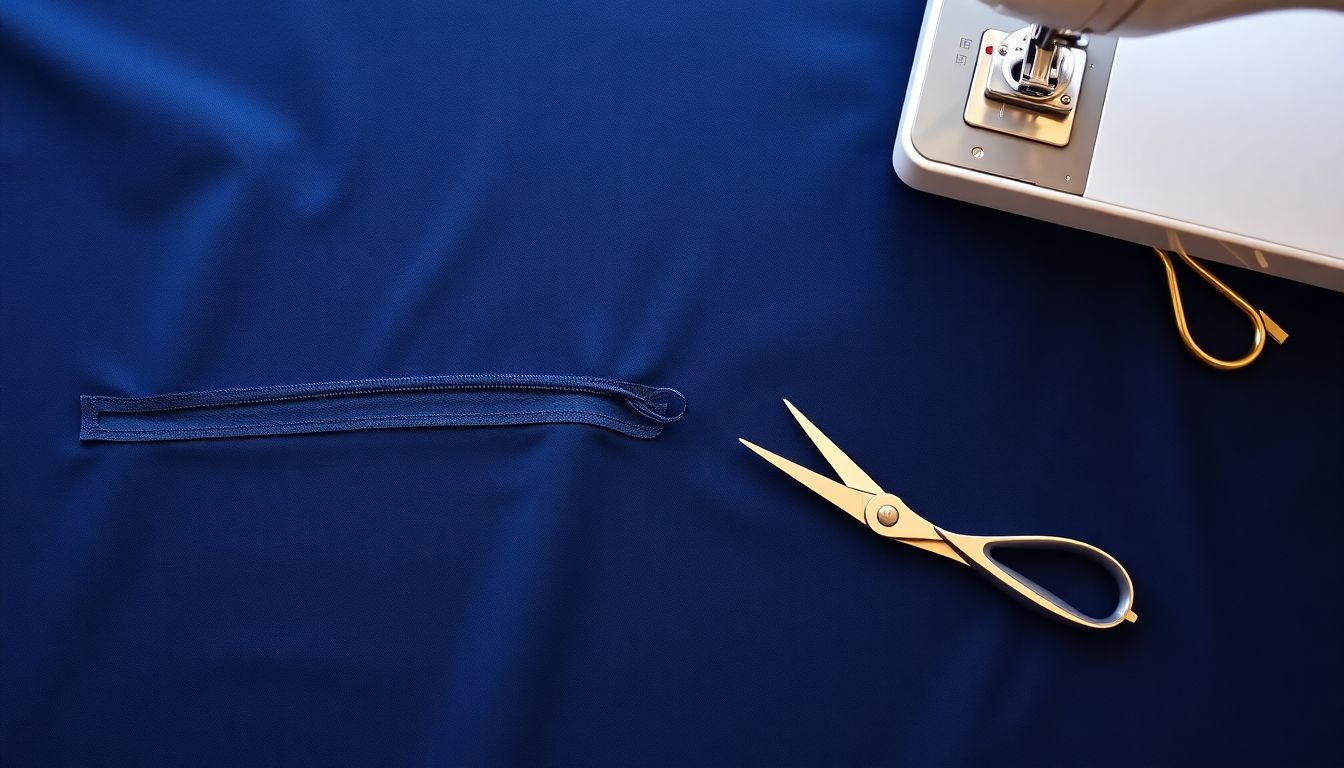
A zipper is sewn using a specialized zipper foot that allows the needle to stitch close to the zipper teeth while maintaining even tension and seam allowance. The three standard zipper styles—invisible, lapped, and centered—each require a specific foot type and positioning technique, with invisible zippers sewn face-down, lapped zippers offset with a fabric overlap, and centered zippers placed symmetrically between two fabric panels. This guide covers every step from preparation through final pressing, with troubleshooting for the five most common installation errors.
Zipper Components and Their Role in Garment Construction
A zipper consists of two fabric tape strips with interlocking metal or plastic teeth (elements) closed by a sliding slider. The zipper tape is the fabric backing that holds the teeth and attaches to the garment seam. Understanding each component is essential before attempting installation, because each zipper style handles these elements differently.
Zippers are rated by size: #3 (lightweight), #5 (medium), and #10 (heavy-duty). The tooth size determines appropriate fabric weight—#3 zippers work best with lightweight fabrics like silk charmeuse and quilting cotton, #5 zippers handle medium fabrics such as cotton sateen and linen, and #10 zippers are reserved for heavy fabrics like denim, canvas, and upholstery materials. Using an incorrectly rated zipper for your fabric weight is one of the leading causes of zipper failure in garment construction.
Invisible zippers hide completely within the seam, with only the pull tab visible on the face side. Lapped zippers show a fabric overlap on one side, distributing stress across a wider area. Centered zippers place the teeth symmetrically between two fabric panels, making both sides equally visible. The zipper installation method determines the finished look—a poorly installed zipper is one of the most noticeable sewing defects in any garment and draws the eye instead of disappearing into the design.
Tools and Materials Needed
Using the wrong equipment is the second most common cause of zipper installation failure after incorrect sizing. Before beginning any zipper installation, gather the correct tools.
| Tool | Purpose | Selection Criteria |
|---|---|---|
| Zipper foot | Stitches close to zipper teeth | Low-profile shank fits under needle; some machines have built-in foot |
| Hand-whip stitch | Closes zipper bottom | Thread matches or contrasts; 3–4 stitches per cm |
| Wonder tape | Temporary fabric hold | Water-soluble; eliminates basting in some methods |
| Zipper pliers (optional) | Installs metal zipper elements | For invisible and metal zippers requiring element closing |
| Iron and pressing cloth | Sets seam and opens zipper | Temperature appropriate for fabric type |
Zippers by type:
- Invisible zipper: 18–22 inch standard; must be nylon coil with printed tape for face-down stitching
- Lapped zipper: #3 or #5 metal or plastic teeth; fabric fold creates the overlap
- Centered zipper: #3 or #5 metal or plastic teeth; symmetric placement between two panels
Step 1: Prepare the Zipper and Seam
Rushing preparation is the single most common cause of crooked or misaligned zippers in home sewing. Proper preparation accounts for more than half of a successful zipper installation—the measurements and creases you establish here become the permanent guide for every subsequent step.
- Measure and mark zipper placement on wrong side of fabric (typically 5/8″ from edge = standard seam allowance)
- Press zipper tape flat — never iron directly on plastic teeth; use pressing cloth on low heat
- For invisible zippers: fold back the fabric at the coil line and press to create the fold line; this determines how the zipper will sit when finished
- For lapped zippers: fold the overlap allowance (typically 1/4″) and press; the underlap panel receives the stitching
- For centered zippers: align zipper teeth exactly on the seam line; tape or pin in place
Step 2: Position the Zipper
Positioning the zipper correctly before stitching is what separates professional results from amateur work. The key principle is that the zipper must be held perfectly still during stitching—any shifting creates waviness in the final seam that cannot be corrected later.
- Open the zipper slider completely before positioning — this allows the foot to pass over the pull during stitching
- Place zipper face-down (invisible) or face-up (lapped/centered) according to style
- Align zipper coil or teeth exactly on the seam line or fold line as marked
- Pin perpendicular to the zipper at 2″ intervals to hold in place — never pin through the stitching line area
- Baste the zipper tape to the seam allowance using a long stitch (4mm) if not using wonder tape
Wonder tape is a water-soluble double-sided tape that eliminates basting when installing lapped and centered zippers. Apply it sparingly to the zipper tape edge before positioning—the tape holds the zipper in place while you stitch, then dissolves completely when the garment is washed. This is especially useful for slippery fabrics like silk or synthetic blends where pins tend to create holes or displacement.
Step 3: Install the Zipper Foot and Stitch
The zipper foot is a specialized presser foot with a low shank and a side-approach design that lets you stitch parallel to the zipper coil at a precise distance. Most modern sewing machines include a zipper foot as standard equipment, though some have it built into the machine’s presser foot system.
- Attach the zipper foot to the machine — it mounts to the left or right of the needle depending on which side you are stitching
- Lower the needle into the fabric 1/8″ from the zipper coil/teeth; use the foot wall as your guide
- Stitch toward the slider, stopping 1/2″ before the slider with needle down
- Raise presser foot; push slider past the foot; lower foot and continue stitching
- Backstitch 1/2″ at the end to secure the seam
- Repeat on the other side of the zipper (for invisible and lapped zippers) — for centered zippers, stitch from the opposite side on the other tape
Standard upper thread tension of 4–5 works for most fabrics when sewing with a machine, but reduce it to 3–4 when working with lightweight or slippery fabrics to prevent puckering. The bobbin tension should not be adjusted—maintain the standard setting and let the upper tension dial handle the balance.
Step 4: Close the Zipper Bottom
The zipper bottom—called the welt—is finished differently depending on whether the zipper is closed-end or open-end. This step determines whether the zipper will survive repeated use or fail at the stress point where the interlocking elements meet.
- For closed-end zippers (most garment applications): hand-stitch the zipper bottom closed using a needle and thread
- Take 3–4 stitches across the zipper elements at the bottom stop — this is the welt
- For open-end zippers (jackets): the zipper elements must interlock at the bottom — use zipper pliers to snap closed if metal
The hand-whip stitch at the zipper bottom uses 3–4 stitches per centimeter for a secure overlock stitch equivalent. Thread your needle with thread that matches or intentionally contrasts with the zipper tape, knot the end, and take evenly-spaced stitches across the zipper elements where they meet at the bottom stop. This reinforced closure prevents the zipper from separating under stress.
Step 5: Finish and Press
Removing basting stitches, pressing carefully, and testing functionality transforms a technically correct zipper into a professional-quality installation. This step addresses any remaining waviness in the seam and sets the seam allowance flat against the zipper tape.
- Remove all basting stitches if used
- Press the zipper seam carefully — use a pressing cloth over plastic teeth; iron on wrong side only
- For invisible zippers: fold the fabric face-down and press the seam allowance away from the zipper
- Test the zipper open and closed multiple times to ensure smooth function
- Trim any loose threads from the tape ends
Never press directly on plastic zipper teeth—direct heat causes deformation and discoloration. Always use a pressing cloth (a clean cotton muslin or dedicated pressing sheet) between the iron and the zipper. For nylon coil invisible zippers, use the lowest heat setting (synthetic or cool) to prevent melting the coil. For metal zippers, medium heat is safe with a pressing cloth.
Common Zipper Installation Mistakes and Fixes
Even experienced sewers encounter these issues. Knowing the cause and fix for each prevents wasted fabric and time.
| Mistake | Cause | Fix |
|---|---|---|
| Zipper teeth hit during stitching | Foot positioned too close; needle deflection | Use correct zipper foot; keep fabric taut; replace needle if bent |
| Bunched fabric around zipper | Stitch tension too high; fabric not aligned | Reduce upper tension; re-align fabric before stitching |
| Zipper won’t close smoothly | Elements misaligned at bottom; fabric caught in slider | Ensure stop is positioned correctly; clean slider channel |
| Visible stitching on face (invisible zipper) | Fabric not folded correctly before stitching | Re-press fold line; stitch exactly at the coil edge |
| Lapped zipper gap | Overlap allowance inconsistent | Mark overlap line consistently; use wonder tape for hold |
Needle deflection occurs when a bent or dull needle pushes the thread to one side as it enters the fabric, causing the stitch line to drift away from the intended position. This is especially problematic with zippers because even 1–2mm of drift puts the needle directly into the zipper teeth. Always use a fresh needle appropriate for your fabric weight—size 80/12 for medium fabrics and size 90/14 for heavy fabrics.
When to Use Each Zipper Type vs. Alternatives
Choosing the correct zipper type for your project affects both the garment’s appearance and its longevity. Each style has a specific use case where it performs optimally.
Invisible zipper: Use in garments where the zipper must be completely hidden — formal dresses, formal trousers, blouses, cushions, and anywhere a clean uninterrupted seam line is desired. Invisible zippers are not suitable for heavy fabrics exceeding 400 gsm, or where frequent opening and closing stresses the tape, because the face-down stitching method creates less structural reinforcement than lapped installation.
Lapped zipper: The standard choice for trousers, skirts, and casual dresses where a visible overlap is acceptable. The overlap distributes stress across a wider area of the fabric seam, making lapped zippers more durable than invisible zippers under repeated use. This is the most common household zipper installation method, and it is the technique taught in most professional garment construction courses.
Centered zipper: Appropriate for bags, cushions, pillow backs, and craft projects where both zipper sides are equally visible and symmetrical appearance is desired. Centered zippers are less secure than lapped zippers because both sides are stitched to the fabric edge—under stress, fabric can pull away from the center seam. Do not use centered zippers in garments that receive lateral stress.
Alternatives to zippers: Hook-and-eye closures are appropriate for historical garments and formal wear where a hand-finished aesthetic is desired. Snaps work well for children’s clothing and casual applications where quick fastening is prioritized. Velcro (hook-and-loop fastener) is suitable for quick-release applications like costume closures and technical outerwear, though it lacks the clean aesthetic of a properly installed zipper.
Zipper Types by Garment Application
| Garment | Recommended Zipper Type | Size |
|---|---|---|
| Dress (formal) | Invisible | 18″–22″ |
| Trousers | Lapped | 6″–8″ |
| Skirt | Lapped or Invisible | 8″–14″ |
| Jacket | Open-end invisible or centered | 18″–24″ |
| Cushion | Centered | 14″–22″ |
| Bag | Centered | 8″–12″ |
A properly installed zipper is foundational for how to hem a dress and other finishing techniques—without a functional zipper, garment construction cannot proceed to final fabric care and finishing stages.
Frequently Asked Questions
How do you sew an invisible zipper without a specialized foot?
An invisible zipper can be sewn with a standard foot if the foot has a groove underneath to accommodate the coil. Alternatively, hand-baste the zipper in place first, then machine-stitch using the folded fabric edge as your guide. The key is stitching exactly at the coil edge with consistent 1/8″ margin.
What is the correct zipper foot position for lapped zippers?
For a lapped zipper, the foot rides against the right side of the needle when stitching the overlap. When stitching the underlap, the foot rides against the left side. This allows you to stitch close to the teeth from both sides without the foot interfering.
Can you install a zipper in a curved seam?
Invisible zippers can follow gentle curves if the fabric is stable enough. For sharp curves (like princess seams), zippers are not recommended. If installing in a curved seam, clip the seam allowance at intervals and ease the fabric around the curve before positioning the zipper.
How do you prevent a zipper from puckering during installation?
Puckering occurs when the fabric is pulled unevenly or the tension is too high. Use a fresh needle appropriate for your fabric weight, reduce upper thread tension slightly, and hold the fabric taut (not stretched) as you sew. A walking foot can help with slippery fabrics.
References
- Consumer Technology Association. (n.d.). Zipper Standards and Specifications. CTA.
- American Society for Testing and Materials. (n.d.). ASTM D3692 Standard Practice for Selection of Zippers for Proper Appearance and Performance. ASTM International.
- International Textile and Garment Association. (n.d.). Zipper Performance Testing Guidelines. IWTO.
- Cotton Incorporated. (n.d.). Zipper Selection and Care Guidelines for Cotton Garments. CottonWorks.


