How to Alter Shirt Sleeves: Shortening and Tapering
Altering shirt sleeves involves two distinct modifications: shortening (reducing the length from shoulder to cuff) and tapering (reducing the width from armpit to wrist). Shortening reduces the length from shoulder seam to cuff — typically needed when sleeves cover the hands or bunch at the wrist. Tapering reduces the width from underarm to wrist, creating a more fitted silhouette that eliminates excess fabric pooling at the forearm. A beginner can shorten sleeves by up to 2 inches or taper them by 1–2 inches per side seam using a seam ripper, pins, and a sewing machine — no professional training required.
Doing it yourself costs $15–30 in materials versus $35–50 at a tailor, and a beginner can resize sleeves in 45–90 minutes using basic tools to achieve professional-quality results. The key is precision in marking, patience in seam removal, and consistent pressing throughout the process.
What Does “Altering Shirt Sleeves” Mean?
Shirt sleeve alteration falls into two categories: shortening and tapering. Shortening reduces the length from shoulder seam to cuff — typically needed when sleeves cover the hands or bunch at the wrist. Tapering reduces the width of the sleeve from underarm to wrist, creating a more fitted silhouette that eliminates excess fabric pooling at the forearm.
Both alterations preserve the original cuff and sleeve placket when performed correctly. Standard men’s dress shirt sleeves measure 22–25 inches from shoulder seam to cuff. Most alterations involve shortening by ½–2 inches or tapering by ½–1 inch per side seam (1–2 inches total width reduction).
Shortening reduces length through basic seam work — removing the sleeve, cutting to the new length, and reattaching the cuff. Tappering demands precise matching of side seam angles from underarm to wrist, making grain alignment critical to prevent the sleeve from twisting when worn. Tapering requires taking in the side seam from underarm to wrist for a more fitted look.
Tools and Materials Needed
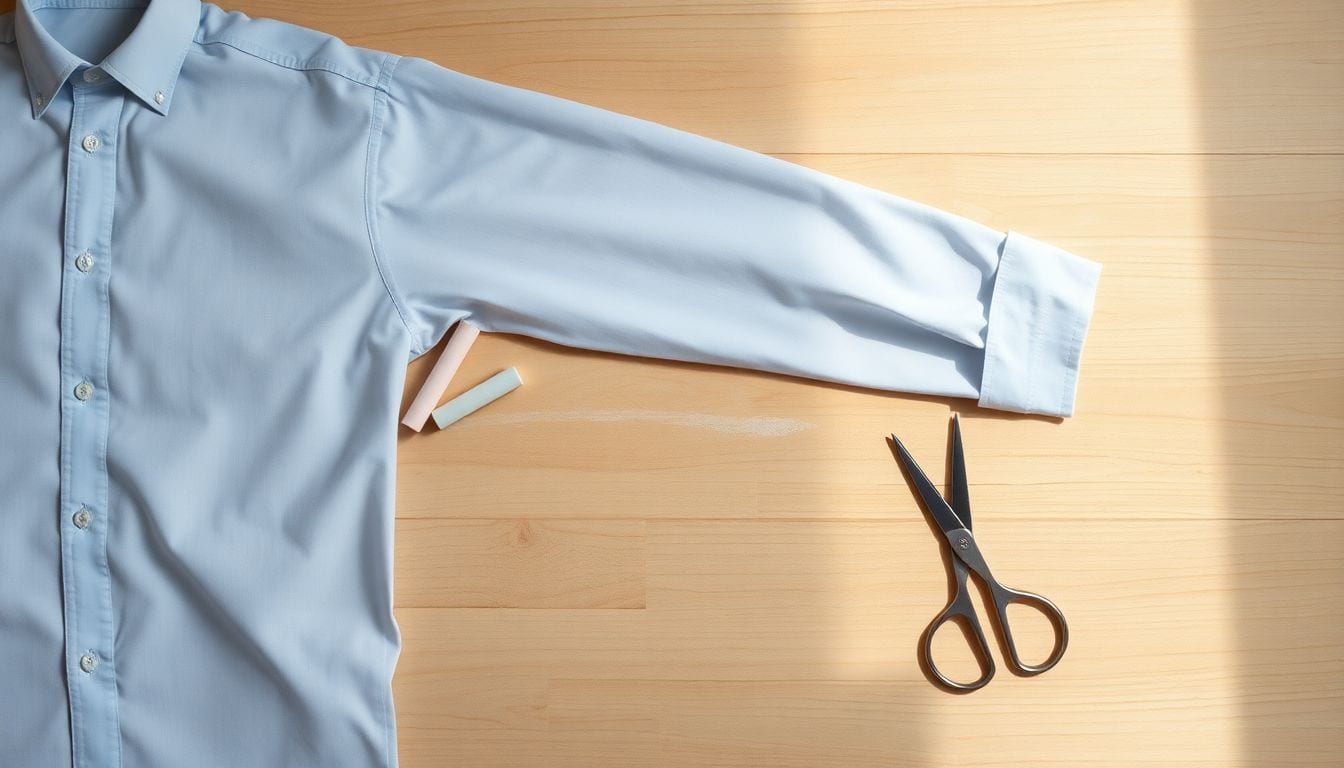
Before beginning, gather these essential tools. For measuring and marking, you will need a measuring tape for accurate measurements, a seam gauge for consistent seam allowances, and chalk or fabric marker (white for dark fabrics, blue for light fabrics). For cutting and sewing, you will need fabric scissors or rotary cutter with cutting mat for clean cuts, a sewing machine (or hand needle for slow manual work) — see our sewing machine basics guide for machine setup, and matching thread (polyester for synthetic blends, cotton for natural fibers). For seam work, you will need a seam ripper to remove existing sleeve seams without damaging fabric and pins or wonder clips to hold fabric layers secure during sewing. For pressing, you will need an iron and ironing surface — non-negotiable for professional results.
- Seam ripper — to remove existing sleeve seams without damaging fabric
- Fabric scissors or rotary cutter with cutting mat — for clean, precise cuts
- Pins or wonder clips — to hold fabric layers secure during sewing
- Measuring tape — for accurate measurements (see also: how to hem pants for measurement techniques)
- Chalk or fabric marker — white for dark fabrics, blue for light fabrics
- Matching thread — polyester thread for synthetic blends, cotton thread for natural fibers
- Sewing machine (or hand needle for slow manual work) — see our sewing machine basics
- Iron and ironing surface — non-negotiable for professional results
- Seam gauge — helpful for measuring consistent seam allowances
How to Shorten Shirt Sleeves: Step-by-Step
The shortening process involves five key stages: marking the new length, removing the cuff and placket, cutting to the new hemline, reattaching the cuff, and finishing the raw edge. Each step requires precision to maintain the shirt’s original structure and appearance.
Step 1: Determine the New Length and Mark
Put the shirt on and determine the ideal sleeve length. The sleeve should end at the wrist bone when your arm is relaxed at your side. Mark the new length with fabric chalk at the sleeve seam on both the front and back sleeve panels. For consistent results, measure from the shoulder seam to the existing cuff on both sides before marking — this accounts for any asymmetry in the original construction.
Typical shortening amounts range from ½ to 2 inches from the original cuff attachment point. Mark at three points around the sleeve circumference (center, front seam, back seam) to ensure a level cut line.
Step 2: Remove the Cuff and Sleeve Placket Stitches
Use a seam ripper to carefully remove the stitches attaching the cuff to the sleeve. Work slowly along the original seam line, keeping the seam ripper angled flat against the fabric to avoid cutting fibers. If your shirt has a sleeve placket (the reinforced slit at the wrist), remove those stitches as well.
Press the cuff and placket open with an iron once fully detached. This makes reinstallation cleaner and helps you identify any areas requiring minor repair before reattaching.
Step 3: Cut the Sleeve to the New Length
Re-measure and re-mark the new hemline on both front and back sleeve panels, confirming your chalk lines are level all around. Cut straight across, removing the excess sleeve fabric below the new hemline.
Leave a ⅝-inch seam allowance — the industry standard for garment construction — for reattaching the cuff. For sleeves with a curved hem (common in sport shirts), cut along the original seam line rather than attempting to create a new curve.
Step 4: Reattach the Cuff at the New Position
Align the original cuff with the new cut edge of the sleeve, ensuring the cuff’s grain runs parallel to the sleeve’s grain. Pin around the entire cuff-sleeve perimeter, matching seam lines exactly on both sides. On double-layer cuffs (standard on dress shirts), ensure both layers are caught in the seam.
Sew using a ⅝-inch seam allowance, backstitching at the start and end of each seam for security. Use a standard straight stitch or a slight zigzag for stretch fabrics. Press the seam open with an iron when finished.
Step 5: Finish the Raw Edge and Re-press
Finish the raw edge to prevent fraying using one of three methods: serging (if you have a serger), zigzag stitching on a standard machine, or pinking with shears. Serge or zigzag the edge closest to the cuff attachment seam so the finish sits inside the sleeve.
Re-press the entire cuff attachment seam — press the seam allowance first, then the cuff face — for a crisp, professional finish. Try on the shirt to verify both sleeves are symmetrical in length.
How to Taper Shirt Sleeves: Step-by-Step
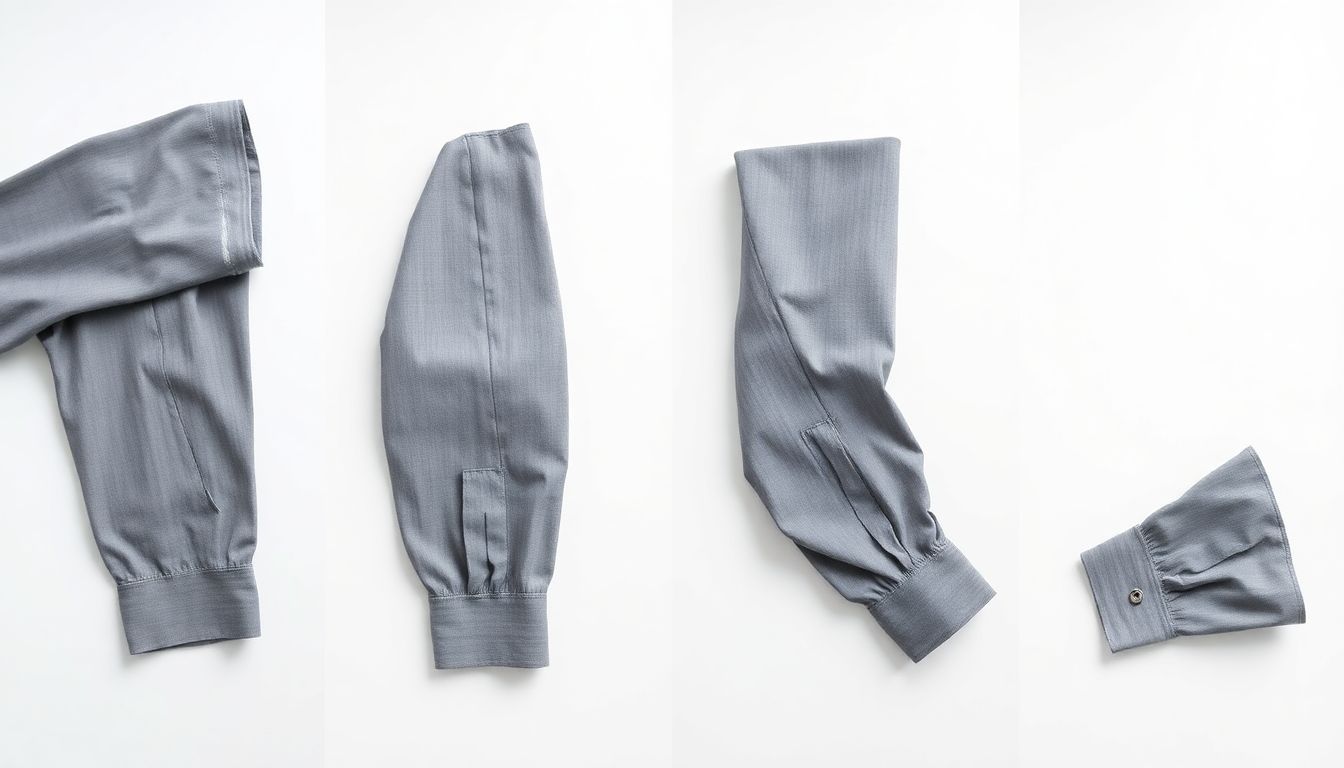
Tapering reduces sleeve width from underarm to wrist for a more fitted silhouette. This alteration is more technically demanding than shortening because it requires maintaining grain alignment throughout the entire sleeve panel. Tapering by ½–1 inch per side seam (1–2 inches total) is suitable for beginners; anything beyond that requires professional tailoring.
Step 1: Mark the New Tapering Line
Turn the shirt inside-out and put it on (or pin it to a dress form). Using fabric chalk, mark a new tapering line from the underarm point to the wrist on both sleeves. The taper should curve naturally from widest at the underarm to narrowest at the wrist, following the arm’s natural shape.
Mark at three key points: the underarm seam intersection, the midpoint of the sleeve, and the wrist seam. Connect these points with a smooth curved chalk line. For a standard taper, take in ½–1 inch per side seam.
Step 2: Remove the Sleeve Seam from Underarm to Wrist
Use a seam ripper to remove the stitching from the sleeve’s underarm seam. Start at the underarm point and work downward toward the wrist. Remove 2–3 inches of stitching at a time, pulling out loose threads as you go to keep the work area clean.
Keep the original seam pressed open with an iron as you work. This prevents the fabric from refolding onto itself and makes the subsequent cutting and resewing steps more accurate.
Step 3: Cut and Reshape the Sleeve
Lay the sleeve flat with front and back panels aligned and the fabric lying smooth. Cut along the marked tapering line on both sides of the sleeve. Ensure the front and back sleeve panels are cut symmetrically — lay both cut panels on top of each other to verify symmetry before sewing.
The new seam line should taper gradually from underarm to wrist with no sharp angles. If your chalk line has any abrupt direction changes, smooth them into a continuous curve before cutting.
Step 4: Sew the New Tapered Seam
Pin the front and back sleeve panels together along the new taper line, aligning the fabric grain carefully. Uneven grain alignment causes the sleeve to twist when worn — take extra care at the underarm where the grain angle is most acute. Pin perpendicular to the seam line every 2–3 inches to hold layers secure.
Sew from underarm to wrist using a ⅝-inch seam allowance (the standard for garment construction). Backstitch at the underarm to reinforce this high-stress area that endures the most arm movement. Remove pins as you sew.
Step 5: Finish and Press
Finish the raw edges of the new seam with a serger, zigzag stitch, or pinking shears to prevent fraying. Press all new seams open, pressing from the inside of the garment to avoid creating shine marks on the fabric face.
Try on the shirt and compare sleeve width on both sides. Check symmetry by measuring from the underarm seam to the wrist seam on both sleeves — they should be identical. If there is a discrepancy of more than ⅛ inch, unpick and resew the narrower side.
Common Beginner Mistakes to Avoid
These five mistakes account for the majority of failed DIY sleeve alterations. For more guidance, see our common sewing mistakes guide.
- Cutting too much off: Always err on the side of removing less — you can take in more fabric later but cannot add fabric back. Start conservative and adjust in subsequent fittings.
- Ignoring the grain line: Tapered sleeves must maintain grain alignment or the sleeve will twist when worn. The lengthwise grain (the threads running parallel to the arm) must remain perpendicular to the sleeve’s hem at the wrist.
- Rushing the press: Pressing as you go is non-negotiable for professional-looking results. Every seam should be pressed before the next step begins. A sleeve that is sewn but not pressed looks homemade.
- Mismatched taper on both sleeves: Measure both sleeves identically before cutting — fabric shifts during marking, and chalk lines can appear straighter on one side. Mark, measure, then mark again before cutting.
- Removing too much from the placket area: The sleeve placket structure should remain intact; only remove seam below it. Disturbing the placket’s stitching compromises the shirt’s functional opening.
When to Use a Professional Tailor vs. DIY
DIY sleeve alterations are suitable for casual shirts, cotton/polyester blends, simple shortening under 1 inch, and minor tapering under ½ inch per side. These straightforward jobs require only basic seam work and yield reliable results for home sewers with intermediate skills. For complex alterations or delicate fabrics, consider our professional alteration services guide.
Professional tailoring is recommended for silk or linen dress shirts, shortening over 2 inches, tapering over 1 inch per side seam, shirts with French cuffs, and alterations involving sleeve placket reconstruction. Tailors have the specialized equipment (industrial sewing machines, French tack machines, steam presses) to handle these complex jobs without damaging delicate fabrics or intricate constructions. Consult our sewing tools guide to understand what professional equipment achieves.
| Alteration Type | DIY Suitable? | Tailor Recommended |
|---|---|---|
| Shorten ½–1 inch (cotton/polyester) | Yes | — |
| Shorten 1–2 inches | Yes (intermediate+) | Preferred for dress shirts |
| Shorten over 2 inches | No | Yes — may require cuff replacement |
| Taper ½ inch per seam | Yes | — |
| Taper 1 inch per seam | Intermediate+ | Preferred for silk/linen |
| Taper over 1 inch per seam | No | Yes — complex angle work |
| French cuff shirts | No | Yes — specialized stitching |
| Placket reconstruction | No | Yes — structural alteration |
Frequently Asked Questions
Can you alter shirt sleeves without a sewing machine?
Yes — hand-stitching works for sleeve alterations. Use a small running stitch or backstitch with ⅛–¼ inch seam allowance, keeping stitches tight and consistent. Hand-sewn sleeve seams take 45–60 minutes per sleeve but produce durable results equivalent to machine stitching when done correctly.
How much can you shorten shirt sleeves?
Most sleeves can be shortened by 1–2 inches without disrupting the cuff or placket structure. Shortening more than 2 inches may require cuff replacement or placket reconstruction — at that point, a professional tailor is recommended to preserve sleeve function and structural integrity.
Does tapering sleeves damage the shirt?
Minor tapering (½–1 inch per seam) does not damage fabric structurally. Removing old seam stitches may leave faint thread marks on delicate fabrics like silk or fine linen. The fabric itself retains full durability; the main risk is a crooked or twisting seam from inaccurate cutting or grain misalignment. Test on an old shirt first if working with delicate materials.
How do you alter sleeves on a shirt with a placket?
Shortening sleeves on placket shirts requires detaching the placket before cutting, then reattaching both the placket and cuff at the new position. This is more complex than standard shortening — measure twice, mark carefully, and consider a tailor for placket shirts unless you have prior experience with sleeve construction. The placket must remain perpendicular to the hemline when reattached.
References
- ANSI/AATCC Standards. (n.d.). Standard Specification for Seam Strength in Apparel. American National Standards Institute / American Association of Textile Chemists and Colorists. Retrieved from aatcc.org
- ASTM International. (2023). ASTM D3136-23: Standard Specification for Size Measurement of Apparel. ASTM International. Retrieved from astm.org
- International Organization for Standardization. (2018). ISO 3758:2018 — Textiles — Care Labelling Code Using Symbols. ISO. Retrieved from iso.org
- Threads Magazine. (2024). The Essential Guide to Sleeve Alterations. Taunton Press. Retrieved from threadsmagazine.com
- Saville, B. (2022). Fabric Reference (4th ed.). Pearson Custom Publishing.


